| Oracle® Retail Fiscal Management User Guide Release 14.1.2.1 E70530-01 |
|

 Previous |
 Next |
The Return to Vendor (RTV) operation is considered as the cancellation of the original purchase. The reference of the purchase NF has to be provided on the NF generated for RTV. The cost at which the merchandise are returned and the taxes are the same as mentioned in the purchase NF.
To initiate the RTV flow in ORFM, the inventory that has to be returned is picked and shipped in warehouse management system and store inventory management system. After the RTV shipment details are available in the ORFM application, it generates an outbound schedule and NF.
This chapter contains the following:
The process is similar for both the RTV from a store or RTV from a warehouse. The business process can include the following:
Create an outbound NF from the shipment details.
Enable the auto-approve parameter of the utilization code to validate and approve the NF immediately.
For manual validation, and approval process, disable the auto-approve parameter of the utilization code. Manually edit the NF to resolve the errors that occur during the validation process.
Here, the validation process includes sending the NF to Tax Engine for CFOP determination. For each item being returned, the system selects the last received PO related NF for that item from the same supplier as the reference NF for the RTV NF. If the last reference NF is found, the taxes on RTV NF are copied from that NF. If the last reference NF is not found, the Tax Engine call returns the taxes applicable on the RTV transaction.
After the NF is approved, print the NF, and send it along with the shipment. The inventory is updated in RMS.
To create a NF for RTV, do the following:
Navigate: From the RMS Start Menu, select Fiscal Management, then Login of Location. The Location Login window appears.
In the Location Login window, select the store or warehouse for receiving/issuing of the fiscal document. Click the Location LOV to obtain the list of stores or warehouses. Select the location, and click OK.
In Contents Of Fiscal Management, click Receiving/Issue. In Contents Of Receiving/Issue, click Edit. The Receiving/Issue Schedule window appears.
In the Receiving/Issue Schedule window, set the Mode as Exit. Click Add to create a schedule for the RTV.
Click Fiscal in the Receiving/Issue Schedule window. The Fiscal Docs Find window appears.
Click Add. The Fiscal Documents window appears. In the Fiscal Documents window, the details of the shipment that is created in warehouse management system, and that flows to ORFM are displayed.
In the Fiscal Documents window, the fields that are specific to RTV are covered below.
Table 4-1 Differences in values for RTV on the Fiscal Documents window
| Field | Value |
|---|---|
|
Fiscal Document section |
|
|
Requisition Type |
This field displays Return to Vendor |
|
Utilization |
This field displays the utilization code for RTV |
|
Document Type |
RTV |
|
Mode Type |
Exit |
|
Header Details section |
|
|
Transportation Details Tab |
The Type list displays External Finisher |
|
Line Item Details section |
|
|
Detail Info Tab |
RTV details are displayed in the RTV secondary tab |
If the Auto Approve parameter for the utilization code is set to 'Yes', an automatic validation happens, and the NF is approved.
If the Auto Approve parameter for the utilization code is disabled, validation and approval of the NF has to be done manually.
From the Options menu in the Fiscal Documents window, select Validate. If there are no errors, the status of NF changes to Validated.
The NF will be in Error status, if errors occur during the validation process. You have to manually edit the NF to resolve validation errors.
After auto approval, or manual approval, print the schedule with the approved NF, and send it along with the shipment.
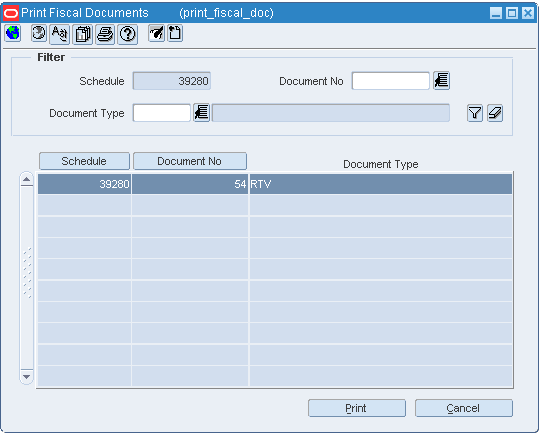
To print the schedule, in the Receiving/Issue Schedule window, select the schedule. From the Options menu, select Print Document. The Print Fiscal Documents window appears.
The Filter section of the Print Fiscal Documents window displays the schedule. Select the Document Type, and click the filter button.
Based on the filter criteria, the records are displayed. Click Print. The PDF is printed.
|
Note: Based on the NF-e line limit set and the item having the grouping attribute flagged or not (ST break out), the shipment is broken into multiple NFs in ORFM. |