| Oracle® Retail Warehouse Management System UI User Guide Release 14.1 E58327-01 |
|


 Previous |
 Next |
| Oracle® Retail Warehouse Management System UI User Guide Release 14.1 E58327-01 |
|
Previous |
Next |
RWMS uses Oracle BI Publisher as the interface for RWMS reports. RWMS reports may be custom-designed by your own organization. The BI Publisher interface is also customized to organize and present the reports available to RWMS users. The BI Publisher tool also exposes its reports as a web service which can be accessed from the Oracle forms.
Click Reports from the top horizontal navigation menu of the RWMS user interface. The Oracle BI Publisher 11g web interface opens on a separate window/tab on your browser.
|
Note: You can use Oracle BI Publisher in your web browser to view reports. The RWMS application is still available and you can continue with the operations. |
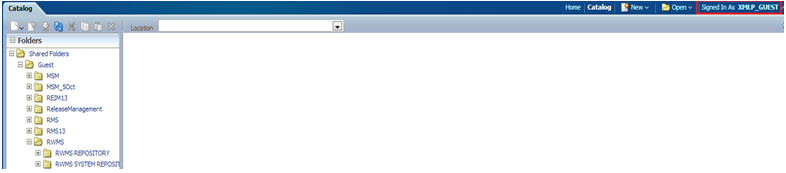
The following figure shows the default view when BI Publisher is opened from the RWMS application.
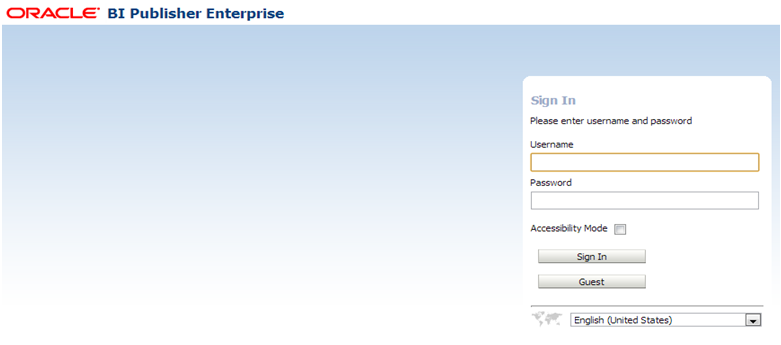
By default, you are logged in as XMLP_GUEST, which is the Guest account. If you need to perform additional operations, you need to log in. Click the Sign In link on the top to go to the login page.
Enter the Username and Password provided by your administrator. You can also log in as a Guest if the option has been enabled by your Administrator. To log in as a Guest, click on the Guest button.
|
Note: A Guest user does not require credentials and has privileges only to view reports available in the Guest folder. |
Select Accessibility Mode to view the Reports home page in an accessible tree structure.
Select the language you prefer for the user interface from the drop-down list.
Click Sign In.
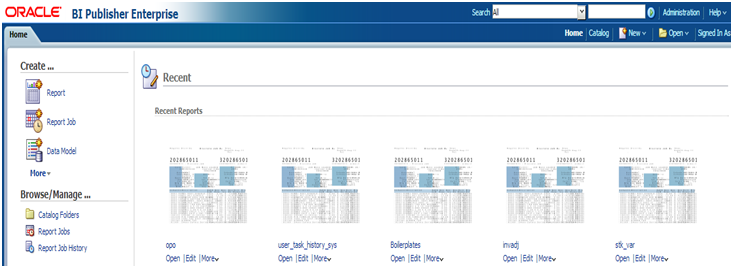
The home screen of the BI Publisher 11g web interface displays all the reports you have accessed/edited recently.
The existing list of reports can be accessed by clicking the Catalog link at the top right of the page, and also from the left navigation menu under Browse/Manage.
The existing list of scheduled reports can be accessed by clicking Report Jobs under Browse/Manage.
New reports can be created by clicking on Report link under Create from the left navigation menu. New schedules for reports can be created by clicking Report Job under Create.
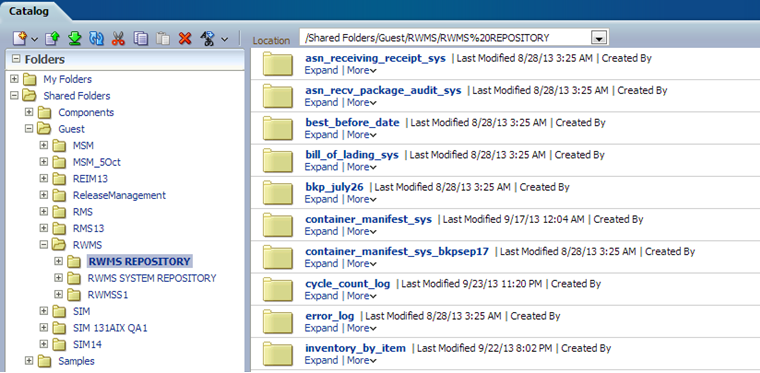
The Catalog view displays a list of all the folders created by you and all the reports in them.
If you are signed in to BI Publisher, you can view, schedule, view history, edit, and configure the report from this view.
To view a report, click on the report name to open its contents.
Click Open.
From the Report view, enter the required data and click Apply.
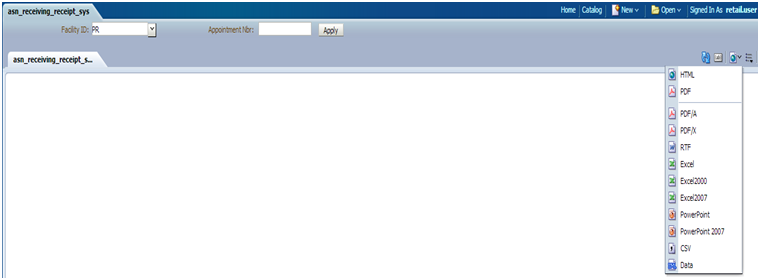
Select the Webpage icon on the top right corner to choose your desired output type, such as, PDF, Excel, CSV, XML, and so on.
If you want to save a report, you need to export it. The generated report can also be exported to the desired format.
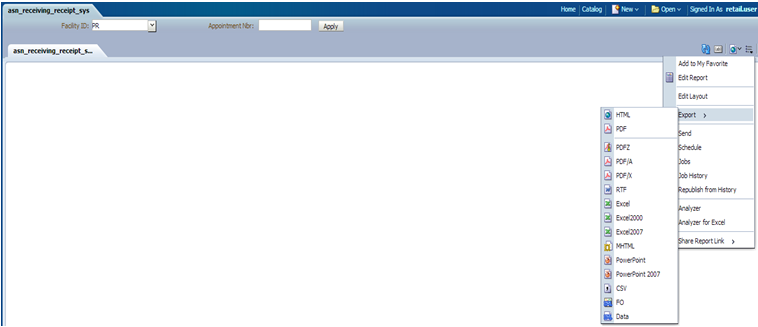
To print the generated report, click Send or Schedule from the drop-down list shown in the preceding figure.
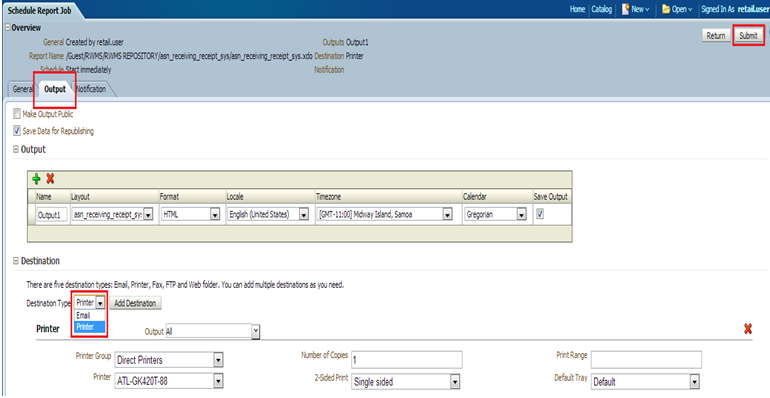
On the next page, click the Output tab.
From the Destination part, select Destination Type as Printer.
Click on Submit to print.
To print the generated report, click Send or Schedule from the drop-down list shown in Figure 15-8.
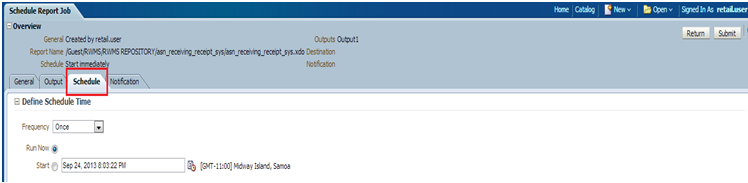
On the next page, click the Schedule tab.
Set your frequency and other required parameters and click Submit.
The Administration link is enabled only if you have logged in with Administrator privilege. Your system administrator sets up the various parameters required to view/edit reports. It allows the administrators to perform administrative tasks such as system maintenance, integration, adding new database connections, printers, and so on.