| Oracle® Retail Warehouse Management System UI User Guide Release 15.0 E66766-01 |
|


 Previous |
 Next |
| Oracle® Retail Warehouse Management System UI User Guide Release 15.0 E66766-01 |
|
Previous |
Next |
This chapter describes how to navigate within Oracle Retail Warehouse Management System (RWMS).
Use the following procedures to log on or exit the application.
|
Note: Compatibility View must not be used when you access RWMS using Internet Explorer 9. |
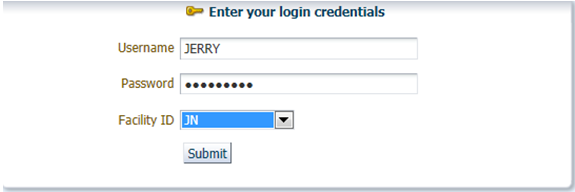
When you access the application, the User Logon window opens.
In the User Logon window, enter the user ID in the Username field.
|
Note: You can use the TAB key to move to the next field. However, you cannot use the Enter key to move to the next field and an error message displays. |
Enter the password in the Password field.
After entering the user ID and password, go to the Facility ID field. Enter the facility ID or select an ID from the drop-down list.
Click Submit. The RWMS User Interface opens.
|
Note: Only one instance of a User ID must be logged into RWMS at a time. |
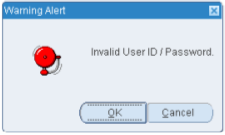
If you enter a wrong ID, password, or facility ID, you receive an error message as shown in .
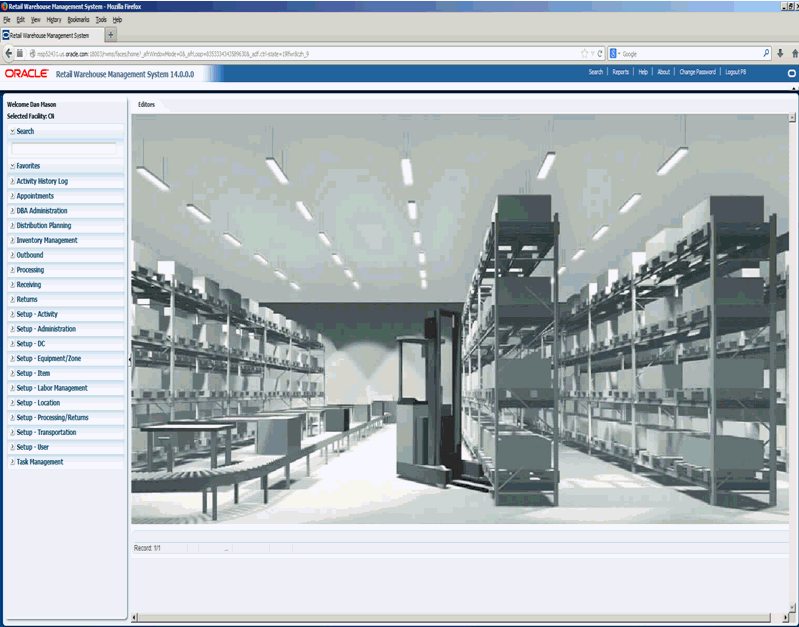
Before you begin using the Oracle RWMS user interface, familiarize yourself with the basic components and layout, which includes:
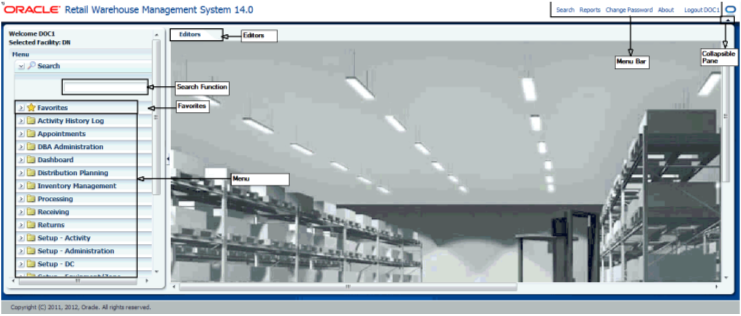
shows the RWMS user interface, including its basic components and layout.
The horizontal bar at the top-right corner of the window is the Menu bar. It comprises menu options such as:
Search: Displays the Search and select your form window. This window allows the user to search for a form by its functional area or name.
Reports: Displays the Oracle BI Publisher Enterprise web page in a new window.
Change Password: Displays a window where you can replace an existing password with a new one.
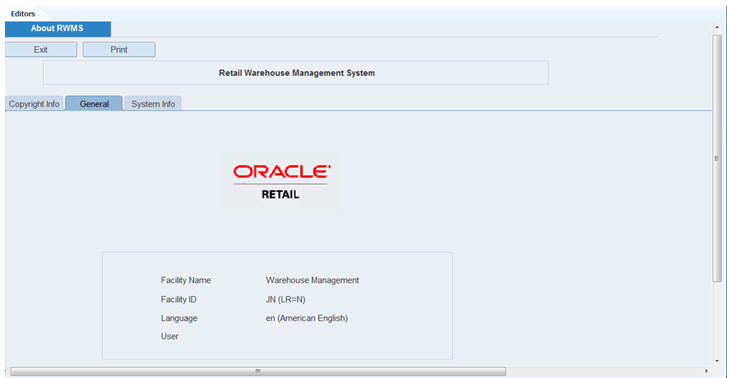
About: Displays information about the RWMS application such as copyright information, facility name and ID, language, user, patch number, and registry information. This information is segregated under three tabs: Copyright Info, General, and System Info. The General tab opens when you click the About link.
Logout: Allows the user to log out of the RWMS application.
A small arrow button is available in the top-right corner of the window that allows you to collapse or expand the application pane. When you log in to RWMS, the Menu bar displays. If you collapse the pane, the Menu bar is hidden. To view the Menu bar, click the button again to expand the pane.
The left navigation menu displays panels representing various functionalities of the application. Each panel in the menu can be expanded to access corresponding functionalities. The panels that can be accessed from the left menu are as follows:
Search
Favorites
Activity History Log
Appointments
DBA Administration
Distribution Planning
Inventory Management
Outbound
Processing
Receiving
Returns
Setup - Activity
Setup - Administration
Setup - DC
Setup - Equipment/Zone
Setup - Item
Setup - Location
Setup - Processing/Returns
Setup - Transportation
Setup - User
Task Management
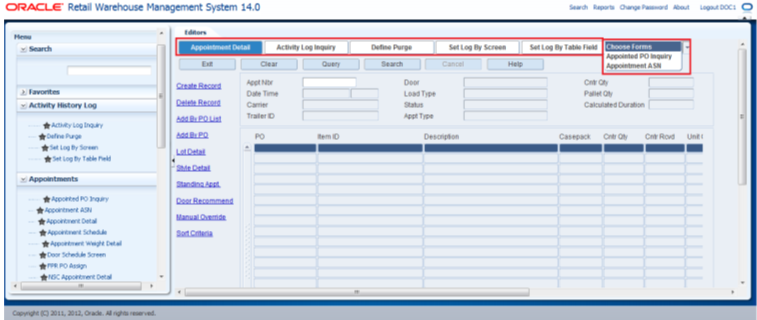
While the menus and submenus appear on the left pane, the right pane, known as the Editors, displays the window for the selected submenu. You can use the window for the required functionality in the Editors pane. When a user selects any link from the menu to open a GUI window, a button becomes visible in the Tab area with the title of the window it is linked to.
|
Note: A maximum of six tabs can be shown on a window. These tabs show the six most recently used windows. When the count of open windows goes beyond six, a combo box displays for the remaining windows (which are not recently used) as shown in . |
|
Note: Only windows selected from the Main Menu open in different tabs. When you click the links from within an open a window (for example, Create Record), these windows open in the same tab.An open window cannot call other windows if a chain of called windows has been initiated by another open window (in a different tab). |
The Search function helps you in accessing the menu option for the submenus that you are not aware of. For example, suppose you type %editor in the Find Menu, all the menu options that have editor as part of the name for that user's language are displayed.
|
Note: The use of wildcard(%) is not mandatory during the search operation. The search string is not case-sensitive. |
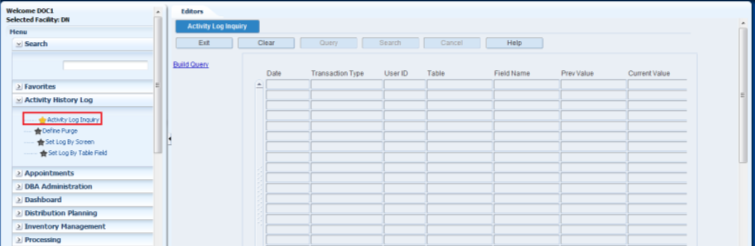
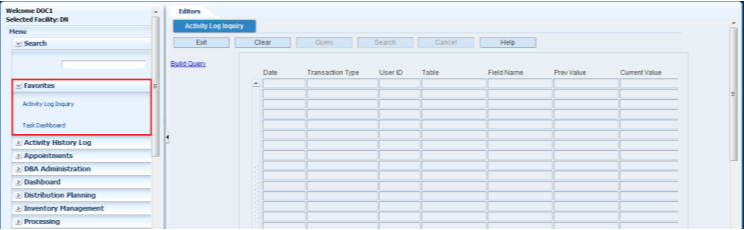
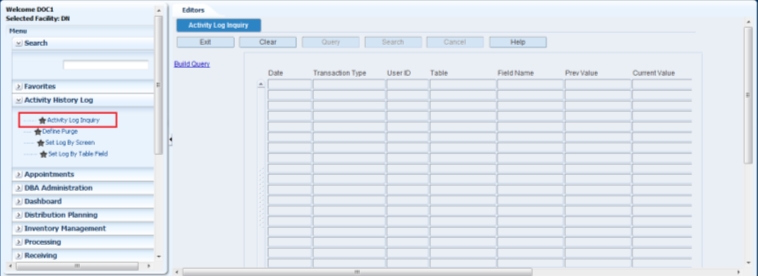
You can save common tasks into your menu.
To add submenu options to Favorites: Select menu > submenu option and select the star next to it. The star changes color from gray to yellow, the submenu is added to Favorites and becomes part of your custom menu.
When you login to the RWMS application, a custom menu displays in alphabetical order under Favorites.
To delete a submenu from Favorites: Select menu > submenu option and clear the star next to it. The star changes color from yellow to gray and the submenu is removed from Favorites.
|
Note: You can create any number of favorites as there is no limit to the number of favorites that you can add to your custom menu. |