The Schema Explorer represents the other major component of the Explorer. This represents a virtual schema that Kodo Workbench maintains, regardless of your database configuration. This allows you to edit, drop, and otherwise manipulate your virtual schema without long term effects on your database schema. You can drag and drop schema objects from the explorer into appropriate places into the mapping info editor, such as foreign key tables, column selections, and table text fields.
Having run Create Default Mapping, Kodo has built us a default schema in addition to writing mapping information into the MappingFactory (a Passenger.mapping file by default). Like the MetaData Explorer, the Schema Explorer also has two levels of actions, Root Schema Actions and general Schema Actions.
Root Schema Actions allow you to synchronize Kodo Workbench's schema with the actual database schema, generate database change scripts, and other database wide maintenance tasks. Schema Actions are actions that are sensitive to what node they are on. For example, at the schema level or lower, there is the option to drop the object from the schema. You can edit tables, add new schema objects, and more.
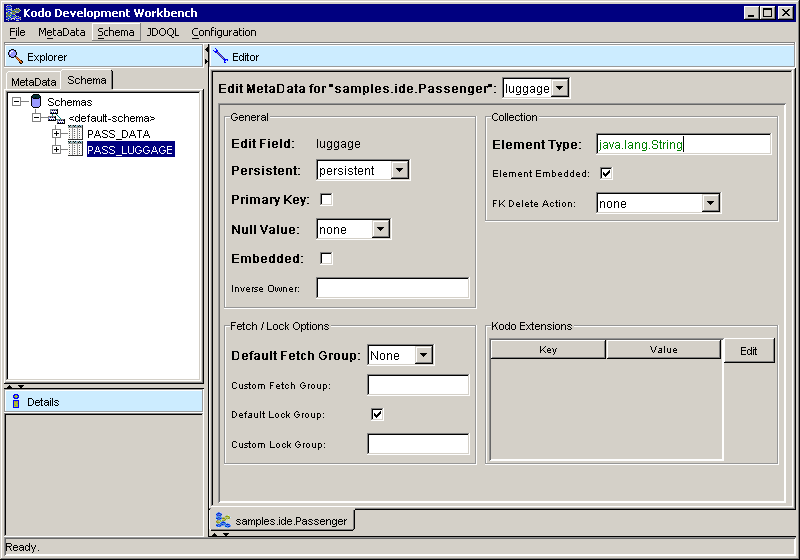
Continuing our tutorial, we want to use a pre-created sample database to map our newly persistent classes to. Select the Schemas node, and select Refresh Schema From DB. We'll see Kodo's auto-generated tables replaced by two new ones, PASS_DATA and PASS_LUGGAGE.
![[Note]](img/note.gif) | Note |
|---|---|
Important to note is that the virtual schema maintained by Kodo Workbench is treated like a source file. In other words, changes have to be explicitly saved back to the persistent store of Kodo Workbench. This is accomplished by selecting Save from the Schema menu. | |
We recommend saving your Schemas at this point in the tutorial in case you want to leave Kodo Workbench later in the process.