Previous Next vertical dots separating previous/next from contents/index/pdf

Step 2: Setting Up a New Enterprise Application

In this step, you will create the framework for a new application. The tasks in this step are:

Workshop for WebLogic organizes the files and components of your application in the following way:

When starting an enterprise application, the normal process is to

  1. Create a new workspace for the application
  2. Create an enterprise application project to link all of the application's projects (web applications, EJBs, etc.)
  3. Create projects for the modules within the application
  4. Create the project contents.

Workshop for WebLogic uses the following project types:

Project Type Project Contents

Enterprise Application (EAR) project

- links component projects of the enterprise application for deployment and archiving

- utility and EJB projects added to the EAR project are available on the build path of other projects in the EAR

JAR files and deployment descriptors
build files and auto-generated files
Enterprise JavaBeans (EJB) project

entity beans
session beans
message-driven beans
Java source files

Dynamic Web Project

- web applications

page flows (Java, JSP)
web files (HTML, CSS, etc.)
Java source files

Web Services Project

- web services

web services files (WSDL, Java)

Utility project

- shared controls
Java source files

Note that the Eclipse platform provides other types of projects, but these are not enabled with the Workshop for WebLogic features.

To Create a New Workspace for the Tutorial Application

When you started Workshop for WebLogic, it prompted you for the name of your workspace. For this tutorial, you will be creating sample files and we recommend that you use a separate workspace.

To create a new workspace:
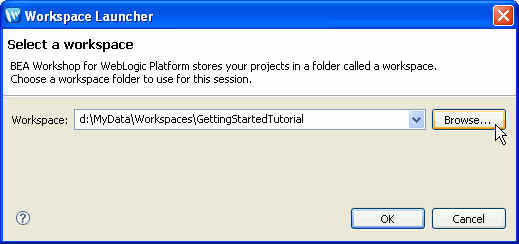
  1. Click File > Switch Workspace.

  2. In the Workspace Launcher dialog, you can simply type a path for the new workspace and click OK to create the new workspace and switch to it.
  3. Alternately, click Browse and then click Make New Folder and create a new folder. Click OK. Click OK to choose the new folder as your workspace.
  4. WebLogic for Workshop will close the workbench window and open a new window showing the contents of the new workspace (currently empty).


To Create an Enterprise Application project

Enterprise Application projects:

Enterprise application projects appear as siblings to the other projects in a workspace but functionally, they link together projects and do not contain any of the content of your application. A single web project (which does not contain a web service) can be deployed without an enterprise application project, but more complex applications require an enterprise application project for correct deployment. Enterprise application projects are also called EAR projects because they can be used to generate an Enterprise Archive (EAR) file for remote deployment.

To create a new enterprise application project:
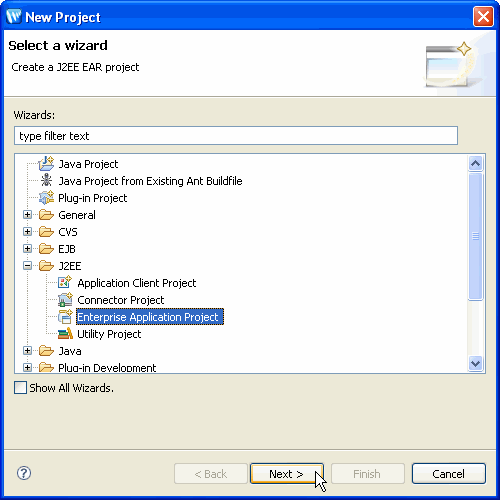
  1. Click File > New > Project...
  2. In the New Project dialog, expand J2EE, click Enterprise Application Project, then click Next.

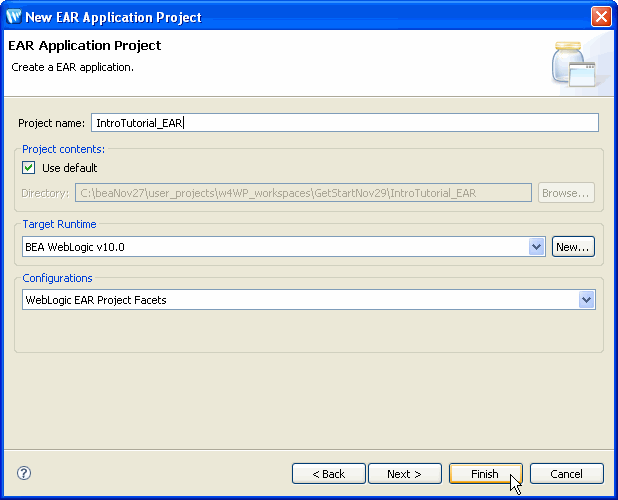
  3. In the New EAR Application Project dialog, in the Project name box, enter the name IntroTutorial_EAR and then click Finish.

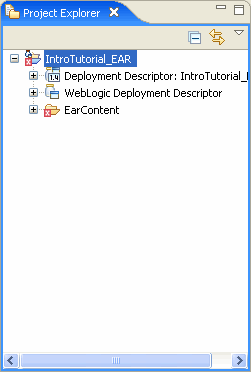
  4. The Project Explorer view displays a hierarchical list of the files and folders in the current workspace and now shows that Workshop for WebLogic has created a top-level directory for your EAR project.

Note that a problem marker (the red square with an X in it) may display on the folder icon for IntroTutorial_EAR in the Project Explorer view.

To see a description of the problem, click on the Problems view at the bottom of the workbench.

Markers will appear and disappear as you create the various files in your application and fill in required components. If you believe a marker is displayed incorrectly, try clicking Project > Clean from the menu.


Related Topics

Applications and Projects

Click one of the following arrows to navigate through the tutorial:


Skip navigation bar   Back to Top