Step 1. Setup Web Project and Connect to Database
Time to complete this step: 15 minutes
In this step, you will create a new web applcation project and connect to
a database.
The tasks in this step are:
Configure WebLogic Server
In this step you will add a WebLogic Server domain for use with Workshop.
This server domain contains runtime libraries required by the application
and the application will be deployed to this server.
Note that this tutorial requires WebLogic Server version 10.0.
Create a New Web Project
- Choose File > New > Example .
- In the New Example dialog, select JPA > Workshop
JPA Tutorial from the list.
- Click Next.
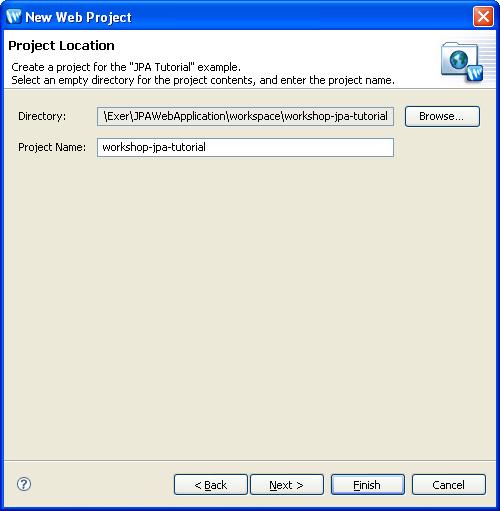
- Verify that the value workshop-jpa-tutorial is in the
project name field and click Next.
- If a license dialog appears, click I Agree.
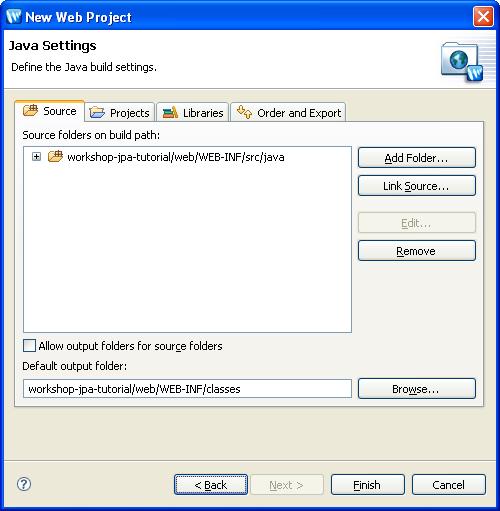
- Review the Java build settings. By default, workshop-jpa-tutorial/web/WEB-INF/src/java is
selected as the source folder and workshop-jpa-tutorial/web/WEB-INF/classes as
the output folder.
Click Finish to create the new
project.
To Create a New Database Connection
In this step, we will learn how to explore databases using the DbXplorer™.
Workshop allows you to connect to any database, analyze
database schemas, tables, columns, and populate the database with sample
data.
The DbXplorer provides an intuitive interface for database access through
Workshop. It allows you to setup the database connection, review the database
artifacts, query the data in an existing table or column, and generate object
relational mappings.
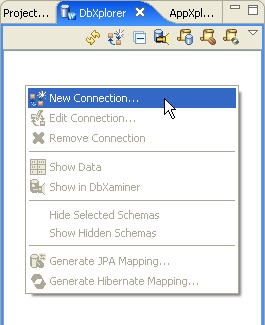
- Select the DbXplorer view
- Right-click anywhere within the body of the DbXplorer view
and select New
Connection.
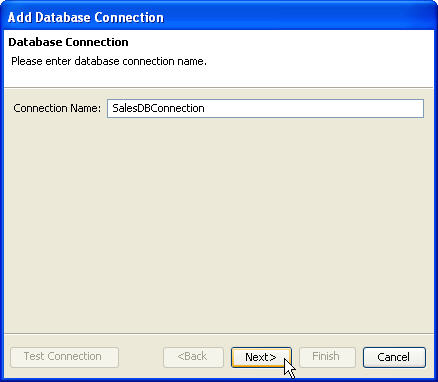
- In the Add Database Connection wizard, enter a database
connection name. The database connection name can be arbitrary and does not
need to match the actual name of the database server.
For this tutorial, use the name SalesDBConnection.
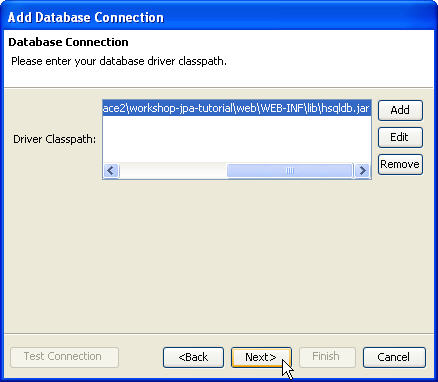
- In the Add Database Connection dialog, click Add
and browse to the Hypersonic JDBC driver file, <path to workspace>\workshop-jpa-tutorial\web\WEB-INF\lib\hsqldb.jar.
Click Next.
- Workshop provides sample Database URL's for some standard databases, which
can be accessed from the Populate from database defaults
pull down menu. Select HypersonicSQL In-Memory.
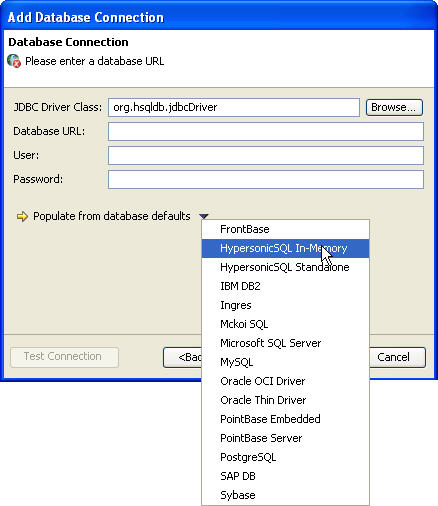
- In the Database URL field, replace the curly brackets
{db filename} with the location of the Hypersonic database
script file, using the following syntax: <absolute path
to workspace>\workshop-jpa-tutorial\web\hsqlDB\SalesDB.
- In the User field, enter sa.
- Click the Test Connection button to verify the connection
information.

- In the Information dialog, click OK.
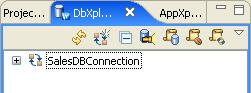
- In the Add Database Connection dialog, click Finish.
The new database connection should now appear in the DbXplorer view.
Browse Database Artifacts using DbXplorer (Optional)
In this step, you will use the DbXplorer view to browse database artifacts.
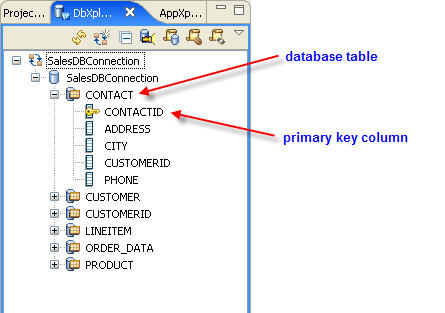
- In the DbXplorer view, expand the nodes inside the SalesDBConnection
node. You can view the individual tables and columns. Observe that the DbXplorer
view denotes which columns have been designated as primary keys.
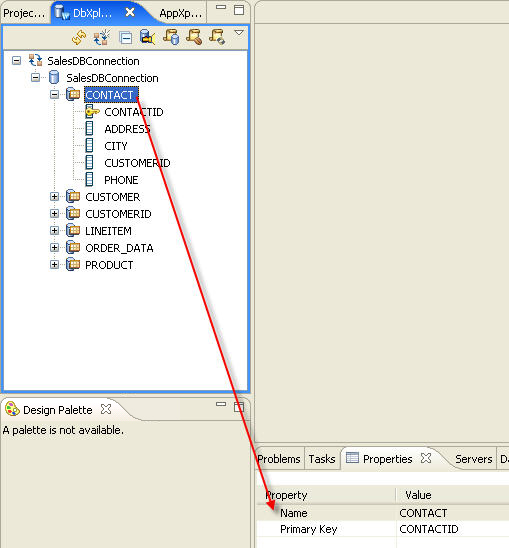
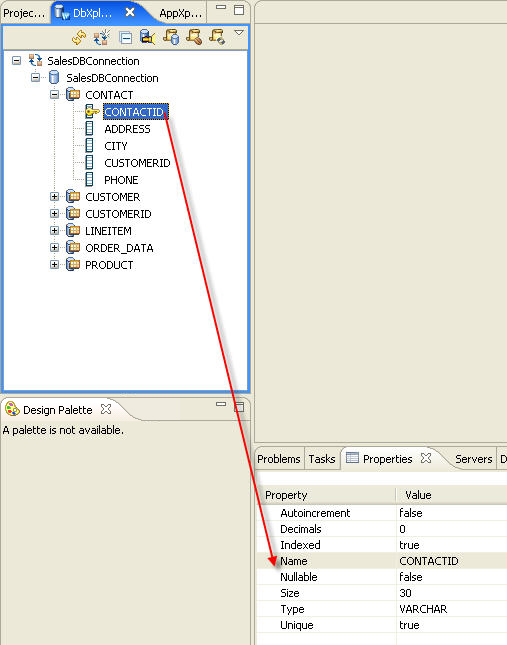
- While browsing database artifacts, the Properties view
displays the relevant properties of the component.
Click one of the following arrows to navigate through the tutorial:
Still need help? Post a question on the Workshop
newsgroup.