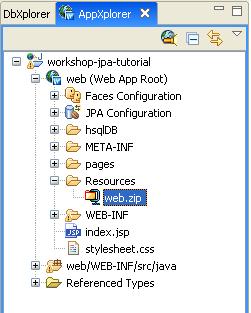
In this step, we will import a web application that incorporates the database connection, entities and Java classes we've created in this tutorial. This application includes DAO classes, JSPs and servlets. After importing the application, we will create a new server and run the application.
The tasks you will complete in this step are:
The imported application includes data access objects and a managed bean. The project is also completed by the importing of a faces-config.xml file which manages the navigation of the application and the JSPs that comprise the user interface.
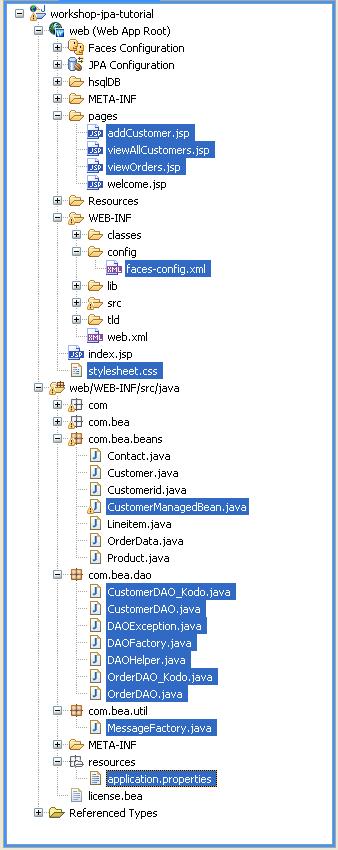
For the web application project workshop-jpa-tutorial the Data Access Layer objects are in the package com.bea.dao. Review the objects in this package.
The DAO layer is responsible for providing access to the backend database using Kodo JPA which is an Oracle implementation of Sun's Java Persistence API (JPA) specification for the transparent persistence of Java objects.
- DAOFactory.java - The DAOFactory is a factory class for creating DAO instances, which uses JPA for persistence. It defines public methods for retrieving the data access objects.
public CustomerDAO getCustomerDAO() {
return new CustomerDAO_Kodo();
}
public OrderDAO getOrderDAO() {
return new OrderDAO_Kodo();
}- DAOHelper.java - This class creates an EntityManagerFactory instance using the persistence unit name as defined in the persistence.xml. Also it has a method to close the EntityManagerFactory that has been instantiated.
- public static EntityManagerFactory createEntityManagerFactory (String name)
{
EntityManagerFactory emf = Persistence.createEntityManagerFactory(name);
return emf;
}- public static void closeEntityManagerFactory (EntityManagerFactory emf) {
try{
if(emf != null){
emf.close();
}
}catch(Exception e){ }
}
- CutomerDAO.java - The CustomerDAO is an interface which defines methods for retrieving the customer details.
- public interface CustomerDAO {
- public void addCustomer(Customer customer) throws DAOException;
public Customer getCustomer(Integer customerId) throws DAOException;
public Customer[] getAllCustomers( ) throws DAOException;
}
- CutomerDAO_Kodo.java - The CustomerDAO_Kodo class implements the CustomerDAO interface and uses the JPA API for retrieving and storing Customer data.
- For accessing the database the JPA API implements the following initial steps:
- Create EntityManagerFactory instance for a particular persistence unit.
- Create EntityManager to access a database in a particular unit of work.
EntityManager em = null;
EntityManagerFactory emf = null;emf = DAOHelper.createEntityManagerFactory("unitK");
em = emf.createEntityManager();
- The method getCustomer(...) uses the Query object to get information from the database
Query query = em.createQuery(
"SELECT c FROM Customer c where c.customerid = ?1")
.setParameter(1, customerId);
List results = query.getResultList ();
for (Object res : results)
customer = (Customer) res;- The method addCustomer(...) stores the Customer data in the database.
tx.begin();
em.persist(customer);
tx.commit ();
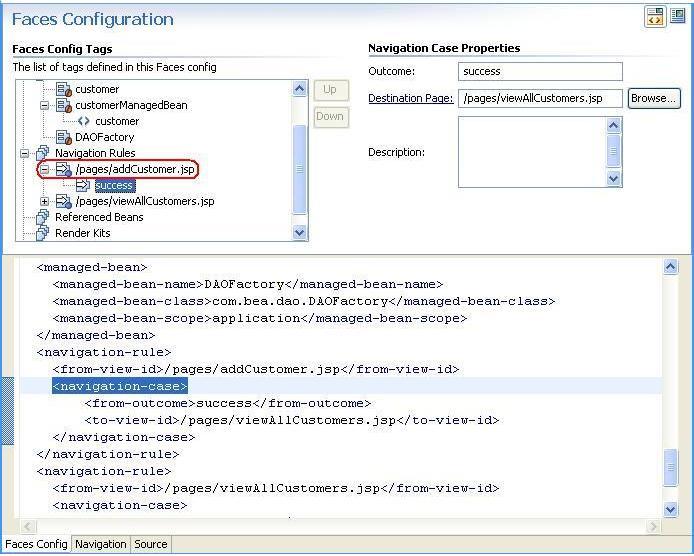
The web/WEB-INF/config folder contains the faces-config.xml file that configures the Managed Bean configurations and Navigation Rules for the web application.

In this step you will add a WebLogic Server domain for use with Workshop. This server domain contains runtime libraries required by the application and the application will be deployed to this server.
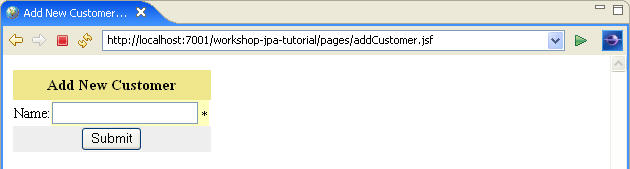
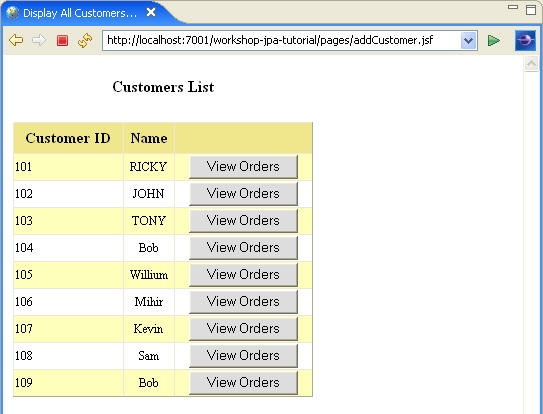
The application calls addCustomer( ) action method of the CustomerManagedBean and forwards the request to viewAllCustomers.jsp,
if the customer is added successfully. The viewAllCustomers.jsp gets the customers
list using the <h:dataTable> component and displays it as shown below.
Click the arrow to navigate to the previous step in the tutorial:
|
|