In this step you'll run the test against the control class.
In this step, you will:
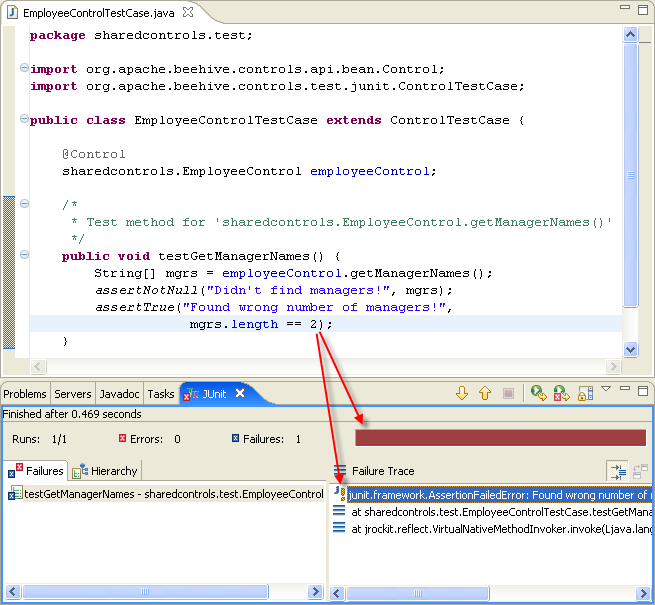
The JUnit view will look like the following. The red bar indicates that the test has failed and an error message is shown.
Notice that at no time during this test was a server started, the test was running in a pure JUnit environment. The only special class used was a standard sub-class of TestCase. (This is not universally true for all controls. In cases where the control takes a dependency on a server-bound resource, the control cannot be thoroughly tested in a pure JUnit environment.)
Also, notice that the setup of the test case was very straight forward. Most of the setup was in making sure the test class lived in its own source folder. By extending ControlTestCase and letting the JUnit wizard generate the stub methods, all you had to do was write your test code.