In the configuration section, select the Facelet 1.0 Project. Skip the next panel to get to the JSF Capabilities page.
Summary
In this tutorial we will build and execute a JSF Facelets application and highlight the features contributed by the JSF Facelets Tools Incubator Project.
In this tutorial we will create and execute a web application
using the JSF Facelets technology. Facelets is an extension to JavaServer Faces(JSF) that uses XHTML syntax to define a JSF page. The JSF Facelets Tools
project is a WTP incubator project that has provided features that
simplifies building web applications using Facelets. The tool enables
the current features of the JSF Tools Project to be used in a dynamic web project
for Facelets. These include an enhanced HTML Source Editor that provides
Content Assist and Validation for Facelets Tags.
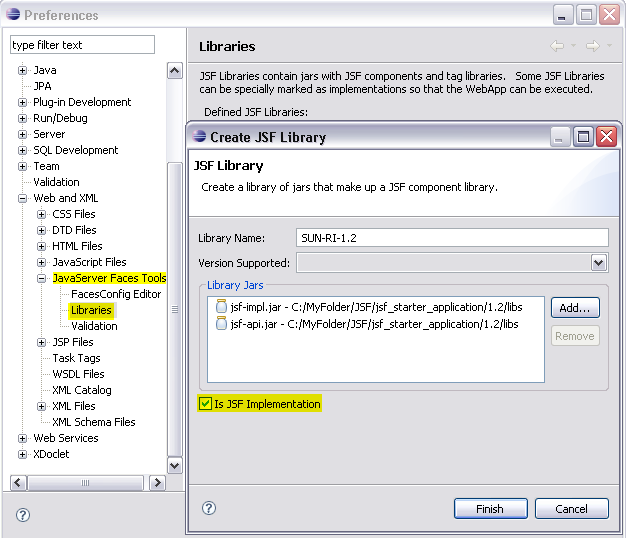
This feature allows for a named sets of jars to be created for
use with JSF Applications. We will be creating a library containing the
Sun JSF RI
Select Windows->Preferences->Web and XML->->JavaServer Faces
Tools->Libraries. Click on the New.. button to add a new library.
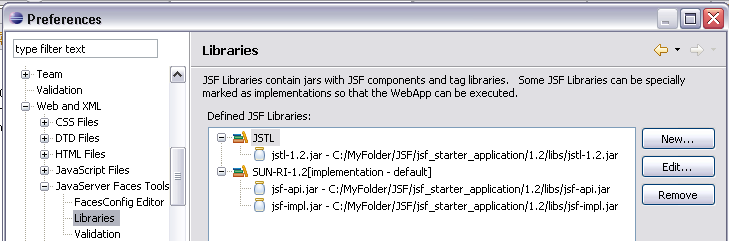
Create the JSF Libraries as shown in the following figures. Check the is
JSF Implementation check box when adding the Sun JSF RI library.
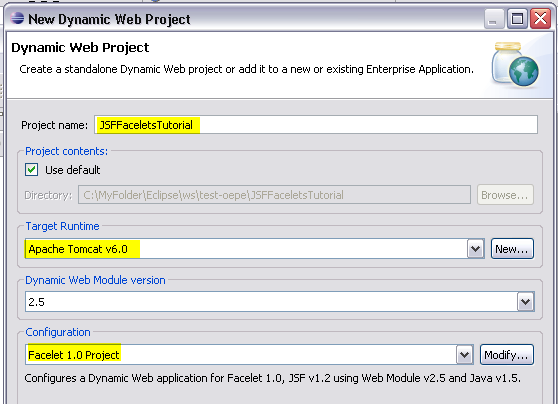
Create a New Dynamic Web Application with the name of JSFFaceletsTutorial.
Set the target runtime to the Apache Tomcat 6.0
In the configuration section, select the Facelet 1.0
Project. Skip the next panel to get to the JSF Capabilities page.
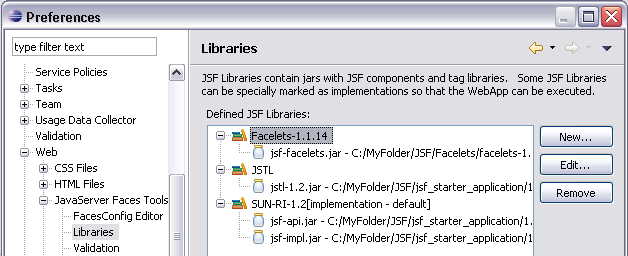
On the JSF Capabilities page, select the radio button adjacent to
the JSF Library JSF-RI-1.2. Add the JSTL and Facelets
1.1.14 libraries.
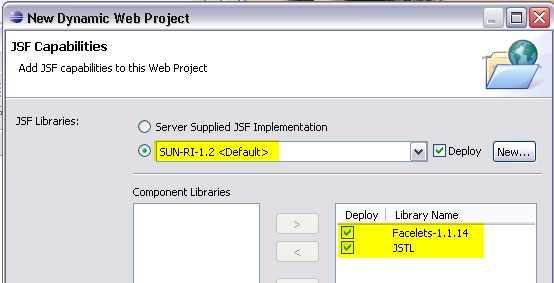
![]() If you
deploy the JSF web application to a server runtime that includes the JSF
1.2 reference implementation, then you should select the Server
Supplied JSF implementation option.
If you
deploy the JSF web application to a server runtime that includes the JSF
1.2 reference implementation, then you should select the Server
Supplied JSF implementation option.
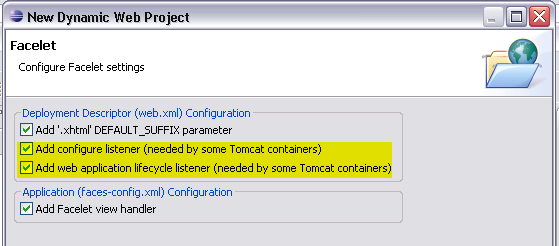
On the Facelet page, select all the checkboxes.
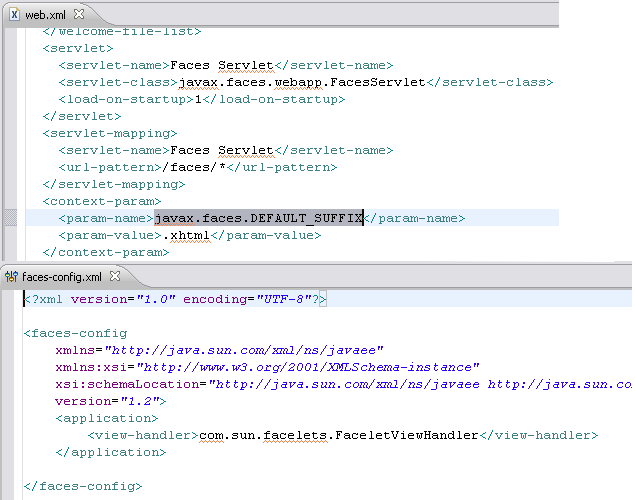
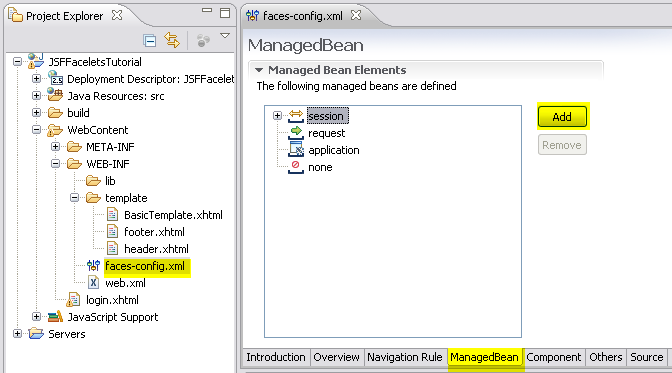
Your JSF application has been created. Note that the web.xml file
has been updated with the Faces Servlet and servlet-mapping, the default
suffix for a JSF page has been set to XHTML. A JSF application
configuration file (faces-config.xml) has been created and configured to
use Facelets as the view handler.
 Edit the template file following the instructions in the template. You
will create and include the header and footer templates. Your final
template file should be as shown below.
Edit the template file following the instructions in the template. You
will create and include the header and footer templates. Your final
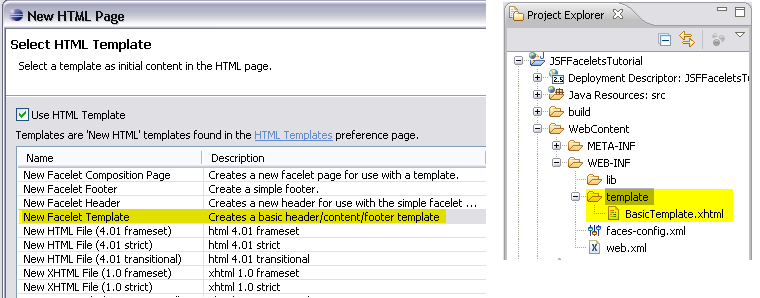
template file should be as shown below. 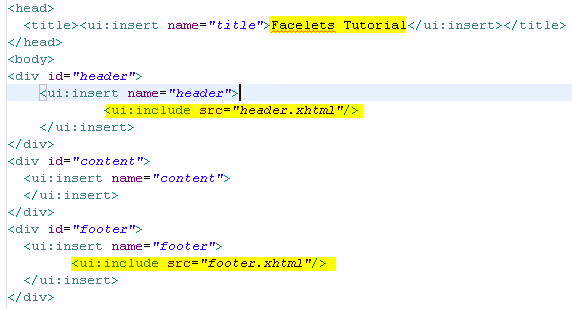 Create the header and footer templates under the template folder
using the New HTML Wizard as described above. In the Select
Template page of the wizard, choose the corresponding template files, New
Facelet Header and New Facelet Footer. Make changes to the
templates as shown below.
Create the header and footer templates under the template folder
using the New HTML Wizard as described above. In the Select
Template page of the wizard, choose the corresponding template files, New
Facelet Header and New Facelet Footer. Make changes to the
templates as shown below. 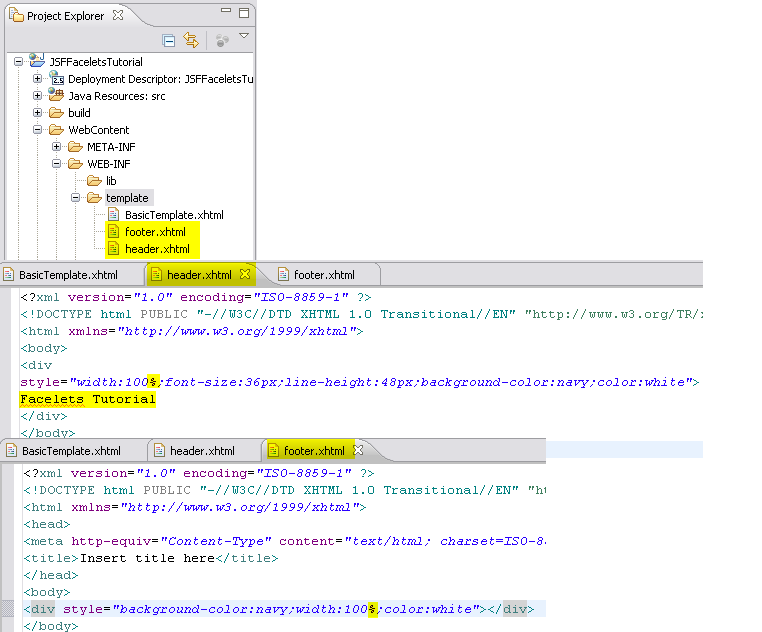
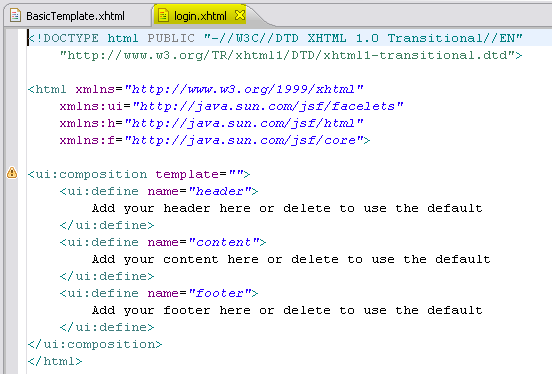
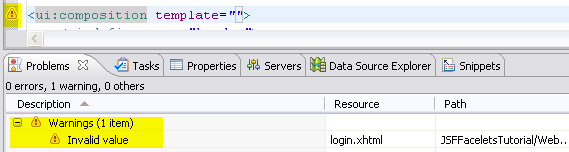
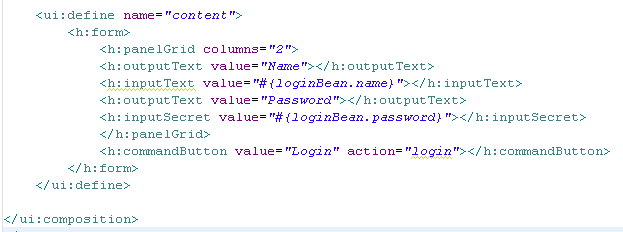
Create a JSF page with Facelets tags that will use the template
created in the previous step. Use the HTML Page wizard to create a page
called login.xhtml in the Web Content folder of the new
application. In the Select Templates page of the wizard, select the New
Facelet Composition Page template. Click Finish.

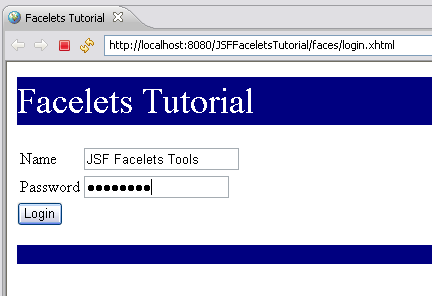
You will now execute the login.xhtml page against the
Apache Tomcat server. Choose Run on Server using the context menu
while selecting the login.xhtml page in the navigator. Choose
your Apache Tomcat server and set it up as required if you had not
already done so. Click Finish. You should see from the Console view that
the Tomcat server starts and then you should see the executing login
page appear in the Web Browser like below.
Congratulations! You have created and executed your first JSF Facelets application using the Eclipse WTP Incubator JSF Facelets Tools Project.