Oracle WebLogic Server Support: Editing Deployment Plans
Using a deployment plan, you can optionally define or override Oracle WebLogic Server tuning parameters to optimize the use of resources in the target environment.
This document is based on a sample application and describes the following:
- Overview of a Sample Application
- Creating a New Deployment Plan
- Editing a Deployment Plan
- Using an Existing Deployment Plan to Configure an Application
- Related Information
1. Overview of a Sample Application
The sample application used in this tutorial is a Java EE Ear project with a single Web module. The context root of the Web module is defined in theweblogic.xml file.
This document describes steps that you take to create and edit a WebLogic deployment plan to override the context root with a custom value, as Figure 1 shows.

Figure 1. The Sample Application - weblogic.xml File
2. Creating a New Deployment Plan
Using OEPE, you can create a new deployment plan by following this procedure:- Open the Java EE perspective by selecting Window > Open Perspective > Other > Java EE from the Eclipse IDE main menu.
- Right-click the Project Explorer and select New > Other from the drop-down menu. On the New dialog, select WebLogic Descriptors > WebLogic Deployment Plan, as Figure 2 shows, and then click Next. This will open the New WebLogic Deployment Plan > File Name and Location dialog.
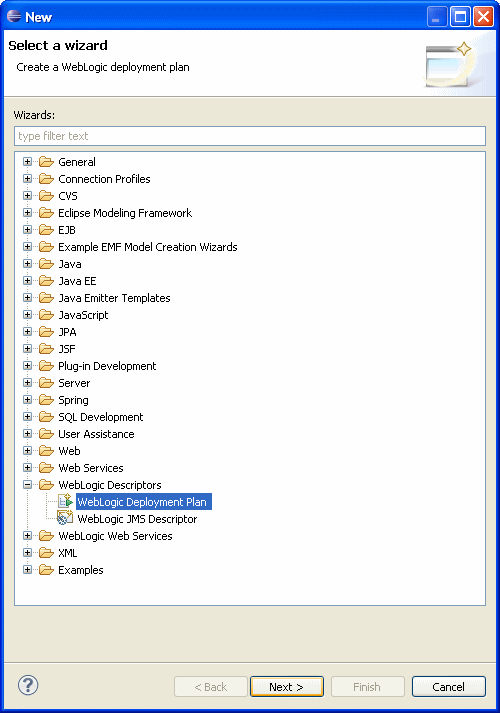
Figure 2. Creating New Deployment Plan
- On the New WebLogic Deployment Plan > File Name and Location dialog, shown in Figure 3, select the parent folder and provide the name for your deployment plan, and then click Next.

Figure 3. New WebLogic Deployment Plan Wizard - File Name and Location - On the next New WebLogic Deployment Plan > Target Application and Options screen, shown in Figure 4, select the target application, target Oracle WebLogic Server runtime, optionally specify whether or not to invoke
weblogic.PlanGeneratorto generate default variable definitions, and then click Finish.
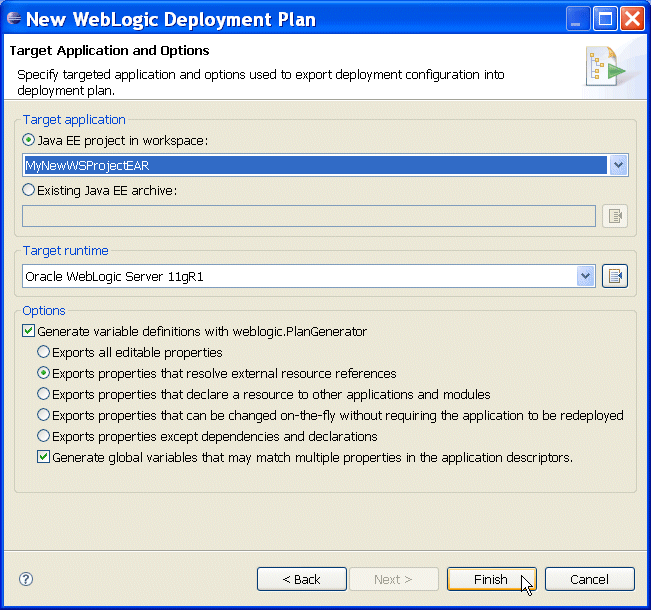
Figure 4. New WebLogic Deployment Plan Wizard - Target Application and Options
Upon the completion, the New WebLogic Deployment Plan wizard opens the deployment plan in the the deployment plan editor for further modifications.
The editor, shown in Figure 5, consists of the following parts:
- A tree control on the left.
- An edit page on the right - when you select a node in the tree, the editor will display an appropriate edit page.
The tree control is represented by the following main nodes:
- General - lets you modify the application name, server and deployment plan versions, the external configuration root, and provide the deployment plan description.
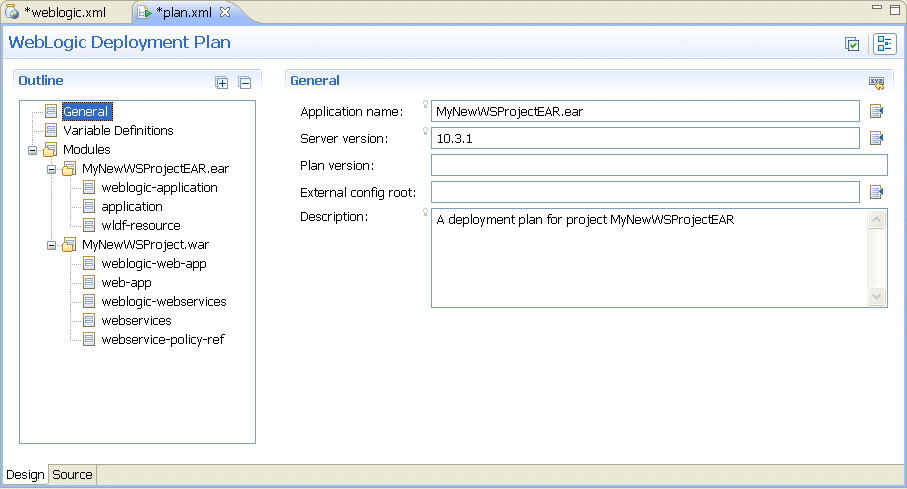
Figure 5. Deployment Plan Editor - General
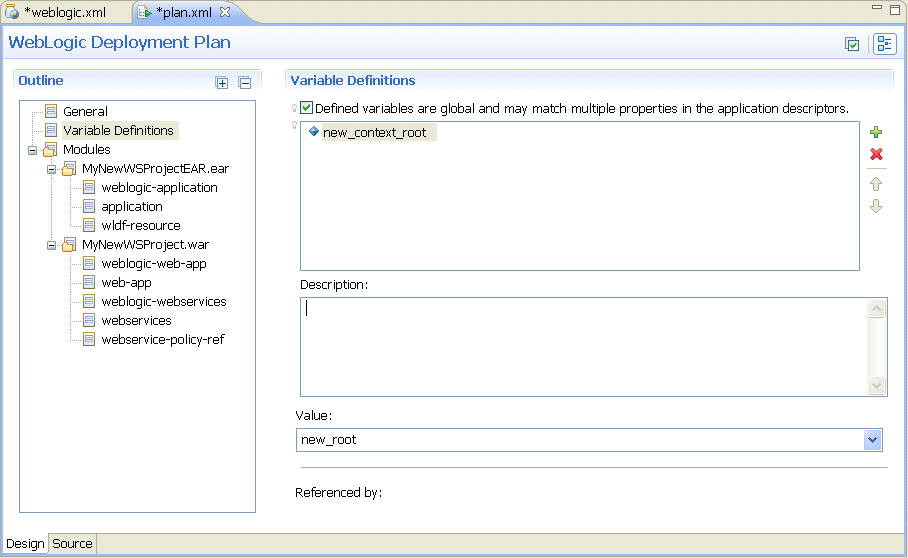
- Variable Definitions - lets you define new variables. To create a new variable, select the Variable Definitions node, and then click + (Add) on the edit page to expand the area.
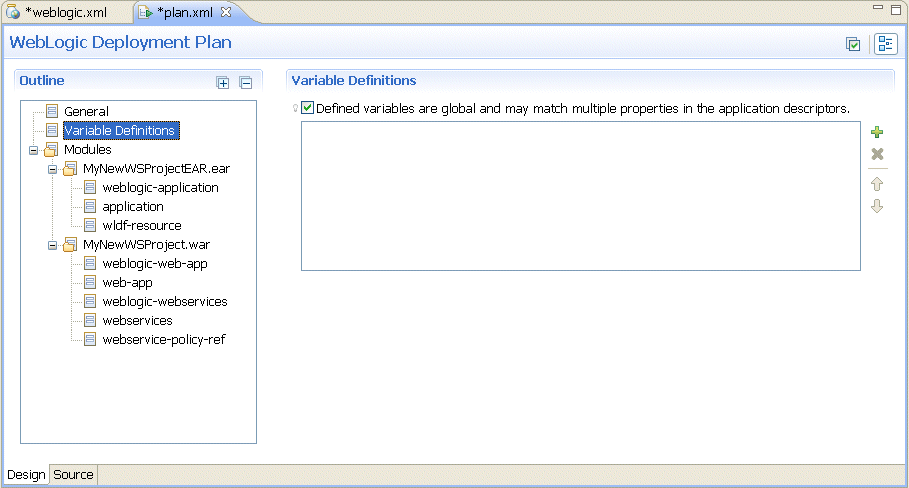
Figure 6. Deployment Plan Editor - Variable Definitions
- Modules - lets you specify existing or add new modules by clicking Add a module override, as Figure 8 and Figure 9 show.
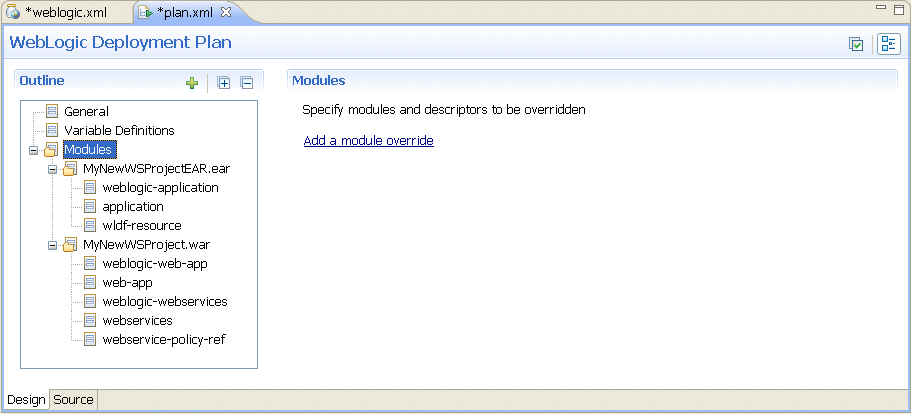
Figure 8. Deployment Plan Editor - Modules
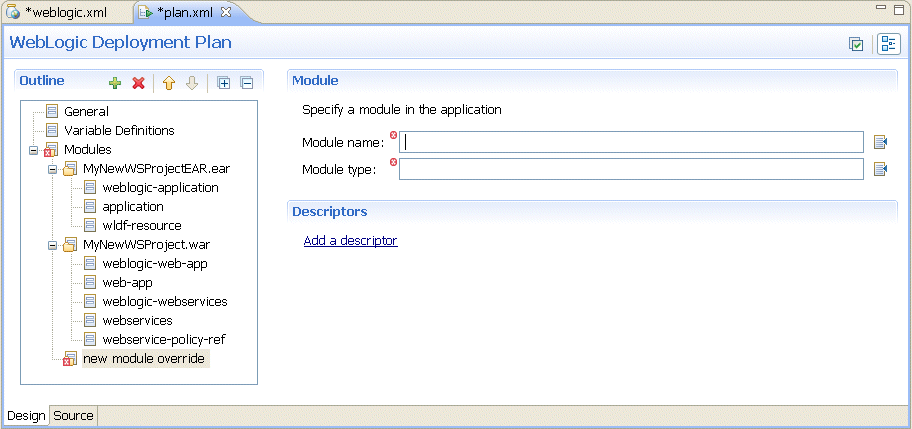
Figure 9. Deployment Plan Editor - Specifying Modules
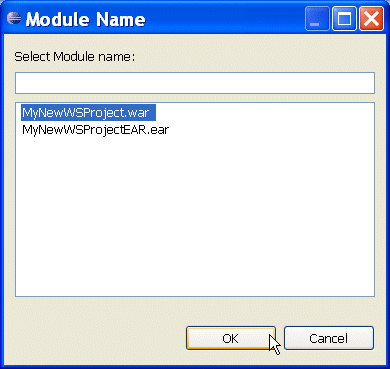
Click Browse next to the Module Name field to open the Module Name dialog, shown in Figure 10. Select an existing module or add a module override to the deployment plan.
To add a deployment descriptor, click Add a descriptor on the Modules editor page, as Figure 11 shows.
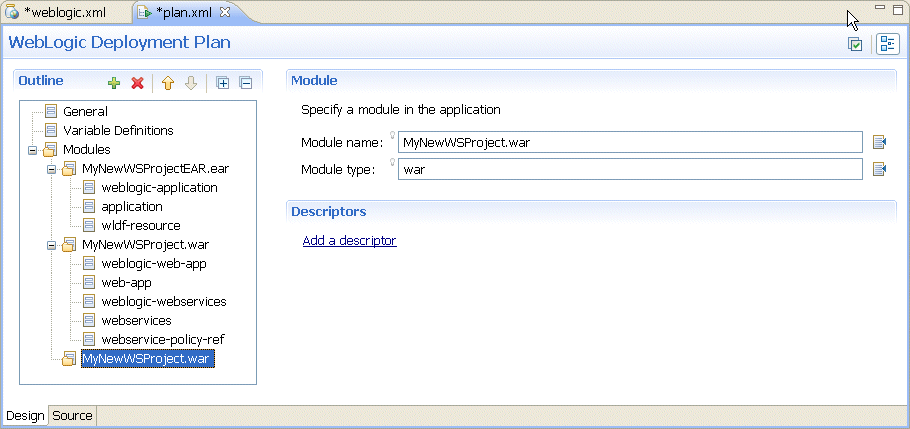
Figure 11. Adding a Deployment Descriptor
Specify the descriptor URI by clicking Browse next to the URI field on the Descriptor editor page, as Figure 12 shows. This will display the Select the URI of the descriptor dialog, shown in Figure 13.
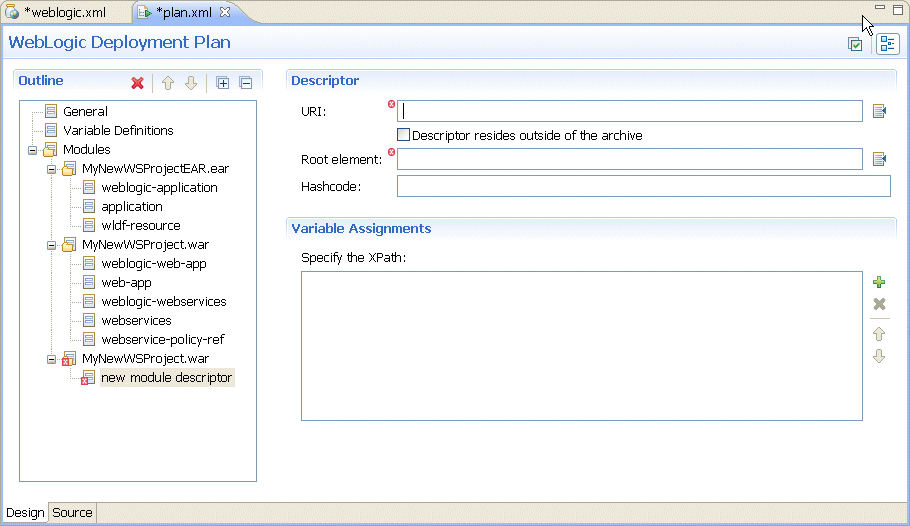
Figure 12. Deployment Plan Editor - Descriptor Edit Page
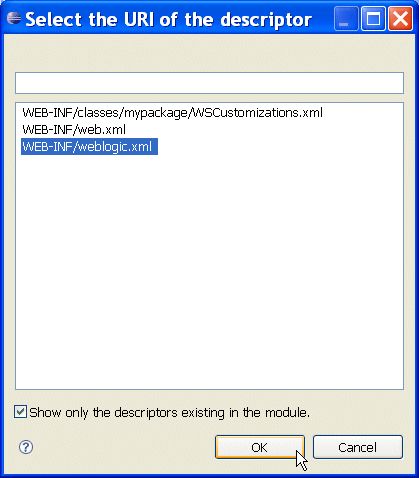
Figure 13. Selecting the Descriptor URI
Using the Select the URI of the descriptor dialog that Figure 13 shows, select theweblogic.xmlfile, and then click OK.
To add a new variable assignement, click + (Add) on the Variable Assignments > Specify the XPath area, shown in Figure 14.

Figure 14. Deployment Plan Editor - Variable Assignments
Figure 15 shows an expanded Variable Assignments area with the Specify the XPath field activated.

Figure 15. Deployment Plan Editor - Variable Assignments - Expanded
Use the XPath Expression Builder dialog to navigate the element that you want to override in the descriptor, and then click OK to select the XPath.
Click Browse next to the Variable name field to display the Variable Name dialog that Figure 16 shows, and select the variable name to assign.
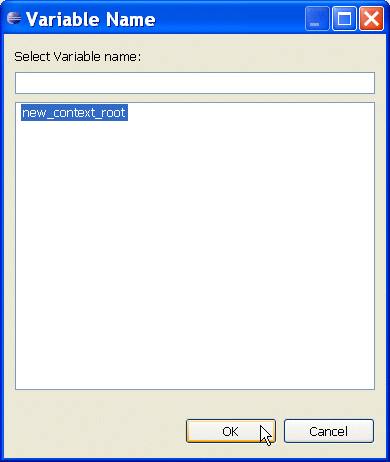
Figure 16. Variable Name Dialog
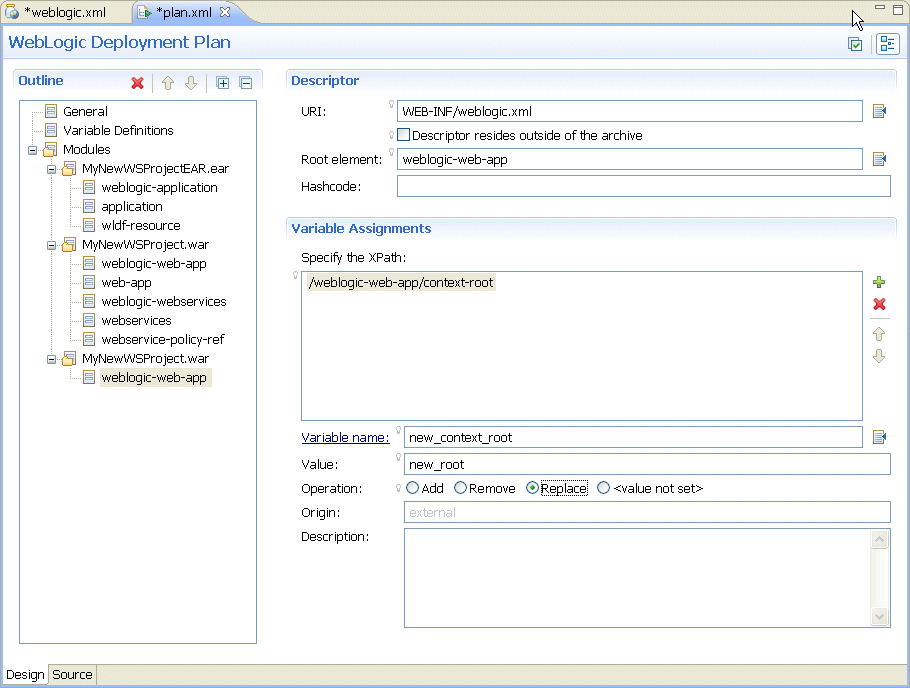
Select the Replace operation on the Variable Assignments edit page, shown in Figure 17.
Use the Clean Up Deployment Plan utility to remove unassigned variables from your plan's XML file. To do so, click the Clean Up button represented by a green check mark icon located in the top right corner of the editor. Make your selection from the list of the potential clean up candidates, and then click Finish to remove these elements from your deployment plan.
You can also switch to the source view of your WebLogic deployment plan to edit it manually, as Figure 18 shows.
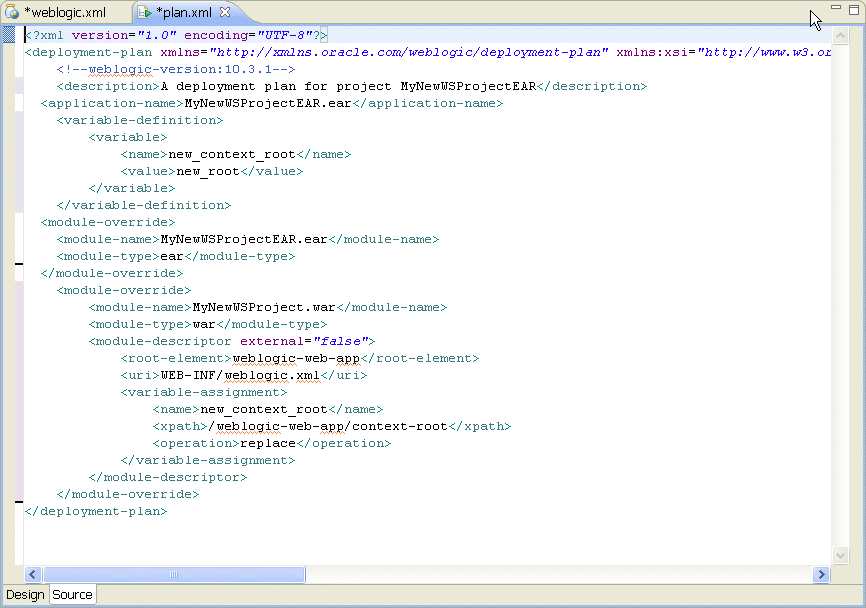
Figure 18. WebLogic Deployment Plan - Source View
4. Using an Existing Deployment Plan to Configure an Application
You can use the generated deployment plan with the followingweblogic.Deployer command:
java weblogic.Deployer -adminurl t3://localhost:7001 -username weblogic -password weblogic7001 -plan plan.xml -deploy MyNewWSProjectEAR.ear
Alternatively, you can use Eclipse IDE to specify this information in the WebLogic Server Editor when deploying to a remote server.
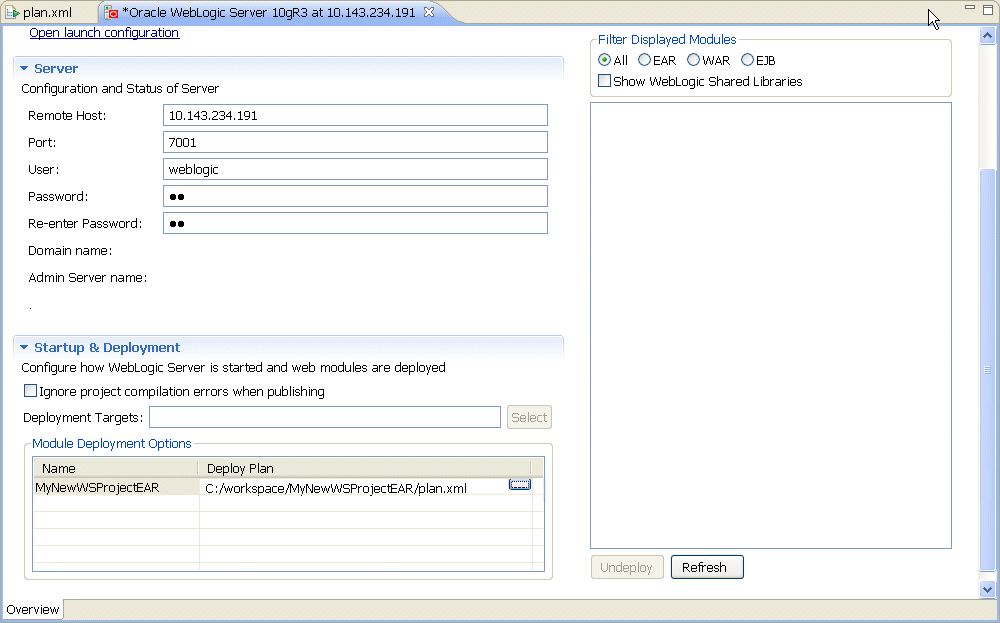
Figure 19. WebLogic Server Editor
Use the Choose a deployment plan dialog to select the deployment plan.
