5 Extending the Page Template
WebCenter Spaces comes packaged with a range of page templates that you can apply to your portal. You can also extend out-of-the-box page templates and create new ones to reflect your organization's corporate identity and business purpose.
In this chapter, you'll extend the El Piju page template that the administrator made available to you when they laid the groundwork for this tutorial. You'll hook up El Piju navigation to the page template through tree and menu navigations, and add the El Piju banner to the template to achieve El Piju's corporate look, feel, and layout. Finally, you'll apply the modified template to El Piju Space and its Subspaces.
5.1 Step 1: Create a Copy of the El Piju Page Template
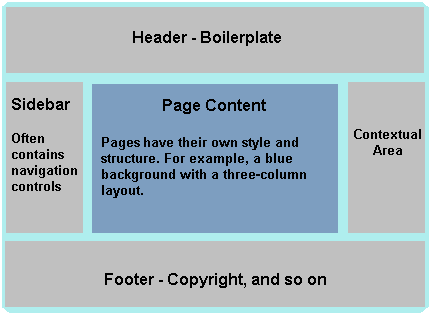
A page template is a type of WebCenter resource that controls the appearance of some of the page's artifacts, irrespective of the actual content; in other words, what surrounds the content, rather than the content itself. Figure 5-1, shows how things like a header, footer, and navigational aids may be built into a page template to frame the actual content. By applying a page template to a Space, you can ensure that all pages within the Space feature the same look and feel.
In this step, you'll modify the ElPijuPgTemplate.ear file, which is scoped at the application level. When a resource is scoped at the application level, it is available to all authorized users within the WebCenter Spaces instance. However, users may not modify the resource itself; rather, they can make a copy of the resource and modify it to suit their requirements. Let's see how this is done for the El Piju Space and its Subspaces.
On the El Piju - Settings tab set page, on the Resources tab, Page Templates is selected by default in the panel on the left. To create a copy of the El Piju page template:
-
Click Create.
This displays the Create New Page Template dialog.
-
From the Copy from dropdown list, choose ElPiju, then click Create.
The new template displays under the Resources tab.
-
While Copy of El Piju Page Template is highlighted, from the Edit menu, choose Show.
Your template is now available to the El Piju Space, as shown in Figure 5-2:
Each resource serves as a building block for WebCenter portals and has features to serve your business needs through WebCenter's scalable and robust technology.
5.2 Step 2: Add a Tree Navigation to the Page Template
In this step we'll add a tree navigation to the page template, which tells the template how or in what form to display the navigation. Later, we'll hook up the tree navigation to the El Piju navigation model we created in the last step, which tells the template what to display.
To add a tree navigation:
-
While Copy of El Piju Page Template is highlighted, from the Edit menu choose Edit.
This opens the page template in the Oracle Composer, which allows you to add content through the Resource Catalogs available to you.
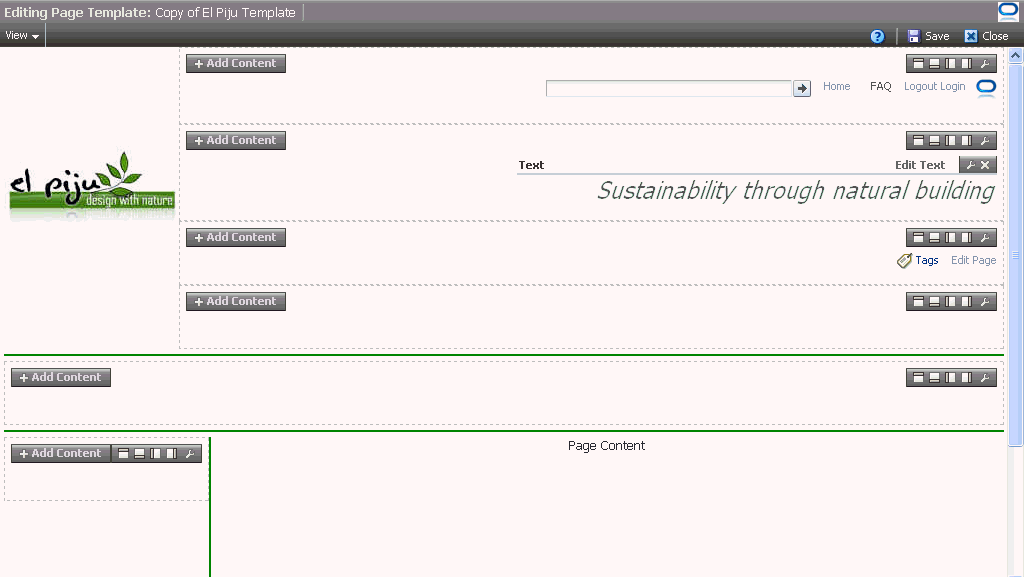
Your screen should look like this:
Figure 5-3 Copy of El Piju Page Template Opened in Oracle Composer
Description of "Figure 5-3 Copy of El Piju Page Template Opened in Oracle Composer"
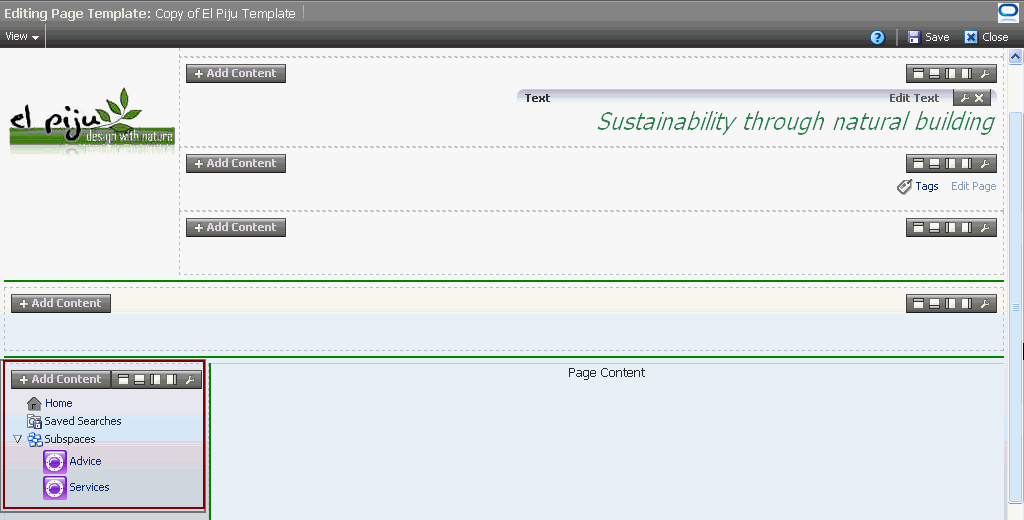
As you can see, the El Piju logo we added in Step 2: Add the Logo to the El Piju Space appears in the upper left corner. The page template designer specified that the logo should appear here, although you as the user were allowed to determine what that logo should be. The page template designer also added El Piju's slogan ("Sustainability through natural building"), a row of frequently used links along the top, and a couple of links in the middle of the page. Most important, the designer intentionally left certain regions of the template empty, so that you could add content appropriate to the portal you're building. In a real-life scenario, you would most likely work closely with the person designing your page template in JDeveloper to make sure you have the content areas you want and need.
-
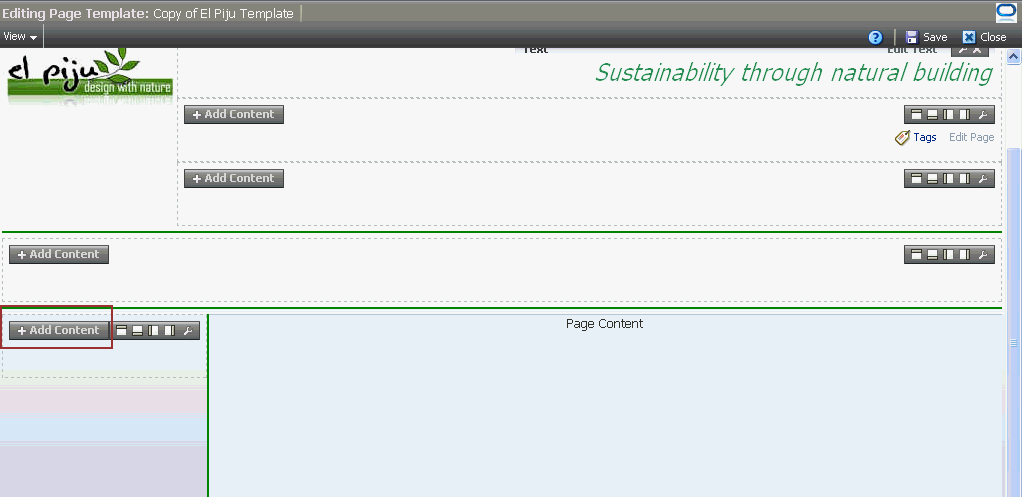
In the region at the lower left corner, as shown in Figure 5-4, click Add Content.
Figure 5-4 Add Content in the Region At the Lower Left Corner
Description of "Figure 5-4 Add Content in the Region At the Lower Left Corner"
The Resource Catalog displays.
-
Next to Template Development, click Open.
Tip:
You can skip steps 3 and 4, and typeNavigation Treein the Search field instead, to quickly display the Navigation Tree option. -
Next to Navigations, click Open.
-
Next to Navigation Tree, click Add, and then click Close.
The default tree navigation looks like Figure 5-5:
-
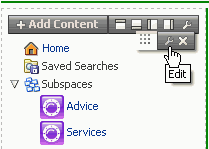
To associate this tree navigation with the El Piju navigation you created in Designing a Navigation Model, hover the mouse below the wrench icon on the toolbar, and click the second wrench icon, as shown in Figure 5-6.
Figure 5-6 Wrench Icon for Tree Navigation
Description of "Figure 5-6 Wrench Icon for Tree Navigation"
By default, the tree navigation displays the navigation items for the Space you're working in: pages, Subspaces, and a folder for Saved Searches. Instead, we want this tree to display the pages in El Piju, Advice, and Services.
-
In the Component Properties: Navigation Tree dialog, click the Parameters tab.
-
From the Navigation dropdown list, select El Piju Navigation.
-
Click Apply, then OK.
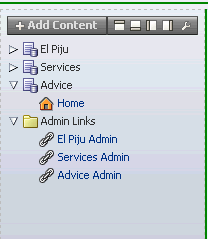
We've now replaced the default navigation model with the one we created expressly for the El Piju portal. Your screen should look like Figure 5-7:
Figure 5-7 Tree Navigation in Copy of El Piju Page Template
Description of "Figure 5-7 Tree Navigation in Copy of El Piju Page Template"
When you expand the nodes, you'll see a Home page each in the El Piju Space and the two Subspaces. Notice that the El Piju Space also contains the Documents system page that you made available in Step 3: Make the Documents Page Available. Soon you'll add more pages to the El Piju portal, each of which will appear here for easy accessibility.
-
In the upper right corner, click Save to save the changes in your template.
5.3 Step 3: Apply a Menu Navigation to the Page Template
Now let's add a different type of navigation visualization to your portal called a menu. Menus display navigational links as tabs, menus, bars, and buttons in a horizontal row. For that reason, menus are ideal for displaying relatively few top-level nodes, so they won't get truncated or cover the entire screen on a web page that uses a standard resolution.
You should still be editing Copy of El Piju Page Template.
-
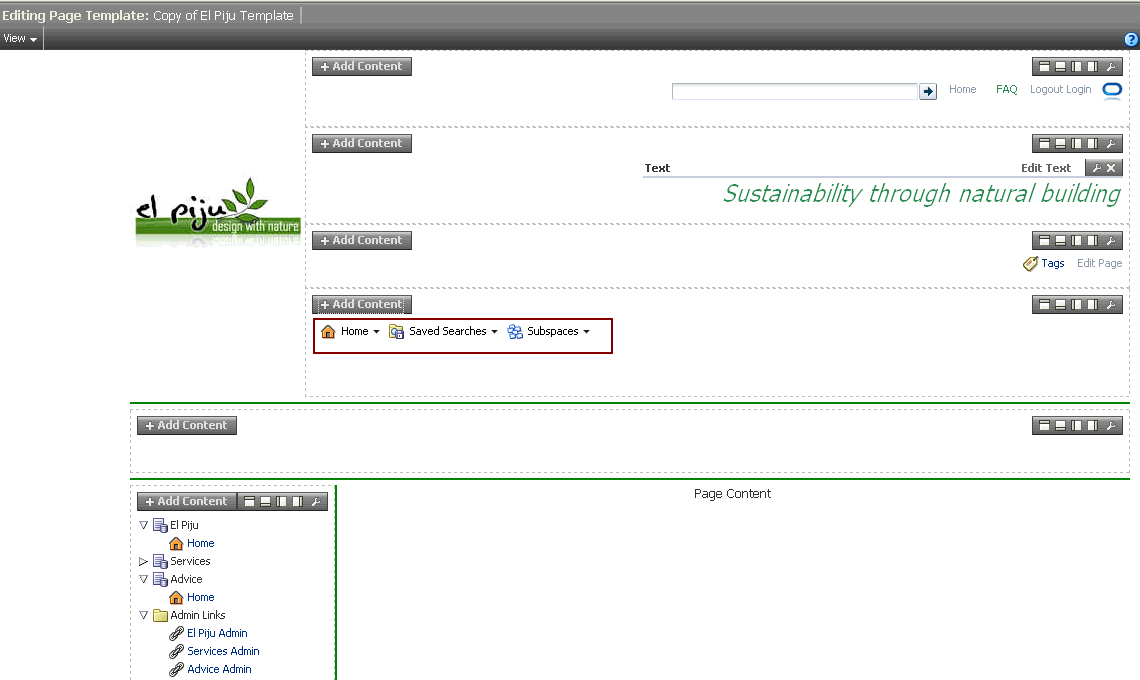
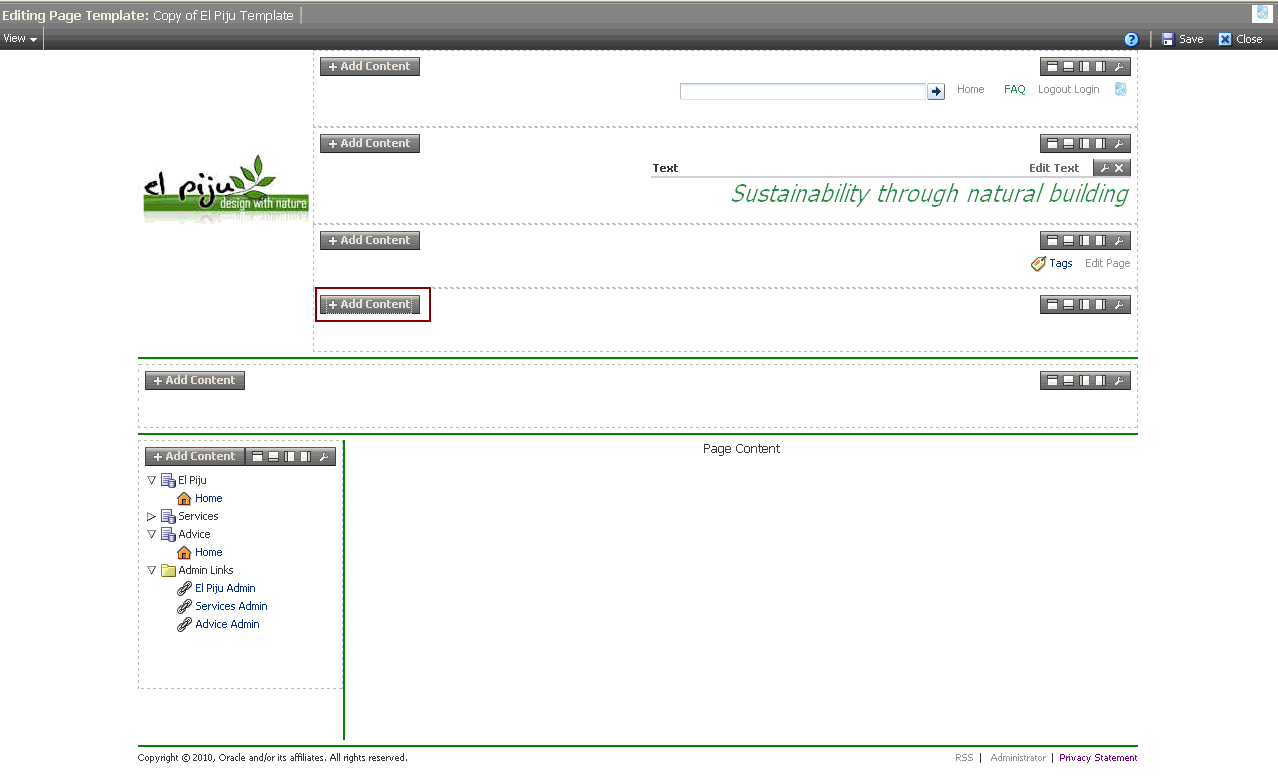
Go to the fourth region from top, as shown in Figure 5-8, and click Add Content.
Figure 5-8 Add Content in the Fourth Region
Description of "Figure 5-8 Add Content in the Fourth Region"
The Resource Catalog displays.
-
Next to Navigation Menu, click Add, and then click Close.
The default menu navigation looks like Figure 5-9:
-
To associate this menu navigation with the El Piju navigation you created in Designing a Navigation Model, hover the mouse below the wrench icon on the toolbar for the menu navigation, as shown in Figure 5-10, and click the second wrench icon.
Figure 5-10 Wrench Icon for Menu Navigation

Description of "Figure 5-10 Wrench Icon for Menu Navigation"
-
In the Component Properties: Navigation Menu dialog, click the Parameters tab.
-
From the Navigation dropdown list, select El Piju Navigation.
-
Click Apply, then OK.
Your screen should look like Figure 5-11:
Figure 5-11 Menu Navigation Wired to El Piju Navigation

Description of "Figure 5-11 Menu Navigation Wired to El Piju Navigation"
Using two different navigational models in a single template makes it that much easier for customers to access information in your portal.
-
Save and close the template.
You're now familiar with tree and menu navigations. WebCenter Spaces also offers breadcrumb navigation to display content items as a series of horizontal or vertical links so the users know their current position in the navigation hierarchy. Breadcrumb navigation is recommended in scenarios where portals contain deep hierarchies (four levels or more) and users need to go back to pages they visited earlier in the same session. Steps for adding a breadcrumb navigation are the same as those for the tree and menu navigations.
5.4 Step 4: Add the El Piju Banner to the Page Template
Now we're going to add a banner image to the page template so that every page in the portal reflects El Piju's corporate look and feel. We'll use the image that you uploaded to the Documents system page in Step 4: Upload the Banner Image.
You should be on the El Piju - Settings page.
-
Go to Content, then click Documents.
This displays the
greenbanner.jpgfile you uploaded in Step 4: Upload the Banner Image. -
Select the row containing the greenbanner.jpg link.
-
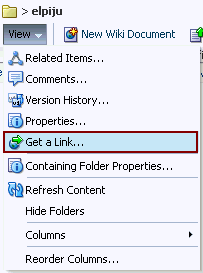
From the View menu, choose Get a Link:
-
Use Ctrl-C to copy the Download URL path, which should be in the following format, and click OK.
http://<host name>:<port number>/webcenter/content/conn/<content repository name>/path/doc/elpiju/greenbanner.jpg -
Go back to the Resources tab.
-
Highlight Copy of El Piju Navigation, then from the Edit menu choose Edit.
This displays the template in edit mode.
-
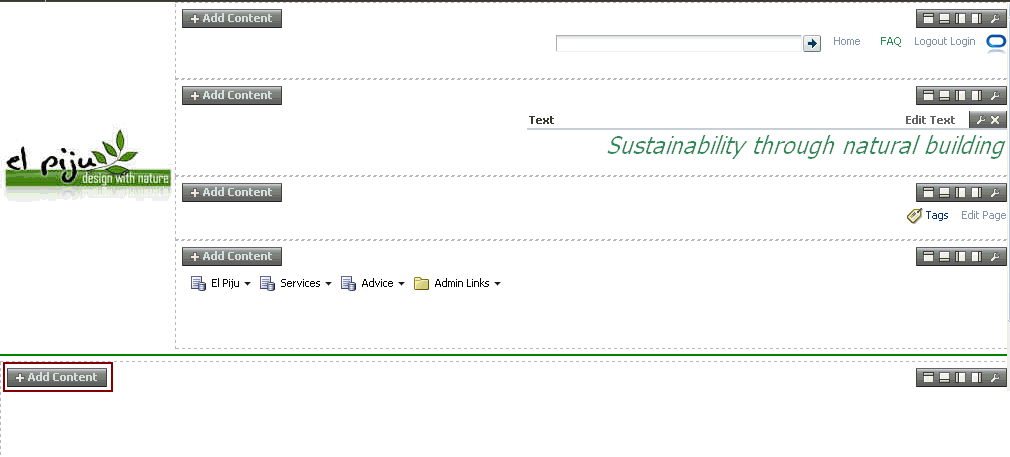
In the fifth region from top, click Add Content.
Figure 5-13 Add Content in the Fifth Region
Description of "Figure 5-13 Add Content in the Fifth Region"
This displays the Resource Catalog.
-
Next to Web Development, click Open.
-
Next to Image, click Add.
-
Click Close in the Resource Catalog.
-
Click the second wrench icon in the fifth region:
Figure 5-14 Second Wrench Icon in the Fifth Region

Description of "Figure 5-14 Second Wrench Icon in the Fifth Region"
This displays the Component Properties: Image dialog.
-
On the Display Options tab, in the Icon field, replace the default URL with the URL you copied in step 4.
-
Click Apply, then OK.
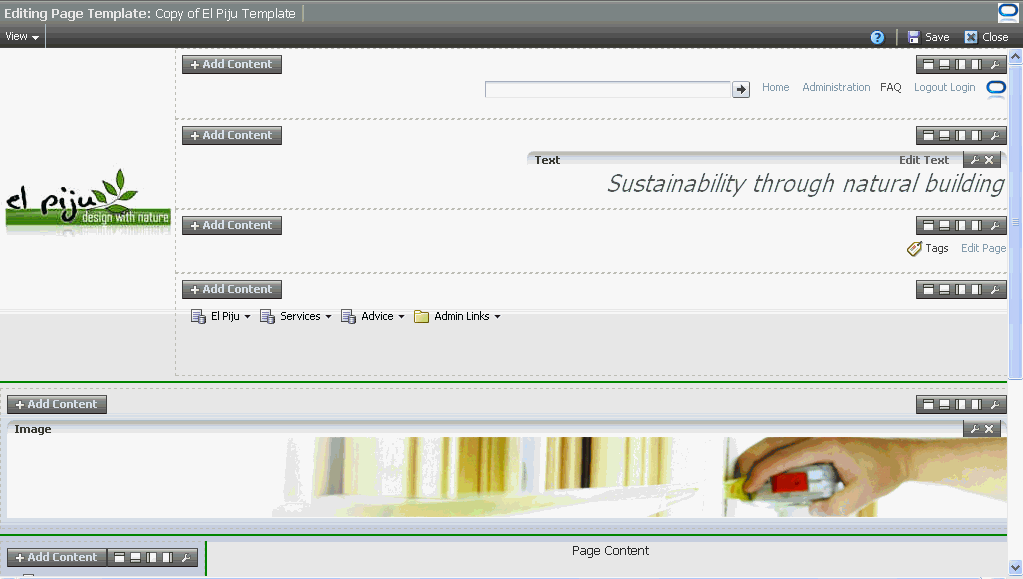
The banner is now applied to the template, as shown in Figure 5-15:
Figure 5-15 El Piju Banner Applied to the Page Template
Description of "Figure 5-15 El Piju Banner Applied to the Page Template"
-
Save and close the modified template.
The modified El Piju template is now ready to be applied to the portal pages!
5.5 Step 5: Apply the Page Template to the El Piju Space
To apply the modified template to the Space:
-
In the El Piju Space, on the Settings page, click the General tab.
-
In the Display Settings section, from the Page Template dropdown list, choose Copy of El Piju Template, as shown in Figure 5-16, then click Apply.
Figure 5-16 Display Settings - Page Template dropdown list

Description of "Figure 5-16 Display Settings - Page Template dropdown list"
-
Click Back to the Space.
You can see that the page now has the template applied! Your El Piju Space should look like Figure 5-17:
Figure 5-17 El Piju Space After the Template is Applied
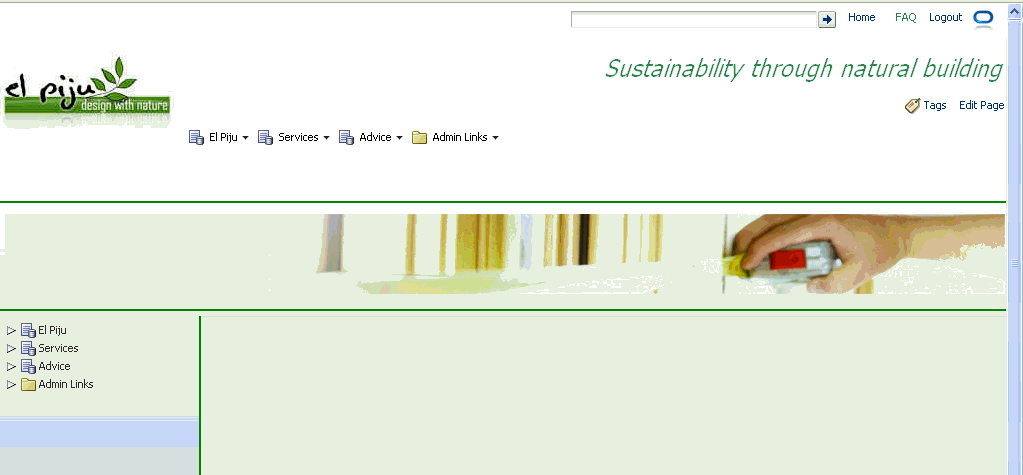
Description of "Figure 5-17 El Piju Space After the Template is Applied"
Take a tour around the template and visualize what other resources you would like to add to this template if you had more time (not just an hour), and how they would improve the portal from the mutual perspectives of El Piju's customers and the organization itself.
5.6 Step 6: Apply the Page Template to the Subspaces
Let's apply the page template to Services and Advice Subspaces.
To apply the modified template to Subspaces:
-
In either the tree or menu navigation, expand Admin Links, then click Services Admin.
Although the resources created for a Space are not automatically available to its Subspaces, you can still use them. Let's find out how.
-
On the General tab, next to the Page Template field, click the down arrow, as shown in Figure 5-18, then select Expression Builder.
Figure 5-18 Down Arrow to Display Expression Builder

Description of "Figure 5-18 Down Arrow to Display Expression Builder"
This displays the Expression Editor.
-
In the Type a value or expression box enter:
#{srmContext.resourceScope['elpiju'].resourceType['siteTemplate'].displayName['Copy of El Piju Template'].singleResult.id}where:
-
resourceScope is the pretty URL that you created in step 5 of Step 1: Create a Space. In this scenario, it is
elpiju. -
displayName is the name of the page template. This value must match the value you entered in step 2 of Step 1: Create a Copy of the El Piju Page Template. In this scenario, it is
Copy of El Piju Template.
-
-
Click Test.
This returns a value, as shown in Figure 5-19:
If you get anything other than an Information message, that means you've made a typing or syntax mistake. Go back and make sure your expression exactly matches what's described in step 3.
-
Click OK.
-
On the General tab, click Apply.
-
Click Back to the Space.
You can see that the page now has the template applied!
-
Repeat steps 1 to 6 to apply Copy of El Piju Template to the Advice Subspace. In step 1, make sure you click the Advice Admin link.
Figure 5-20 shows how the Advice Subspace looks when you've applied the template.
Figure 5-20 Advice Subspace After the Template is Applied
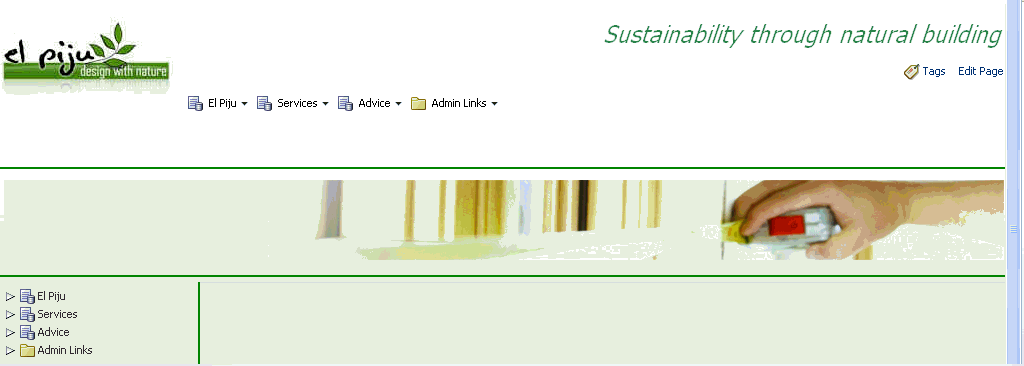
Description of "Figure 5-20 Advice Subspace After the Template is Applied"
The basic framework of the El Piju portal is ready, so now you can start adding content.
5.7 Step 7: Test the Administration Link (Optional)
To ensure that the administration links display only to moderators, make one of your colleagues a member of El Piju, then have them log in to El Piju. They will see the administration links in the navigation bars of El Piju, Services, and Advice. However, clicking the links will display the message "You do not have access."
5.8 Summary
You created a new page template based on the El Piju page template, which is an application resource. You extended your copy of the El Piju page template to provide tree and menu navigations, and customized the template to include the El Piju banner. Finally, you applied the template to El Piju's Space and Subspaces. You're now ready to start adding content to the portal.
