Before proceeding with the installation, be sure to stop all running MySQL server instances by using either the MySQL Manager Application (on OS X Server), the preference pane, or mysqladmin shutdown on the command line.
To install MySQL using the package installer:
Download the disk image (
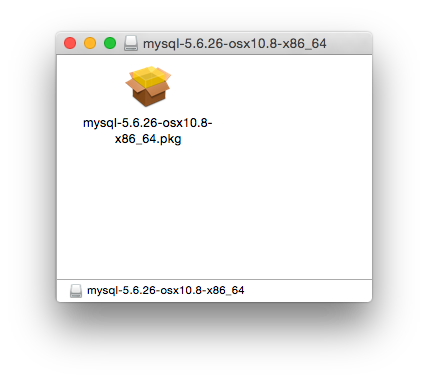
.dmg) file (the community version is available here) that contains the MySQL package installer. Double-click the file to mount the disk image and see its contents.Double-click the MySQL installer package. It is named according to the MySQL version and the OS X version you have chosen. For example, if you have downloaded the package for MySQL 5.6.51 and OS X 10.8, double-click
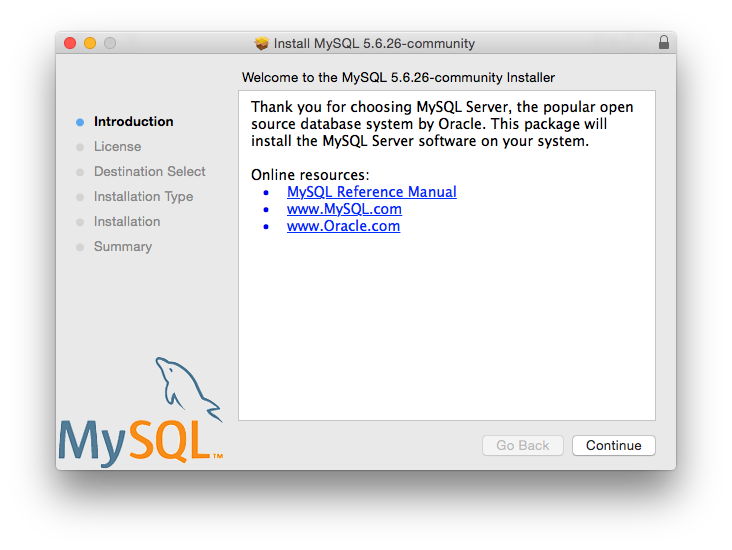
mysql-5.6.51-osx-.10.8-x86_64.pkgYou are presented with the opening installer dialog. Click to begin installation.
If you have downloaded the community version of MySQL, you are shown a copy of the relevant GNU General Public License. Click and then to continue.
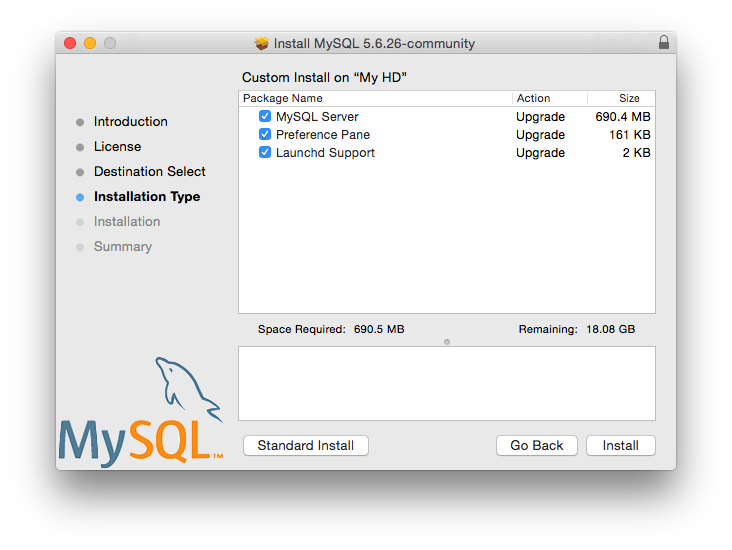
From the Installation Type page you can either click to execute the installation wizard using all defaults, click to alter which components to install (MySQL server, Preference Pane, Launchd Support -- all enabled by default).
NoteAlthough the option is visible, the installation location cannot be changed.
Click to begin the installation process.
Once the installation has been completed successfully, you are shown an Install Succeeded message with a short summary. Now, the wizard and begin using the MySQL server.
MySQL server is now installed, but it is not loaded (or started) by default. Use either launchctl from the command line, or start MySQL by clicking "Start" using the MySQL preference pane. For additional information, see Section 2.4.3, “Installing a MySQL Launch Daemon”, and Section 2.4.4, “Installing and Using the MySQL Preference Pane”. Use the MySQL Preference Pane or launchd to configure MySQL to automatically start at bootup.
When installing using the package installer, the files are
installed into a directory within /usr/local
matching the name of the installation version and platform. For
example, the installer file
mysql-5.6.51-
installs MySQL into
osx10.8-x86_64.dmg/usr/local/mysql-5.6.51-osx10.8-x86_64/
. The following table shows the layout of the
installation directory.
Table 2.7 MySQL Installation Layout on OS X
| Directory | Contents of Directory |
|---|---|
bin, scripts |
mysqld server, client and utility programs |
data |
Log files, databases |
docs |
Helper documents, like the Release Notes and build information |
include |
Include (header) files |
lib |
Libraries |
man |
Unix manual pages |
mysql-test |
MySQL test suite |
share |
Miscellaneous support files, including error messages, sample configuration files, SQL for database installation |
sql-bench |
Benchmarks |
support-files |
Scripts and sample configuration files |
/tmp/mysql.sock |
Location of the MySQL Unix socket |
During the package installer process, a symbolic link from
/usr/local/mysql to the version/platform
specific directory created during installation is created
automatically.


