MySQL Workbench offers a graphical interface to MySQL Enterprise Audit.
By default, the audit_log plugin is not
installed.
To activate the audit_log plugin manually using
mysql, load the plugin code from the library file
at runtime with the INSTALL PLUGIN
statement. This statement requires the
INSERT privilege for the
mysql.plugin table.
On Windows:
INSTALL PLUGIN audit_log SONAME 'audit_log.dll'
On Linux and macOS:
INSTALL PLUGIN audit_log SONAME 'audit_log.so'
After the plugin is installed, start MySQL Workbench and select the Administration tab in the navigator. Under MySQL Enterprise, click Audit Inspector. The initial Administration - Audit Inspector tab looks similar to the figure that follows. At this point, no entries are listed.
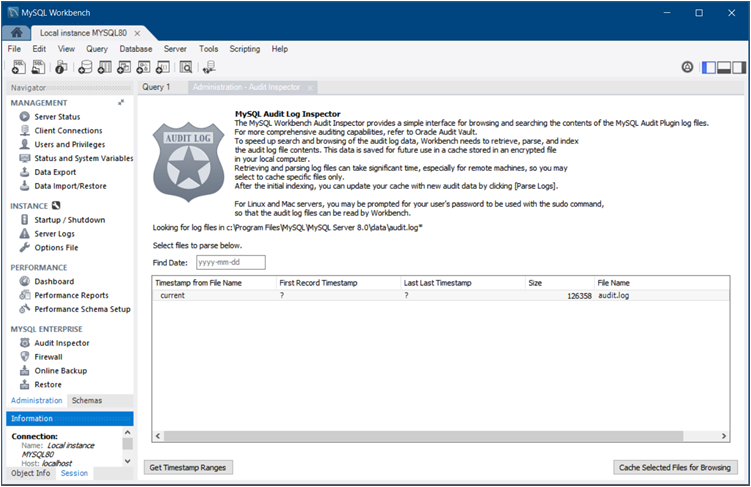
When you first start the Audit Inspector, MySQL Workbench must cache the audit log for performance reasons. MySQL Workbench then parses, indexes, and retrieves values from the encrypted cached file on your local computer.
Generating the cache file can take a long time. If you press during the caching process, MySQL Workbench saves the results that were cached at the point you pressed .
MySQL Workbench will prompt for sudo access if the MySQL Workbench user is unable to read the audit log file.
To generate the cache file, click . When prompted, set a password for the encrypted file to use when viewing this file. After caching an audit log, the Audit Inspector tab displays the results as shown in the following figure. Each record includes a record ID, timestamp, type, connection ID, user, host/IP, status, command class, and information.
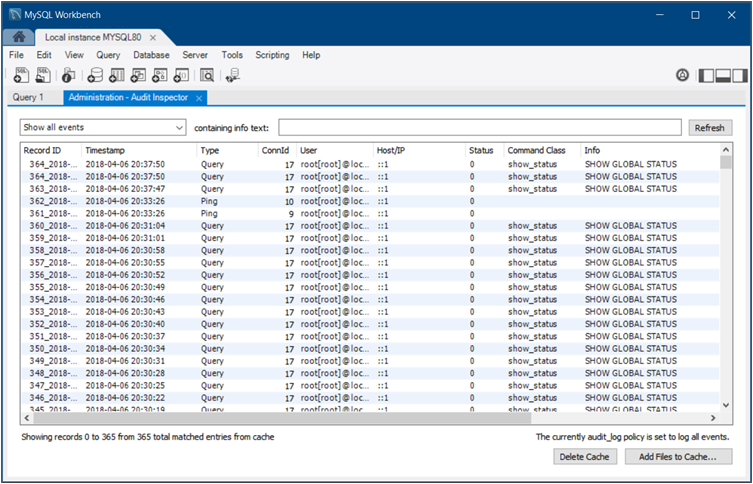
The search field offers criteria for narrowing the displayed events, including and , and defaults to . Custom filters are also available.
Click at any time to add new files to the cache. Click to remove the cache file.
The next time you start the Audit Inspector, MySQL Workbench prompts you for the password that you set during the initial step.