Installing the Screen with Local Administration
The Solaris Web Start installer guides you through installing both the administration and Screen software on a local system. Because a locally administered Screen does not send administrative commands over the network, it is not necessary to set up encrypted communication during installation. To use this type of installation, just accept all of the default selections given for a Typical installation which is a locally administered routing firewall that allows common services to pass.
Before you begin the installation:
-
Make sure your system is performing properly as a router.
-
Review the SunScreen 3.2 Release Notes for the latest product information.
-
Read all of the information in the "Installation Overview" chapter.
-
Make a map of your network. See the "Determining Your Security Policy" appendix for worksheets and instructions to aid you in determining your network configuration and your desired security level.
To Install a Locally Administered Screen
-
Open a terminal window on your system and become root, if not already.
-
Change to the directory containing the SunScreen 3.2 product.
#cd /cdrom/cdrom0/Solaris_9/ExtraValue/CoBundled/SunScreen_3.2/sparc
-
Double-click the install icon to start the installation.
Note -You are prompted to type the root password for your system if the installer is started as a user other than root.
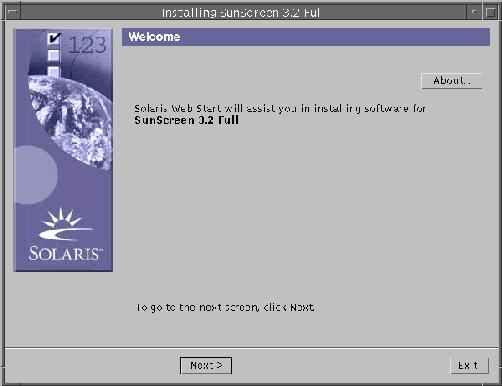
The Welcome window appears.
-
In the Welcome window, click Next to continue.
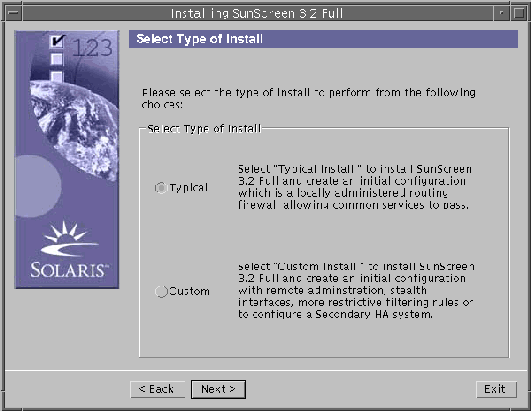
The Select Type of Install window appears with Typical as the default entry.
-
In the Select Type of Install window, accept the Typical default entry by clicking Next to continue.
A Typical installation installs SunScreen 3.2 and creates an Initial configuration, which is a locally administered routing firewall that allows common services to pass.
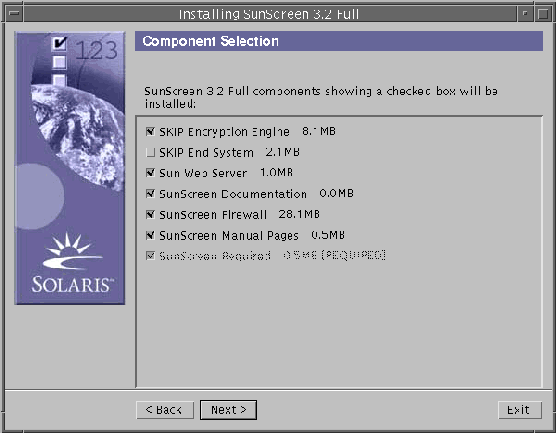
The Component Selection window appears listing the components to be installed.
-
In the Component Selection window, click Next to continue.
The Checking System window appears and checks for any existing SunScreen configurations. If none are found, a message announces System check complete.
Note -If existing configurations are discovered, the Old Configurations window appears in which you are asked to select either Remove or Retain. The default is to Remove the existing configuration and create a new Initial configuration based on the set of inputs. Click Retain to keep the existing configurations and not create a new Initial configuration.
-
In the Checking System window, click Next to continue
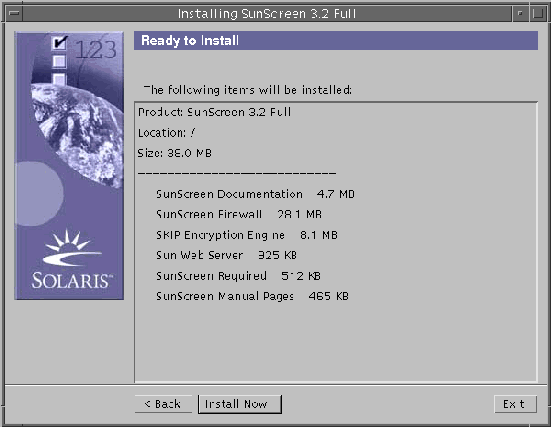
The Ready to Install window appears listing the items to be installed.
-
In the Ready to Install window, verify that the correct items are listed, and click Install Now to continue.
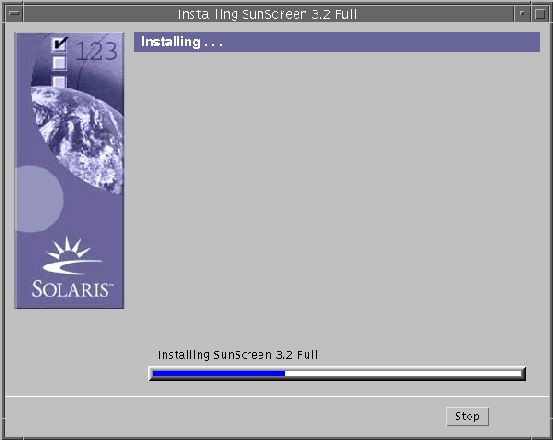
The Installing window appears with a status bar showing the progress of the installation.
When the installation is complete, the Installation Summary window appears showing the product installed and its status.
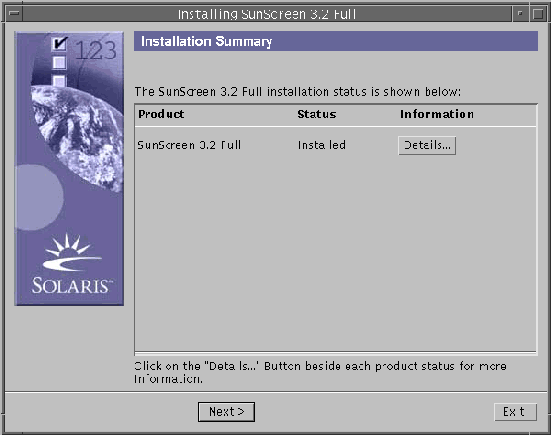
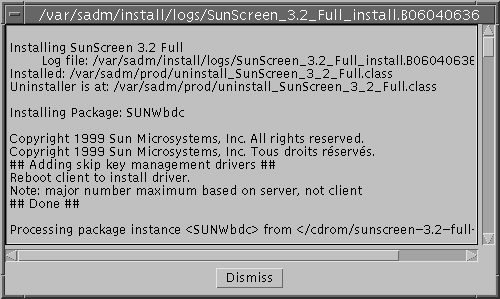
For more information, click the Details button for a comprehensive list of the successfully installed packages and their locations.
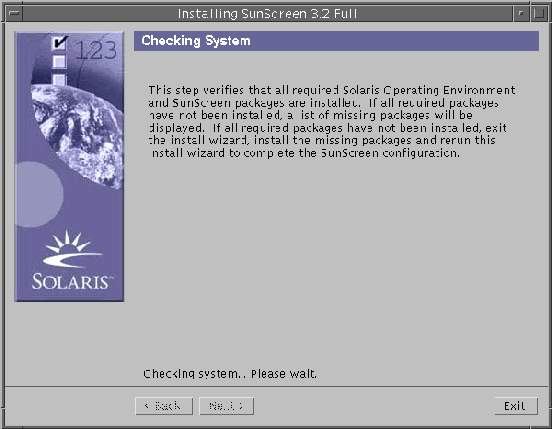
The Checking System window appears and the installer verifies that all required Solaris and SunScreen software packages are installed.
-
If the required packages are installed, a message appears announcing System check complete.
-
If all required packages have not been installed, exit the installer, install the missing packages, and rerun the installer to complete the SunScreen configuration.
-
-
In the Checking System window, click Next to continue.
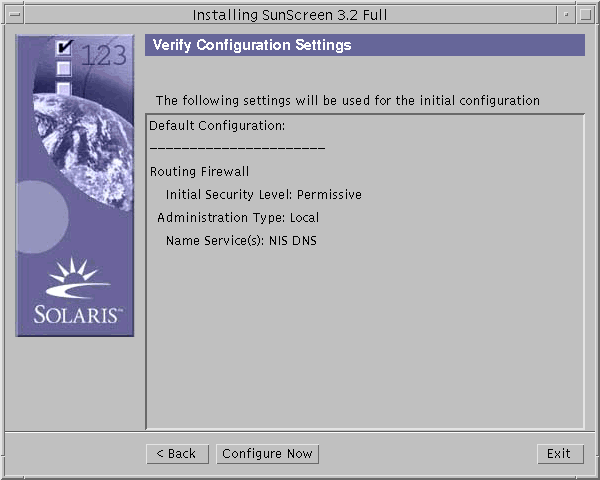
The Verify Configuration Settings window appears showing the settings to be used for the Initial configuration. You have three options from which to choose: Back, Configure Now, or Exit.
-
In the Verify Configuration Settings window, click Configure Now.
The Screen Configuration window appears showing that the Initial Configuration is generated based upon the Screen type, Administration type, certificate information, and security level.
-
If the configuration is successful, it announces that this configuration is compiled and activated.
-
If the configuration fails, an error message appears giving the results of the failure.
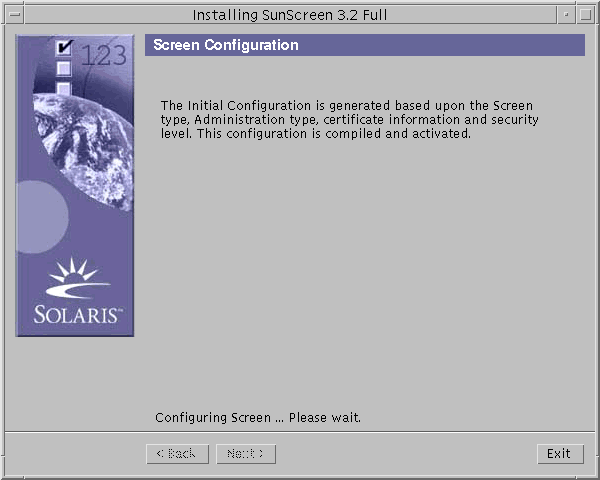
The Installation and Configuration Complete window appears and if successful, it announces that the installation and configuration of SunScreen 3.2 is complete. You can select Back to delay exiting the program, or you can select Exit to leave the program.
-
-
To complete the installation, click System Reboot.
The installer is dismissed.
Note -To complete the installation process you must reboot the system at this time. If you do not wish to reboot your system, click Next instead of Reboot System.
- © 2010, Oracle Corporation and/or its affiliates
