Adding Menu Selections to the Tear-Off Region
You can add menu selections to the tear-off region from either the menu bar or the command line.
-
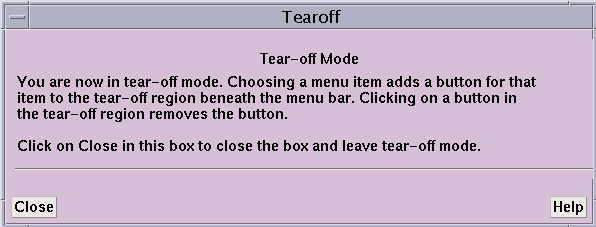
From the menu bar - To add a menu selection to the tear-off region, first enter tear-off mode by choosing Tear-off from the Utilities menu. A dialog box appears that describes tear-off mode; see Figure 10-2.
Figure 10-2 Tear-Off Region Dialog Box

While the dialog box is on the screen, choosing any selection from a menu adds a button for this selection to the tear-off region. Clicking on a button in the tear-off region removes that button. If you fill up the region, you can resize it to accommodate more buttons. To resize the region, drag the small resize box at the bottom right of the region.
Click on Close or press the Esc key while the mouse pointer is in the dialog box to close the box and leave tear-off mode.
When you are not in tear-off mode, clicking on a button in the tear-off region has the same effect as choosing the equivalent selection from a menu.
-
From the command window - Use the tearoff and untearoff commands from the command window to add menu selections to and remove them from the tear-off region. Put the selection name in quotation marks; case doesn't matter, and you can omit spaces and the ellipsis (...) that indicates the selection displays a window or dialog box. If the selection name is ambiguous, put the menu name in parentheses after the selection name. For example,
tearoff "print (events)"
adds a button for the Print selection from the Events menu to the tear-off region.
- © 2010, Oracle Corporation and/or its affiliates
