Filtering and Viewing Incident Reports
Generate Incident reports to get a list of incidents linked to packages, CVE IDs, or just a general list of incidents. This report does not tell you if your hosts are compliant with the incidents. It provides information about incidents of filtered categories and types, or a complete list of incidents for a channel.
When an incident is published by a vendor, it contains more than the packages; it also contains information on the source issue of the incident and why the packages included are needed. You can access this information as well through the Incident report.
 To Filter an Incident Report
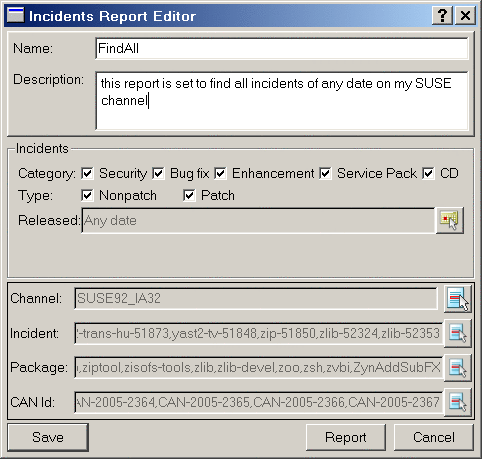
Filter an incident report in the Incident Report Editor window. The criteria that you select can create a large general list or a specific query.
-
In the Reports window, select Incidents and then click the New button.
The Incidents Report Editor opens.

-
Select categories and types of incidents that are relevant to the report.
You must select at least one category and one type.
-
Click Report now if you do not want to apply more filters.
 To Filter a Report by Date
-
Click the Select Dates button.
The Select Dates window opens.
-
Select a date range:
-
Relative. Specify how many days since the incident was published.
-
Range. Click the Select Dates buttons to specify a start date and an end date for the time range.
If the date is not important, leave the default Any date selected.
-
 To Filter a Report by Channel
-
Click the Select button next to the Channel box.
The Channel Select window opens.
-
Select relevant channels.
To select multiple channels, use the Shift key or the Ctrl key. To select all, type Ctrl+A.
-
Click OK.
The selected channels appear in the Channel box of the Report Editor.
 To Filter a Report by Specific Package, CVE ID, or
Incident
-
Click a Select button.
The Select window opens and shows the filter names.
-
Select relevant items and click Add.
-
Click OK.
Viewing Incident Reports
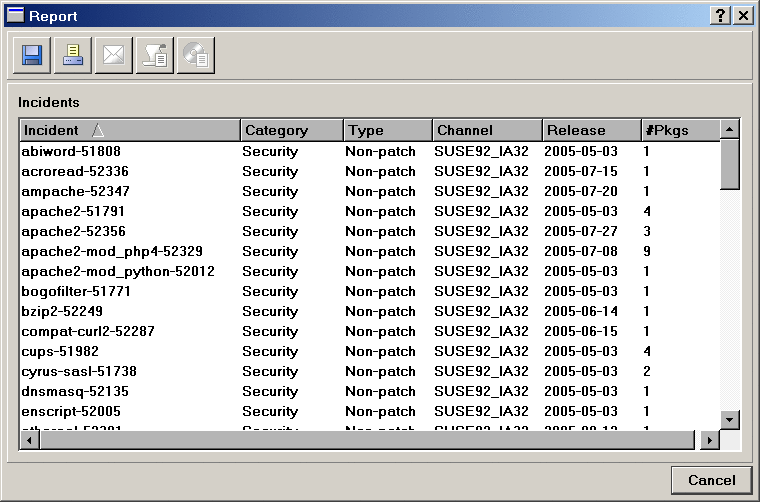
After you select the criteria in the Incident Report Editor, you can generate the report, or name it and save it as a template. If you save it as a template, you can select the template and then click Report in the Reports window. Whether you generate the report from the editor window or from a template, the same Report window opens.
Figure 13–1 Report Window – Incidents

Each line in the Report shows the incident name (defined by vendor), category, type, channel, and release date. It shows the number of packages that belong to this incident.
To see package details of an incident, select an incident name in the report and then click Details. A new Report window opens, displaying the packages needed for the selected incident. The Recommended columns list the latest incident name and package version that is recommended for you to install. If an incident is a newer fix to a previous incident, the recommended incident shows which incident (and installation of its packages) will bring your systems most up-to-date.
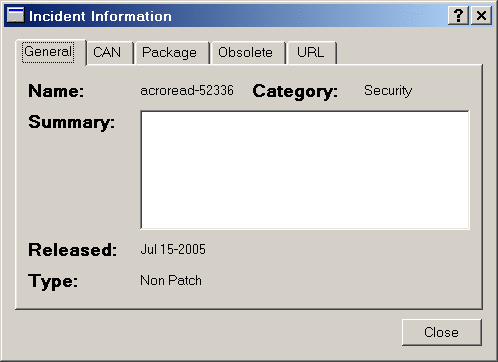
To see informational details of an incident, select a line in the new report list and click Incident Information. The Incident Information window opens.
Figure 13–2 Incidents Information

The Incident Information window has the following tabs:
-
General. Includes the name, category of incident, summary (if the vendor published one), date released, and type (nonpatch or patch).
-
CVE. Shows the ID in the CVE list.
-
Package. Shows the list of packages that are related to this incident.
-
Obsolete. Shows the list of incidents that are made obsolete by this incident.
-
URL. Shows the reference to more information published by the vendor.
- © 2010, Oracle Corporation and/or its affiliates
