Installing an Active Directory Connector
After you install the Directory Server Connector and if you have other configured Connectors to install, the installation program will give you the option of installing the Connectors before you see the Connector Configuration pane.
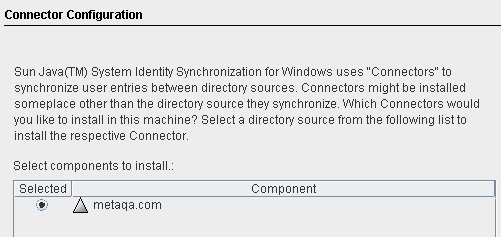
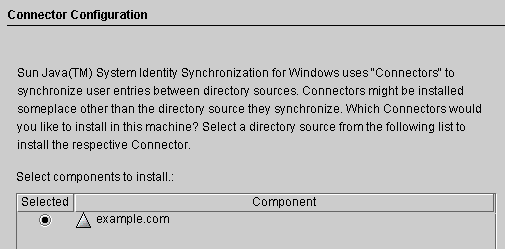
Figure 5–2 Selecting the Connector

The component list contains only those Connector components that have not yet been installed. For example, if you already installed the Directory Server Connector (dc=example,dc=com in this case), it will not be listed.
 To Install an Active Directory Connector
-
Enable the Connector button and click Next.
The Connector Configuration panel displays.

The Select components to install list contains only those Connector components that have not yet been installed. For example, after you install the Directory Server Connector (dc=example,dc=com in this case), the program will remove the entry from this list pane.
-
Enable the button next to the Active Directory component and then click Next.
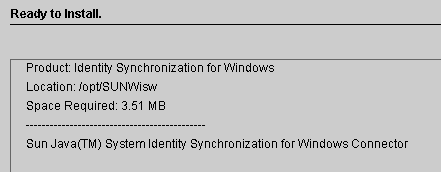
The Ready to Install pane is displayed to provide information about the Connector’s installation location and how much disk space is required for the installation.

Note –If you installed Core on the local machine, the Ready to Install pane will indicate that zero space is required to install the Connector. This situation occurs because the Core installation has already installed the Connector binaries. Because there are no additional binaries to install, no additional space is required.
If you are installing the Connector on a machine other than where you installed Core, then the Ready to Install pane will indicate how much space is required to complete the Connector installation on the local machine.
-
When you are ready, click the Install Now button.
An Installing pane is displayed, with a progress bar, while the program installs the binaries, and then an Installation Summary pane is displayed to confirm the installation is finished.
-
Click the Details button if you want to review the installation log.
-
On Solaris: Installation logs are written to /var/sadm/install/logs/
-
On Linux: Installation logs are written to /var/sadm/install/logs/
-
On Windows: Installation logs are written to the %TEMP% directory, which is a subdirectory of the Local Settings folder located underC:\Documents and Settings\Administrator
Note –On some Windows systems (such as Windows 2000 Advanced Server), the Local Settings folder is a hidden folder.
To view this folder and the Temp subdirectory, open your Windows Explorer and select Tools -> Folder Options from the menu bar. When the Folder Options dialog box is displayed, select the View tab and enable the Show Hidden Files option.
-
-
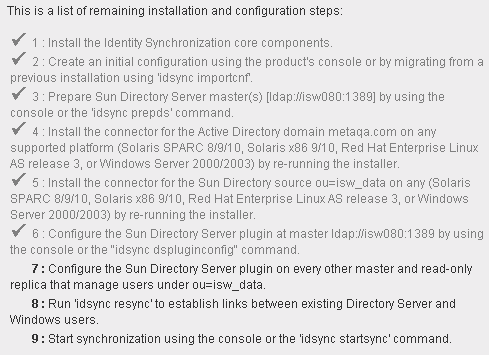
Click Next to display the “To Do list” panel, which shows the list of successfully completed and pending steps.

-
When you are done with the panel, click Finished to exit the installation program.
After installing the Active Directory Connector, you can install other Connectors that you configured when you configured resources (Chapter 4, Configuring Core Resources):
-
Install additional Active Directory Connectors: Restart the installation program (see Running the Installation Program) and then repeat through.
-
Install a Windows NT Connector: Go to Installing the Windows NT Connector.
-
Install additional Directory Server Connectors: Restart the installation program (using the instructions in Running the Installation Program) and then repeat Step 1 through Step 6.
-
- © 2010, Oracle Corporation and/or its affiliates
