 To Select Table and Views
-
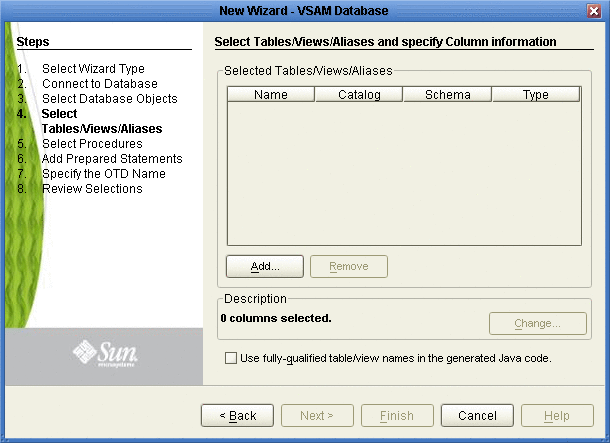
In the Select Tables/Views/Aliases window, click Add (see the following figure).
Figure 1–59 Select Tables/Views/Aliases
-
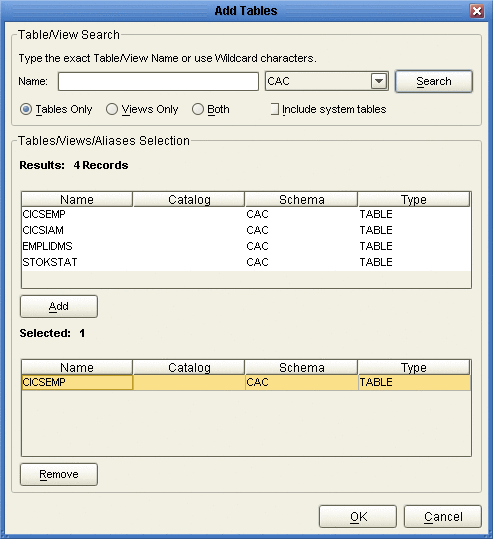
In the Add Tables window, select if your selection criteria will include table data, view only data, both, and/or system tables.
-
From the Table/View Name drop down list, select the location of your database table and click Search (see the following figure).
Figure 1–60 Database Wizard - All Schemes
-
Select the table of choice and click OK.
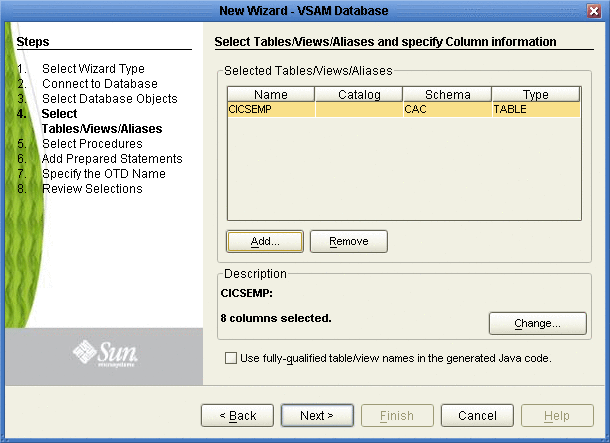
The table selected is added to the Selected Tables/Views/Aliases section (see the following figure).
Figure 1–61 Selected Tables/Views/Aliases window with a table selected
-
In the Selected Tables/Views/Aliases section, review the table(s) you have selected. To make changes to the selected Table or View, click Change. If you do not wish to make any additional changes, click Next to continue.
-
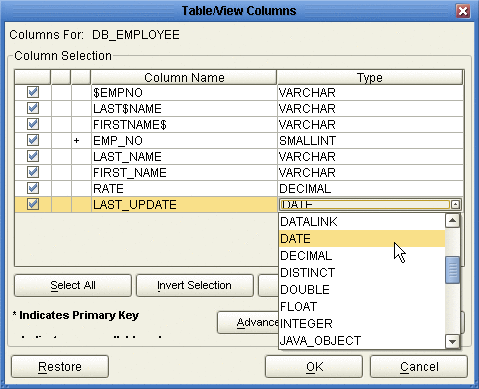
In the Table/View Columns window, you can select or deselect your table columns. You can also change the data type for each table by highlighting the data type and selecting a different one from the drop down list. If you would like to change any of the tables columns, click Change (see the following figure).
The data type is usually listed as Other when the driver cannot detect the data type. In these situations we recommend changing the data type to one that is more appropriate for the type of column data.
Figure 1–62 Table/View Columns
-
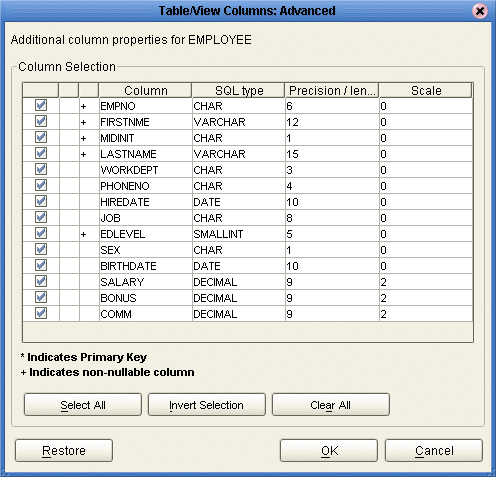
Click Advanced to change the data type, percision/length, or scale. Once you have finished your table choices, click OK. In general, you will not need to make any changes (see the following figure).
Figure 1–63 Table/View Columns— Advanced
- © 2010, Oracle Corporation and/or its affiliates
