 To Create a Composite Application
-
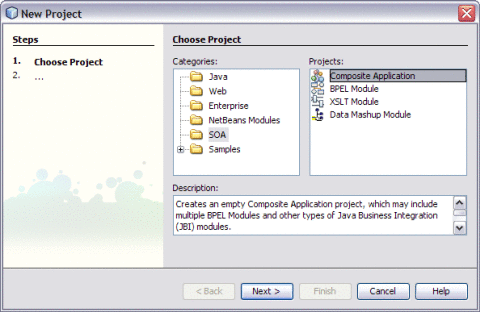
Choose File —> New Project from the main menu.
This opens the New Project wizard.
-
Select the SOA node from the Categories list.
-
Select the Composite Application node from the Projects list.
-
Click Next.

-
Type the Project Name in the Project Name field.
For example, SendInventoryCompAppl
-
Click Finish.
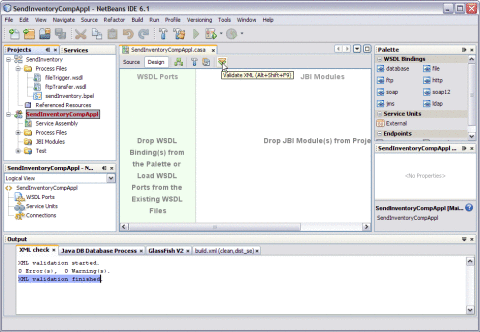
The Projects window now contains a project node for a Composite Application project called SendInventoryCompAppl.

This action displays a message in the Output console.
XML validation finished
-
Right-click either the Composite Application Project node or expand the node. Select JBI Modules.
For example, SendInventoryCompAppl
-
Select Add JBI Module.
-
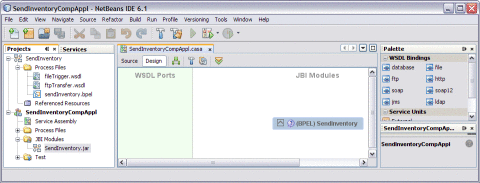
Select the Project. Click Add Project JAR Files.
For example, SendInventory
The Project JAR Files is build/SEDeployment.jar.

The SendInvetory.jar is added to the project.
-
Click Save All.

-
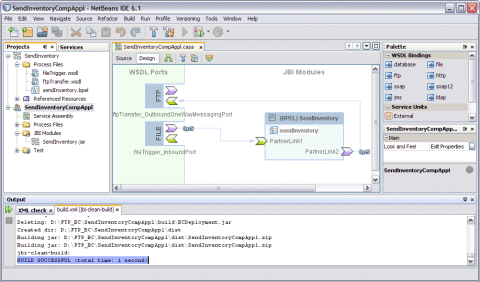
Right-click the Composite Application project node. Select Clean and Build.
For example, SendInventoryCompAppl

This action displays a message in the Output console:
BUILD SUCCESSFUL (total time: 1 seconds)
-
Click Save All.
- © 2010, Oracle Corporation and/or its affiliates
