Testing the Composite Application
You can enhance the Composite Application project by adding test cases, binding to the operation, supplying input, and then using the Tester. You have to first add a test case and then run the test case.
 To Add a Test Case
-
In the Projects window of the IDE, expand the HelloCompositeApp project node, right-click the Test node, and choose New Test Case from the pop-up menu.
The New Test Case wizard opens.
-
Accept the default test case name, TestCase1, and click Next.
-
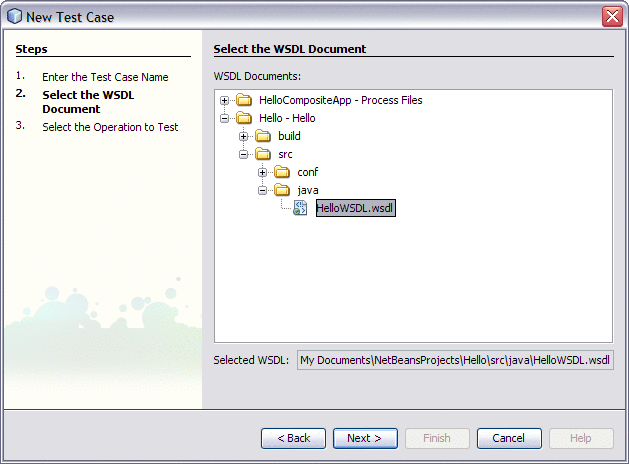
From the Select the WSDL Document page, expand the Hello - Hello, src , java nodes, and select HelloWSDL.wsdl.

-
Click Next.
-
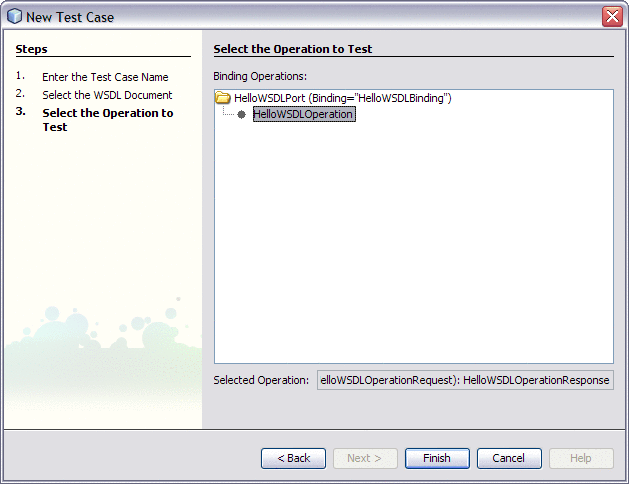
From the Select the Operation to Test page, select HelloWSDLOperation and click Finish.

A new TestCase1 node is added under the project's Test node in the Projects window, containing two subnodes, Input and Output.
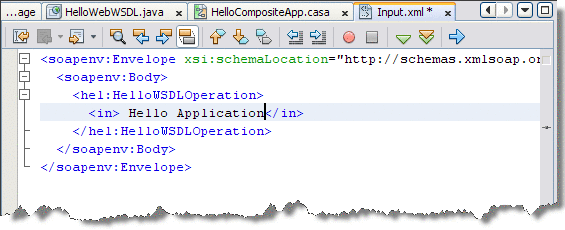
The Source Editor appears containing the Input file, Input.xml
Note –If the Source Editor does not contain a tab for Input.xml, double-click the Input node in the Projects window to open the file.
-
From the Input.xml tab of the Source Editor, locate the line:
<in>?string?</ in>
-
Replace the string ?string? with Hello Application, so that it appears as:
<in> Hello Application</ in>

-
From the NetBeans IDE toolbar, click the Save All button.
 To Run the Test Case
-
In the Projects window, expand the HelloCompositeApp -> Test -> TestCase1 nodes, right-click TestCase1 for the specific test case, and then choose Run.
In the Output window the first run correctly reports that it failed. This happens because the output produced does not match the (empty) Output.xml file, and the file's null content is replaced with the output of the first run.
-
When the Overwrite Empty Output dialog box appears, click Yes to accept new output.
To compare the output with newly generated output, we have to right-click the generated Output file in the projects window and choose Use Recent Result as Output option. From the next run onwards the system compares the generated output with the output.xml file and provides the result.
-
Run the test again.
The test case is compared to the current output file and succeeds.
-
To check the output, double-click the Output node under TestCase1.
In the Output.xml tab, according to this tutorial example, the result should have a string as shown in the figure below.

- © 2010, Oracle Corporation and/or its affiliates
