Deploying the Access Manager 7.1 SDK With Application Server 9.1
The Sun Java System Access Manager SDK implements APIs that allow an application such as Sun Java System Portal Server to manage users and related information in the user branch of the identity repository. Deploying the Access Manager 7.1 SDK requires these steps:
Installing the Access Manager 7.1 SDK Using the Java Enterprise System 5 Update 1 Installer
Install the Access Manager 7.1 SDK by running the Java ES 5 Update 1 installer with the Configure Later option.
 To Install the Access Manager 7.1 SDK
Before You Begin
-
Verify that Application Server 9.1 is installed and running on the server.
-
Verify that the full Access Manager 7.1 server is running and accessible, either on a remote server or on another instance on the same server where you plan to install the Access Manager SDK.
-
On the server where you plan to install the Access Manager SDK, log in as or become superuser (root).
-
Start the Java ES 5 Update 1 installer and accept the Software License Agreement.
-
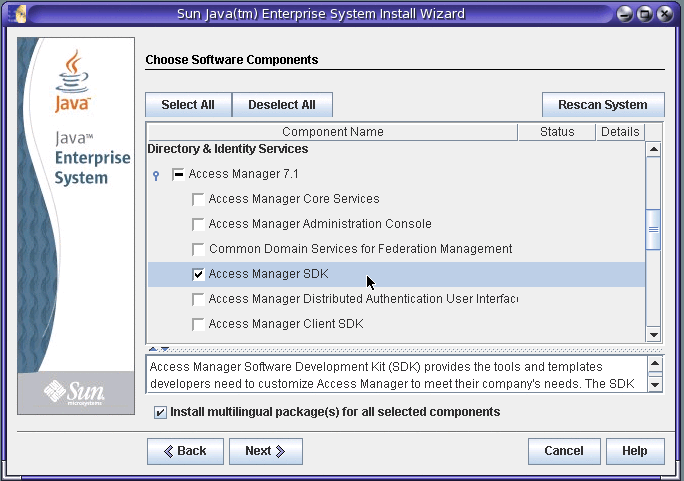
On the Choose Software Components page, under Access Manager 7.1, select only the Access Manager SDK. For example:

-
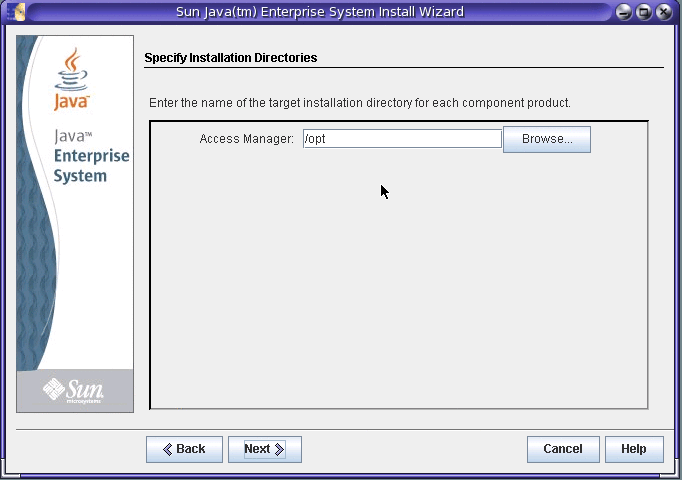
On the Specify Installation Directories page, accept either the Access Manager default installation directory (/opt) or specify a different directory, if you prefer. For example:

-
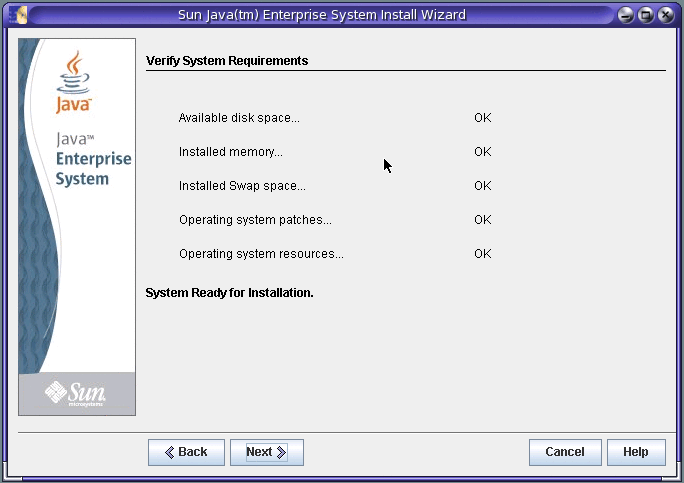
The installer then displays the Verify System Requirements page. For example:

The installer checks the system resources based on the components you have selected and the installation directories you provided:
-
If the installer displays System Ready for Installation, click Next and continue with the next step.
-
If the installer displays System Not Ready for Installation, click View Report for information about the problems that the installer found. If your system does not meet the minimum system requirements, in most cases, the installer cannot continue. For example, the system might be missing one or more required patches, which you must install before continuing with the installation.
-
-
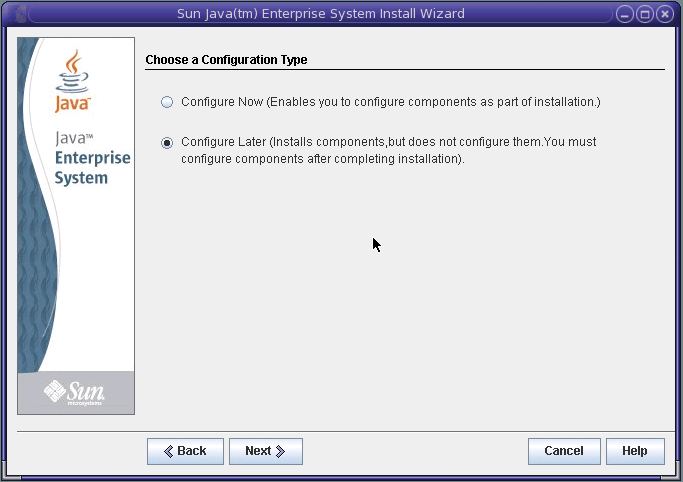
On the Choose a Configuration Type page, specify Configure Later. For example:

-
On the Ready to Install page, click Install to finish the installation.
Next Steps
The installer writes installation summary and log files in the following directory, depending on your platform:
-
Solaris systems: /var/sadm/install/logs
-
Linux and HP-UX systems: /var/opt/sun/install/logs
-
Windows systems: temp-directory\SunJavaES.log
where temp-directory is the user-defined temporary directory for the system.
For more information about these log files, see:
Configuring the Access Manager 7.1 SDK
Because you specified the Configure Later option when you ran the Java ES 5 Update 1 installer, you must now configure the Access Manager 7.1 SDK by editing variables in the amsamplesilent file (or a copy of the file) and then running the amconfig script.
On Windows systems, the corresponding files are amconfig.bat and AMConfigurator.properties. These files are installed in the javaes-install-dir\identity\setup directory, where javaes-install-dir is the Java ES 5 installation directory. The default value is C:\Program Files\Sun\JavaES5.
 To Configure the Access Manager 7.1 SDK
-
On the server where you installed the Access Manager 7.1 SDK, change to the /bin directory, depending on your platform:
-
Solaris systems: /opt/SUNWam/bin
-
Linux and HP-UX systems: /opt/sun/identity/bin
-
Windows systems: javaes-install-dir\identity\setup
Where javaes-install-dir is the Java ES 5 installation directory. The default value is C:\Program Files\Sun\JavaES5.
-
-
Make a copy of the amsamplesilent file. The following examples use the amsdk_configure file.
-
In the amsdk_configure file, set the following Access Manager configuration variables.
If a variable is commented out, also remove the comment character (#) when you set the value.
Variable
Description
DEPLOY_LEVEL
Action performed by the amconfig script. To install the Access Manager 7.1 SDK and configure the Application Server 9.1 web container, set as:
DEPLOY_LEVEL=4
AM_REALM
Access Manager mode: AM_REALM=enabled for Realm Mode or AM_REALM=disabled for Legacy Mode.
Note: Portal Server 7.1 supports either Realm Mode or Legacy Mode if user data is stored in Sun Java System Directory Server.
However, if your deployment also includes a Sun Java System Communications Suite product, You must specify Legacy Mode.
BASEDIR
Base installation directory. Set BASEDIR to the installation directory that you specified during the Access Manager 7.1 SDK installation. By default, BASEDIR is set to PLATFORM_DEFAULT, which is /opt on Solaris systems and /opt/sun on Linux systems.
On Windows systems, the base installation directory is the Java ES installation directory. The default value is C:\Program Files\Sun\JavaES5.
SERVER_NAME
Host name of the server where the full Access Manager 7.1 installation is running. For example: amhost
SERVER_HOST
Fully qualified name of the host server where the full Access Manager 7.1 installation is running. For example: amhost.example.com
SERVER_PORT
Port number of the host server where the full Access Manager 7.1 installation is running.
ADMIN_PORT
Port on which the administration instance will listen for connections. Default for Application Server 9.1 is 4848.
ADMINPASSWD
Password for the Access Manager administrator (amadmin) for the full Access Manager 7.1 server installation.
COOKIE_DOMAIN
Names of the trusted DNS domains that Access Manager returns to a browser when it grants a session ID to a user. Specify at least one value. The format is the server's domain name preceded with a period. For example:
COOKIE_DOMAIN=.example.com
AM_ENC_PWD
Password encryption key value.
Important: Set AM_ENC_PWD to the same password encryption key value used for the full Access Manager 7.1 server installation.
NEW_OWNER and NEW_GROUP
Owner and group, respectively, of the Application Server 9.1 instance on which the Access Manager SDK is being configured.
PAM_SERVICE_NAME
Name of the PAM service from the PAM configuration or stack that comes with the operating system and is used for the UNIX authentication module. Usually, other for Solaris or password for Linux. Default: other
WEB_CONTAINER
Web container for the Access Manager 7.1 SDK.
Note: Although you are deploying the Access Manager SDK on Application Server 9.1, set the variable as follows:
WEB_CONTAINER=AS8
Set any other variables in the amsdk_configure file as required for your deployment.
-
In the amsdk_configure file, set the following Application Server 9.1 web container variables:
Note: Although you are deploying the Access Manager SDK on Application Server 9.1, the web container variables begin with AS81.
-
In the amsdk_configure file, set the following Directory Server variables:
Variable
Description
DIRECTORY_MODE
Directory Server mode. For example, specify DIRECTORY_MODE=4 for an existing multiple-server installation. For more information, see Directory Server Configuration Variables in Sun Java System Access Manager 7.1 Postinstallation Guide.
DS_HOST
Fully qualified server name where Directory Server is running.
DS_PORT
Directory Server port. Default: 389.
DS_DIRMGRDN
Directory manager DN: user who has unrestricted access to Directory Server. Default: "cn=Directory Manager"
DS_DIRMGRPASSWD
Password for the directory manager.
AMLDAPUSERPASSWD
Password for amldapuser used for the full Access Manager 7.1 server installation. The AMLDAPUSERPASSWD value must be different from the amadmin password.
ROOT_SUFFIX
Root suffix of Directory Server.
-
While running as root, run the amconfig script using the edited amsdk_configure file. For example, on Solaris systems with the Access Manager SDK installed in the default directory:
# cd /opt/SUNWam/bin
# ./amconfig -s ./amsdk_configure
Note –On Windows systems, to configure Access Manager, run amconfig.bat with the AMConfigurator.properties file. These files are installed in the javaes-install-dir\identity\setup directory, where javaes-install-dir is the Java ES 5 installation directory. The default value is C:\Program Files\Sun\JavaES5.
-
Stop and then restart the Application Server 9.1 instance.
Next Steps
After you have installed and configured the Access Manager 7.1 SDK, an application such as Portal Server can use the Access Manager SDK APIs to manage users and related information in the user branch of the identity repository. If you want to install and configure Portal Server 7.1, refer to the following documentation collection for more information:
- © 2010, Oracle Corporation and/or its affiliates
