 To Create a Web Space Server Administrator
Account in OpenSSO
This task will likely be unnecessary in most Web Space Server production environments. It is only necessary in cases where the Web Space Server site administrator does not have an OpenSSO account with correspondingly sufficient privileges to perform administrative tasks on the Web Space Server site.
This example demonstrates how to create an OpenSSO account corresponding to the Web Space Server administrative account, admin@example.com.
-
Gather the credentials for the Web Space Server administrator for whom you want to create a corresponding account on the OpenSSO server.
In particular, make note of the user name, password, and email address.
-
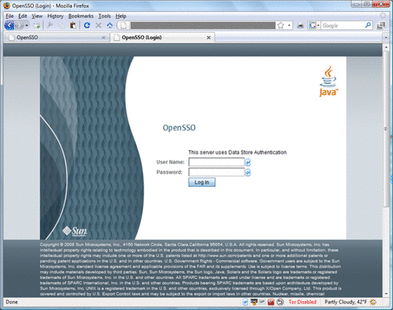
Go to the URL for the your OpenSSO server and log in as the OpenSSO adminstrator.
For example:
http://ssofoo.bar.com:7080/opensso
-
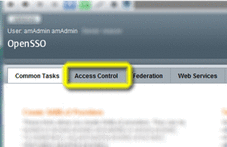
In the OpenSSO Administration Console main screen, choose the Access Control tab.
-
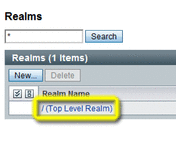
Choose the name of the realm in which you want to create the Web Space Server admin user.
In this example, the / (Top Level Realm) is chosen.
-
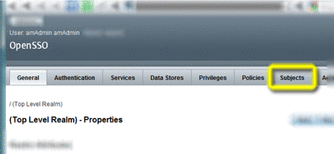
On the Realm Properties page, choose the Subjects tab.
-
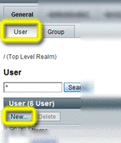
Make sure the User tab is selected, and then choose New.
-
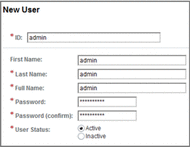
Enter the information for the Web Space Server admin user, as appropriate, and then click OK.
Note –Do not use the same password here as is defined for the admin user in Web Space Server.
-
Back on the Subjects->User page, click the name of the new admin user.
The Edit User — admin page is displayed.
-
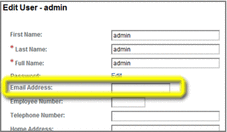
Enter additional information for the admin user, and then click Save and Back to Subjects.
In this, in order to work with the Web Space Server sample site, the email address for the admin user, admin@example.com, is entered here.
-
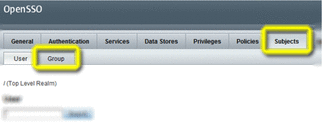
Back on the Subjects page, choose the Group tab.
-
Choose New to create a new group.
-
Enter an ID for the new group, and then click OK.
In this example, the group name webminadmin is used.
-
Back on the Subjects->Group page, click the name of the new webminadmin group.
-
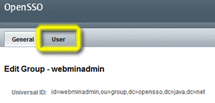
On the Edit Group — webminadmin page choose the User tab.
-
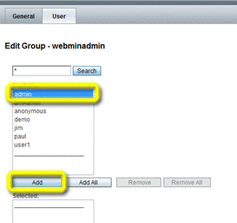
Select the new admin user from the Available list, and then click Save and Back to Subjects.
-
Choose the Privileges tab to display the realm Privileges page.

-
Choose the name of the new group, webminadmin, to display the group Properties page.
-
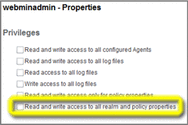
Enable the bottom checkbox, “Read and write access to all realm and policy properties,” and then choose Save and Back to Privileges.
-
Log out of the OpenSSO administration console, and log in as admin to the Web Space Server site using the account information you defined on the OpenSSO server.
The admin user will now be logged in and have full administrative privileges on the Web Space Server site.
- © 2010, Oracle Corporation and/or its affiliates
