Policies Tab Page
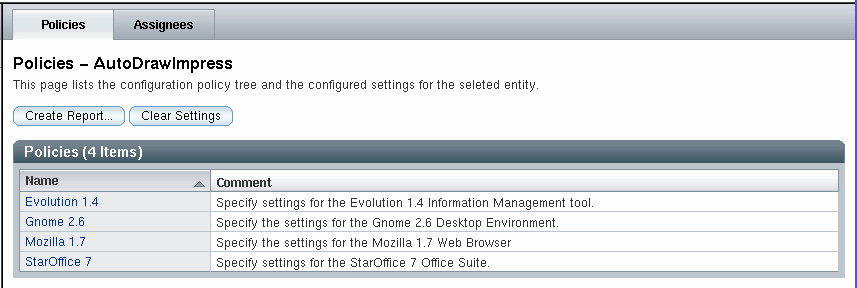
Figure 2–13 Policies tab page

Use the Policies tab page to navigate the configuration policy tree, which displays subgroups, configuration settings, or both.
Every Policies page contains a Create Report button. This button allows access to the reporting functionality. See Reporting for more information.
If the Policies page contains a Policies table, a Clear Settings button is displayed. The Clear Settingsbutton deletes all of the configuration settings that are defined for the current policy of the selected entity, including the settings for the associated sub-policies. Clicking the Clear Settings button activates a warning dialog, which informs the administrator about the implications of this action.
Every root entry in the configuration policy tree denotes an application, for
example, Mozilla. The tree below the application organizes
the configuration settings that belong to that application.
Parentage Path
The parentage path is displayed at the top of the page underneath the tabs. It shows the current location in the configuration policy tree. It functions in the same way as the parentage path in the Navigation pane. See Parentage Path.
Policies Table
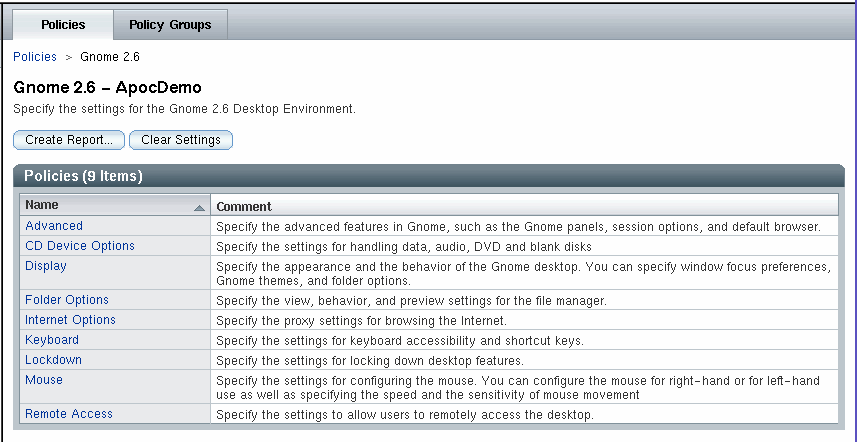
Figure 2–14 Policies table

The Subgroups table is located below the parentage path. The table lists the subgroups of the current location in the configuration policy tree. It contains two columns: "Name" and "Comment".
The "Name" column contains the names of all subgroups of the current location in the configuration policy tree. The name is displayed as a link.
To navigate through the configuration policy tree, click on a name link. This refreshes the Content pane so that the parentage path points to the new location in the configuration policy tree, and refreshes the Content pane to display the Policies table.
The "Comment" column contains a short description of the subgroup.
Policies
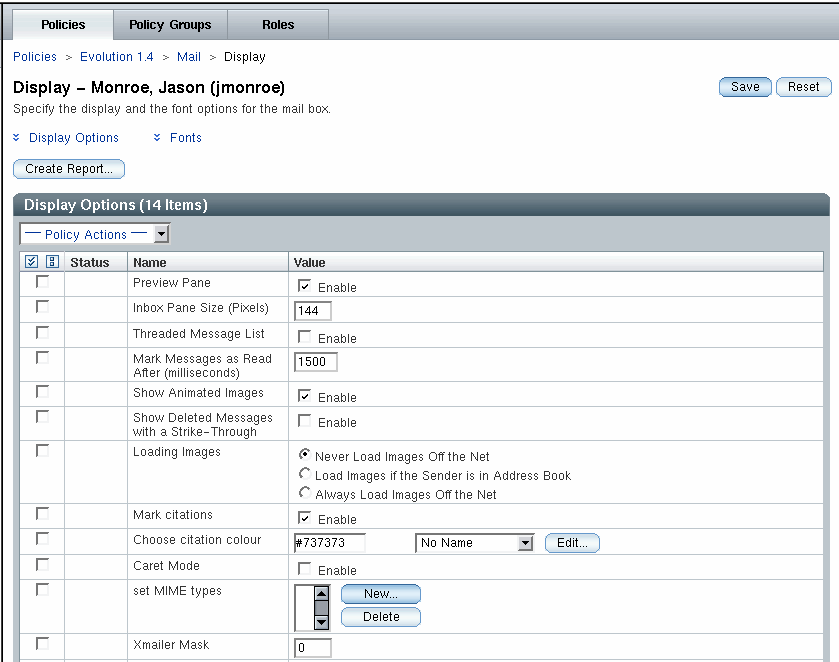
Configuration settings for policies are displayed in the Policies page of the Content pane.
Figure 2–15 Policies page

The data is presented in tables. The tables have four columns. A selection column that contains selection icons, a "Status" column, a "Name" column and a "Value" column. The action bar on the table has a drop-down actions menu.
 To perform an action on an element
Steps
-
Select the check box in the selection column of the desired element.
-
Select an action from the Policy Actions drop-down menu. The following table describes all actions
Action
Operation
Protect
Sets the selected element to be protected.
Unprotect
Removes the protection for the selected element.
Clear
Deletes the data that is stored in the element for the current entity.
Apply Default
Uses the default setting for the application.
To the left of an element name, two icons show the status of that element. The following table summarizes the icons and their function:
Icon
Meaning
Operation

This icon illustrates that the value of the element was set at this level of the organization tree.
-

This icon, which is also a link, illustrates that the value of the element was set at a higher level of the organization (or domain) tree. The value that the administrator sees is the result of the merging of layers, or entity levels, within the organization.
When you click on the icon, it navigates you to where the value was set.

This icon illustrates that the protection of the element was set at this level of the organization (or domain) tree. Protection is inherited through both the organization and configuration policy trees.
-

This icon, which is also a link, illustrates that the protection of the element was set at a higher level of the organization (or domain) tree. The protection of this element or item is as a result of merging of layers, or entity levels, within the organization.
Clicking on this icon navigates to the level where the protection was set.
Data values can be changed by changing the values in the "Value" column. Value changes as well as status changes must be saved. Saving is done by clicking on the Save button.
Sets
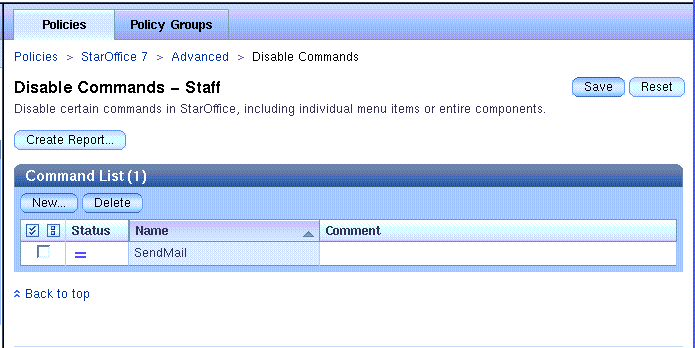
Figure 2–16 Adding a new property

In general, the content and structure of the Policies tab page is static, thus the number of properties and sections for a certain subgroup is given and can not be modified by the administrator. This is sufficient for most of the administration tasks. However, some applications manage lists of items, where the administrator is able to add or remove items. Therefore, the Configuration Manager provides sets to offer a similar functionality. Sets allow administrators to add or remove properties during runtime.
 To add an element to a set
Steps
-
Click on the New button.
-
Enter the name of the new element in the dialog that appears.
The element is then added and the main window refreshed.
-
In the main window, the new element can be edited.
-
To make the changes permanent, it is necessary to explicitly click the Save button.
Deleting an element
To delete elements from a set, select the element and click the Delete button.
Note –
A set can also contain one or more sets. To edit a set, click the name of the set in the list.
- © 2010, Oracle Corporation and/or its affiliates
