 To Configure Username Authentication on the Client
Once you’ve created an authorized user and determined how your application needs to specify the user, configure the Username Authentication options as follows.
-
In the Projects window, expand the node for the web service client.
-
Expand the Web Service References node.
-
Right-click the node for the web service reference for which you want to configure security options.
-
Select Edit Web Service Attributes.
-
Select the WSIT tab to display the WSIT options.
-
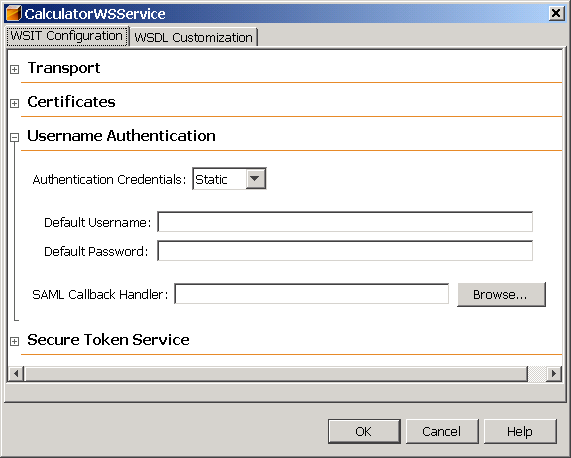
Expand the Username Authentication section to specify the user name and password information as required by the service. The dialog appears as shown in Figure 7–3.
Figure 7–3 WSIT Configuration - Client - Username Authentication

-
The following options are available.
Note –Currently the GlassFish CallbackHandler cannot handle the following: SAML Callbacks and Require ThumbPrint Reference assertions under an X.509 Token. This may be addressed in a future milestone.
-
Default Username, Default Password: Type the name of an authorized user and the password for this user. This option is best used only in the development environment. When the Default Username and Default Password are specified, the username and password are stored in the wsit-client.xml file in clear text, which presents a security risk. Do not use this option for production.
-
SAML Callback Handler: To use a SAML Callback Handler, you need to create one, as there is no default. References to example SAML Callback Handlers are provided in Example SAML Callback Handlers. An example that uses a SAML Callback Handler can be found in Example: SAML Authorization over SSL (SA).
- © 2010, Oracle Corporation and/or its affiliates
