Installing in GUI Mode
The following procedure shows how to use the Message Queue Installer in GUI mode to install the Message Queue 4.2 product on your Solaris system.
 To Install Message Queue in GUI Mode
-
Become the root user.
You must have root user privileges to run the Message Queue Installer. Enter the command
su
and provide a valid root user password when prompted to do so.
-
Create a temporary directory.
From your system’s command line, enter the command
mkdir tempDir
where tempDir is any name you choose for your temporary directory.
-
Download the Message Queue Installer to the temporary directory.
The Installer is available for download from the Message Queue product Web site at
http://www.sun.com/software/products/message_queue
It is distributed as a compressed archive (.zip) file named
mq4_1-installer-SunOS.zip
(for the SPARC platform) or
mq4_1-installer-SunOS_X86.zip
(for the x86 platform).
-
Go to the temporary directory.
Enter the command
cd tempDir
where tempDir is the temporary directory to which you downloaded the Installer in step 3.
-
Decompress the Installer archive.
Enter the command
unzip mq4_1-installer-SunOS.zip
or
unzip mq4_1-installer-SunOS_X86.zip
depending on your platform. This creates a subdirectory named
mq4_1-installer
containing the files needed for Message Queue 4.2 installation.
-
Switch to the Installer subdirectory.
Enter the command
cd mq4_1-installer
-
Start the Installer.
Enter the command
installer
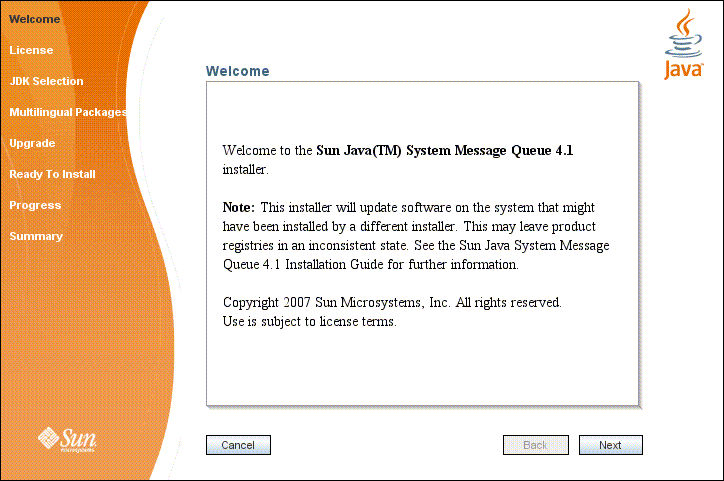
The Installer’s Welcome screen (Figure 2–1) appears.
Figure 2–1 Installer Welcome Screen
-
Click the Next button.
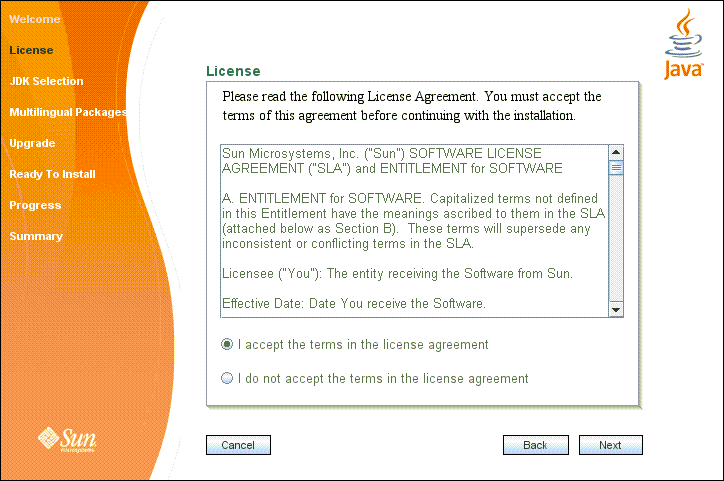
The Installer’s License screen (Figure 2–2) appears.
Figure 2–2 Installer License Screen
-
Read and accept the product license agreement.
Installation and use of the Message Queue product are subject to your acceptance of the license agreement. You must read and accept the terms of the license agreement before installing the product.
-
Read the product license agreement.
-
Make sure the radio button labeled “I accept the terms in the license agreement” is selected.
If you instead select “I do not accept the terms in the license agreement,” the Next button becomes disabled. You cannot proceed with installation without accepting the license terms.
-
Click the Next button.
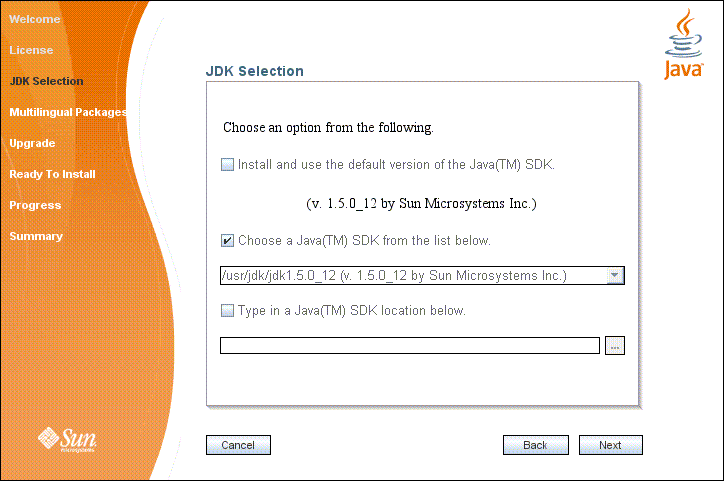
The Installer’s JDK Selection screen (Figure 2–3) appears.
Figure 2–3 Installer JDK Selection Screen
-
-
Specify the version of the Java SDK for Message Queue to use.
-
Select a Java SDK.
You can do this in any of three ways:
-
Install the default SDK.
Select the option labeled “Install and use the default version of the Java SDK.”
-
Choose an SDK already installed on your system.
The drop-down menu under the option “Choose a Java SDK from the list below” lists existing SDKs found in standard locations on your system. You can use this option to specify one of these SDKs for Message Queue to use.
-
Provide an explicit path to an existing SDK.
To use an SDK from a location other than the standard ones, enter its path in the text field under the option “Type in a Java SDK location below,” or use the button marked with an ellipsis (…) to browse to it interactively.
-
-
Click the Next button.
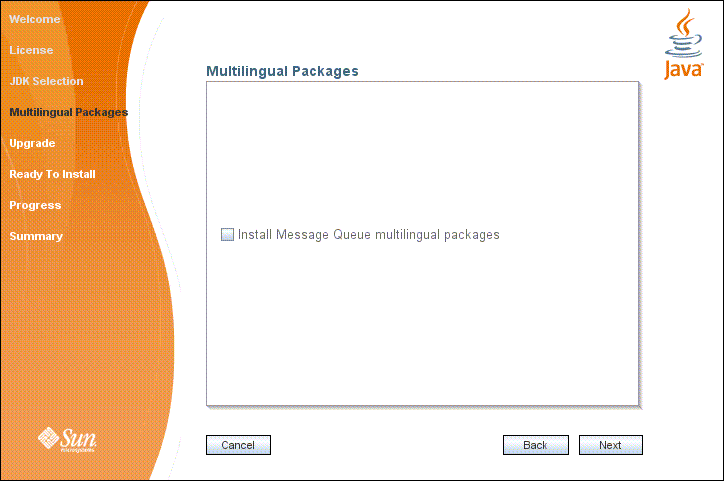
The Installer’s Multilingual Packages screen (Figure 2–4) appears.
Figure 2–4 Installer Multilingual Packages Screen
-
-
Specify whether to install multilingual packages.
By default, Message Queue is installed to operate in the English language only. The Multilingual Packages screen allows you to install it for use in another language.
-
If you will be using Message Queue in a language other than English, select the checkbox labeled “Install Message Queue multilingual packages.”
If you will be using Message Queue only in English, leave this checkbox deselected.
 Caution –
 If you choose not to install the multilingual packages and later decide that you do need them after all, there is no convenient way to install them incrementally: you will have to uninstall Message Queue and then repeat the entire installation procedure with the multilingual packages selected. Before proceeding to install without the multilingual packages, be sure you will not be needing them in the future.
-
Click the Next button.
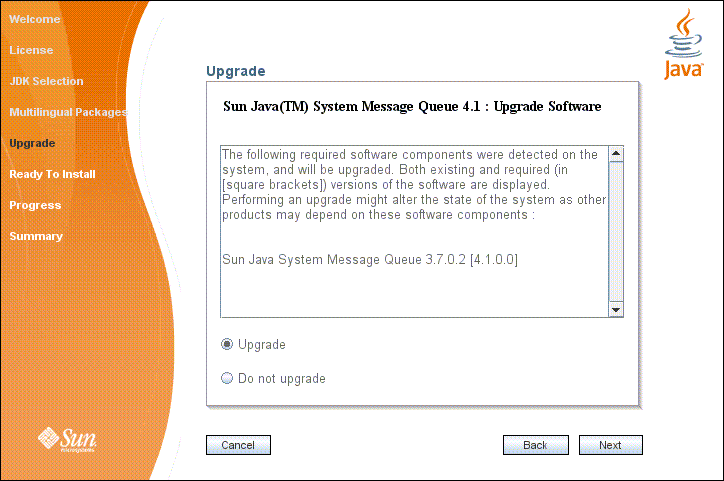
The Installer’s Upgrade screen (Figure 2–5) appears.
Figure 2–5 Installer Upgrade Screen
-
-
Specify whether to upgrade Message Queue and its shared components.
If an earlier version of Message Queue exists on your system, or if any of the shared components on which Message Queue depends need to be upgraded from earlier versions, the Upgrade screen displays them in a scrollable list along with their current and required versions. If no upgrades are needed, the existing components are simply listed with their version numbers and a notation that they will remain at their current versions. In this case, the “Upgrade” and “Do not upgrade” radio buttons do not appear; just click Next to proceed to the next step.
 Caution –
 It is possible that upgrading Message Queue’s shared components may break other software components on your system that depend on the earlier versions previously installed. Be sure there are no such dependencies before proceeding with the upgrade.
To proceed with the upgrade:
-
Make sure the radio button labeled “Upgrade” is selected.
If you instead select “Do not upgrade,” the Next button becomes disabled; your only options at this point are Back (to return to the previous screen) or Cancel (to exit the Installer without completing installation).
-
Click the Next button.
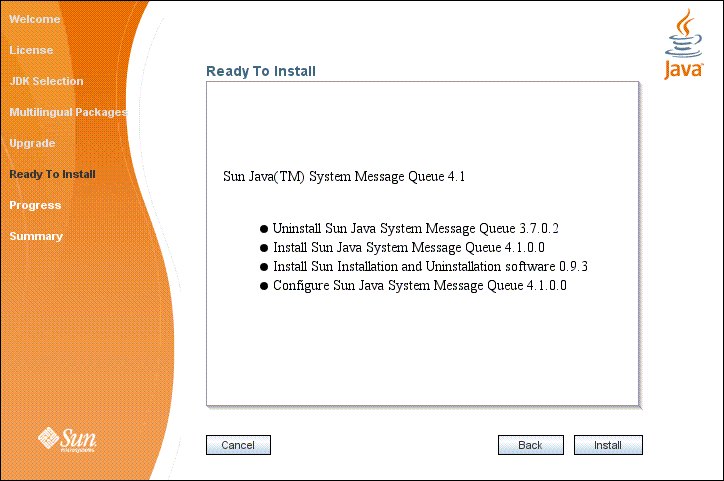
The Installer’s Ready screen (Figure 2–6) appears.
Figure 2–6 Installer Ready Screen
-
-
Click Install to begin the installation.
The Installer’s Progress screen (Figure 2–7) appears, tracking the progress of the installation as it proceeds.
Figure 2–7 Installer Progress Screen
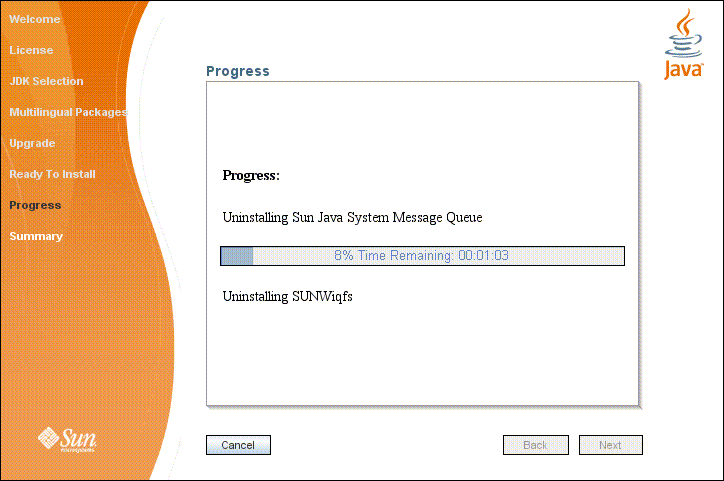
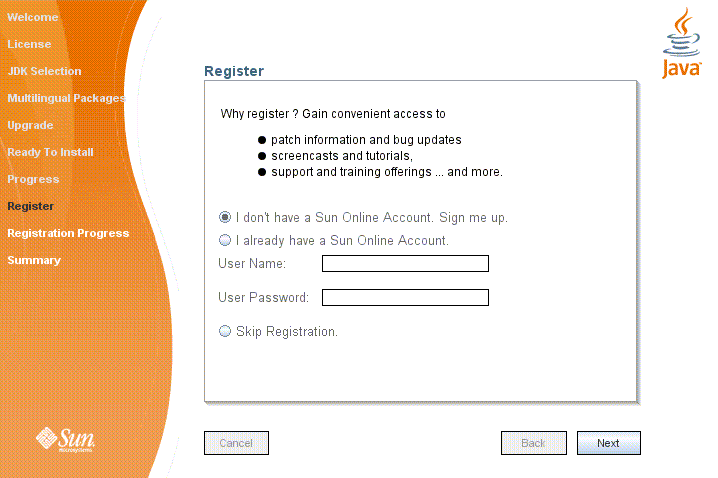
When installation is complete, the Installer's Sun Connection Registration screen (Figure 2–8) appears.
Figure 2–8 Sun Connection Registration Screen
-
Register Message Queue with Sun Connection.
Sun Connection is a Sun-hosted service that helps you track, organize, and maintain Sun hardware and software. When you register a Message Queue installation with Sun Connection, information such as the release version, host name, operating system, installation date, and other such basic information is securely transmitted to the Sun Connection database. The Sun Connection inventory service can help you organize your Sun hardware and software, while the update service can inform you of the latest available security fixes, recommended updates, and feature enhancements.
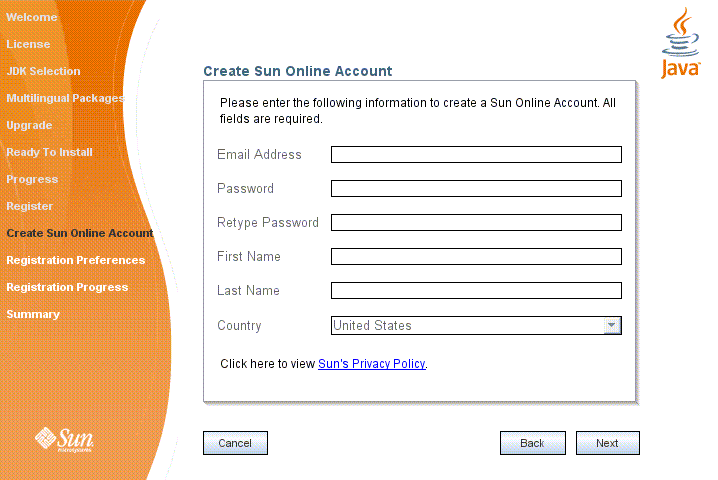
Registration requires that you have a Sun Online account or create one. If you do not already have an account, the installer provides the following screen (Figure 2–9) for creating a Sun Online account:
Figure 2–9 Create Sun Online Account Screen
Note –If you choose not to register Message Queue during installation, you can subsequently register Message Queue by running the installer in register-only mode, as follows:
# installer -r
The register-only mode requires that Message Queue 4.2 already be installed and will display only the installer screens related to registration.
When Sun Connection registration is complete, the Installer’s Summary screen (Figure 2–10) appears, summarizing the steps that were performed during installation.
Figure 2–10 Installer Summary Screen
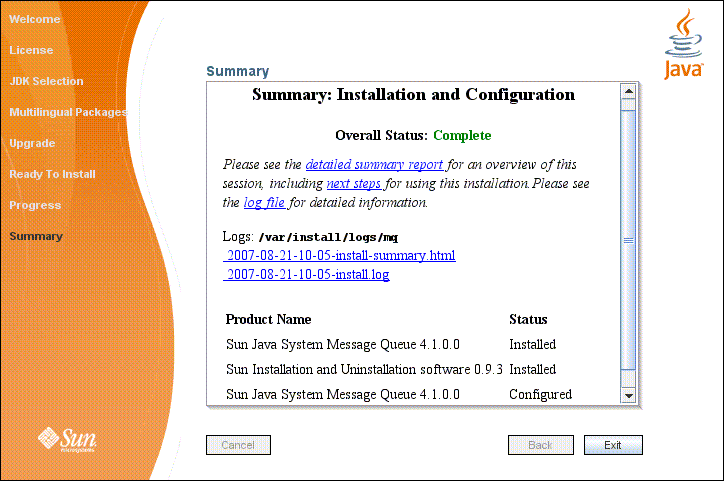
You can click the links on this screen for a detailed summary report and a log file giving more details on the installation.
-
Click the Exit button to dismiss the Summary screen.
Message Queue installation is now complete.
Tip –After installation is complete, you can check that the expected versions of Message Queue and the Java runtime have been installed by navigating to the Message Queue /bin directory and executing the command
imqbrokerd -version
The output from this command identifies the versions of Message Queue and the Java SDK that are installed on your system.
- © 2010, Oracle Corporation and/or its affiliates
