Part 3: Creating a Web Module and Inserting a Java Server Page

  1. From the Forte File menu, select New.

    The Template Chooser dialog appears.
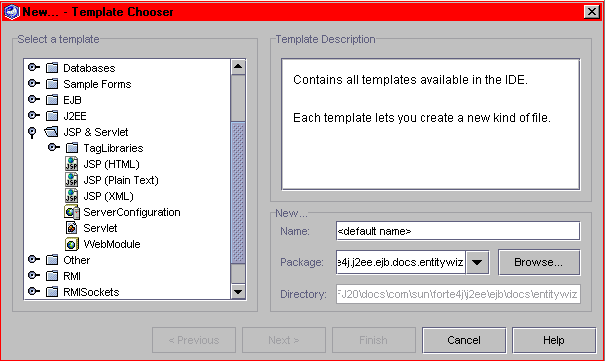
  2. Expand the JSP & Servlet node.
  3. Select WebModule.
  4. Select the Next button.

    The New... Web Module dialog appears.
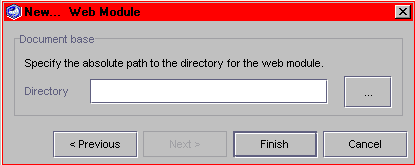
  5. Select the button.

    A File chooser dialog appears.

  6. Navigate to the directory you wish to use and select Add.

    You can create a new directory from within this New Web Module dialog.

  7. Select Finish.

    A new Web Module is now created and mounted as a Filesystem. You can view it from the Explorer window Filesystems tab.

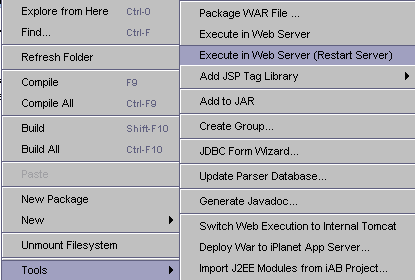
    To verify that the new web module you just mounted is indeed a web module, select it and right click to display the context menu. Select the Tools menu item to display a submenu. If you see the submenu item "Package WAR File..." then your module is indeed a web module.
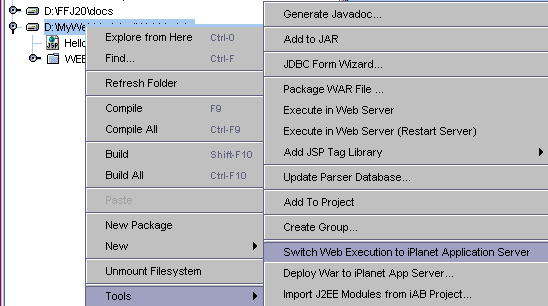
  8. Select the newly created web module node.
  9. Right click and select Tools -> Switch Web Execution to iPlanet Application Server.

    The Switch Web Execution menu item toggles between web execution to the iPlanet Application Server and the TOMCAT server.
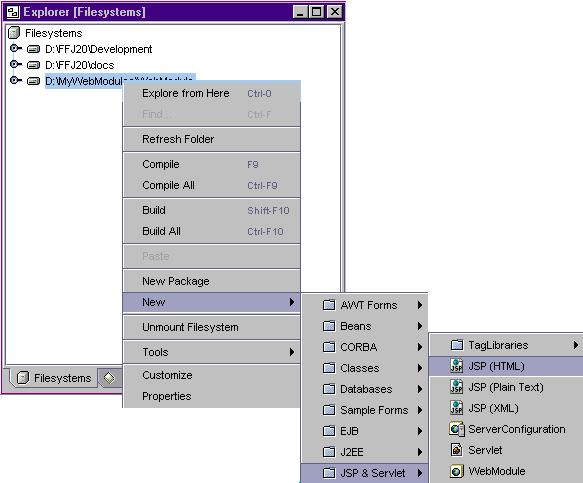
  10. Select the web module once more.

  11. Right click and select New -> JSP & Servlet -> JSP (HTML).

  12. Enter "Hello" as the name and don't add an extension.

    The Hello.jsp is created and opened.

  13. In the source editor, enter "Hello There!" into the Hello.jsp file in a new line after the <body> tag.
  14. From the Explorer window, select the Hello JSP node.
  15. Right click and select Execute.

    Forte switches to the Running view and displays an Output window and an Execution window.

    A WAR file is created and deployed to the iPlanet Application Server default instance. You can view the deployment messages in the iPlanet Deployment tab of the Output Window.

    If you execute on a local server instance, the currently running KJS engine of the iPlanet Application Server is shut down and restarted by Forte. The first time you execute it can take a long time (one minute) to perform the KJS engine shutdown and restart, but after this initial execution, its much faster.

    You can see the KJS output information in the iPlanet kjs - I/O tab of the Output Window.

    The iPlanet KJS is also displayed in the Execution window.

    When deployment is completed. The Forte browser launches and points to the proper URL to view the page. For example, http://<server>:80/NASApp/<webmodule>/Hello.
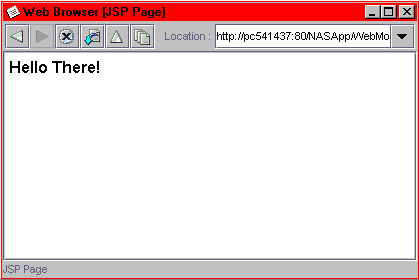
To execute an entire web module:

  1. Select the web module node and expand the tree view.
  2. Expand the WEB-INF node and select the ias-web node.

    Remember, the web descriptors always reside inside the WEB-INF directory.

  3. Right click to display the context menu and select Open using the iPlanet App Server Customizer.

  4. In the General tab, add a welcome file to launch the browser with an initial introductory page.

    You can add the JSP (HTML) file you just created, or any servlet or HTML file you wish.

  5. Select OK.

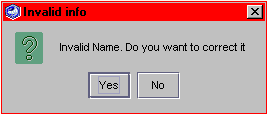
    You may encounter an error message prompting you to validate the information. This is a known error message.

  6. Select No to dismiss the dialog.
  7. From the Explorer, select the web module node.
  8. Right click to display the context menu.
  9. Select Tools -> Execute in Web Server.

    You can also select Execute in Web Server (Restart Server). In this release, both menu options function the same. They both restart the server.

    Forte switches to the Running view and displays an Output window and an Execution window.

    When deployment is completed. The Forte browser launches and points to the proper URL to view the welcome page you added. For example, http://<server>/NASApp/<webmodule>.

    Note: If the file does not exist, a "cannot connect to <moduleURL> message is displayed in the browser and a "File not found." exception is encountered.

    Congratulations, you have successfully created and executed a Java Server Page.

See also
  Creating a Servlet


Legal Notices