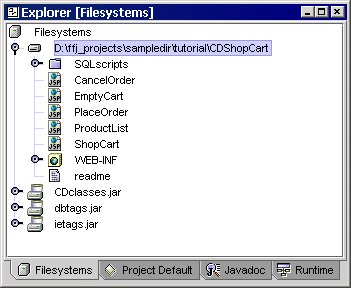
In this section of the tutorial, you will deploy and execute an existing applicatin, named CDShopCart. The CDShopCart application is installed with the Forte for Java IDE under the path content root/sampledir/tutorial/CDShopCart.
The CDShopCart interacts with a database to store and retrieve data. This subsection will show you how to configure the application with PointBase database that comes with Forte for Jave. You can get more information on how to configure it with other databases, such as Oracle Database version 8.1.6, from "Forte for Java, Community Edition Tutorial." To see that PointBase was installed, look for a pointbase directory under the directory where Forte for Java is installed. If PointBase was not installed, you can run the installer again to install it.
To configure PointBase database:
In Solaris or Linux environments: Run the console.sh file in the forte4j-home/pointbase/client directory.
On Microsoft Windows: Choose Start > Forte for Java EE > PointBase > Client Tools > Console or double-click the console.bat file in the forte4j-home/pointbase/client directory.
The Connect To Database dialog box appears, showing values for the PointBase driver to the default sample database.

The message window confirms that the script was executed. (Ignore the initial messages beginning Cannot find the table... These appear because there are DROP statements for tables that have not been created yet. These DROP statements will be useful in the future if you want to rerun the script to initialize the tables.)
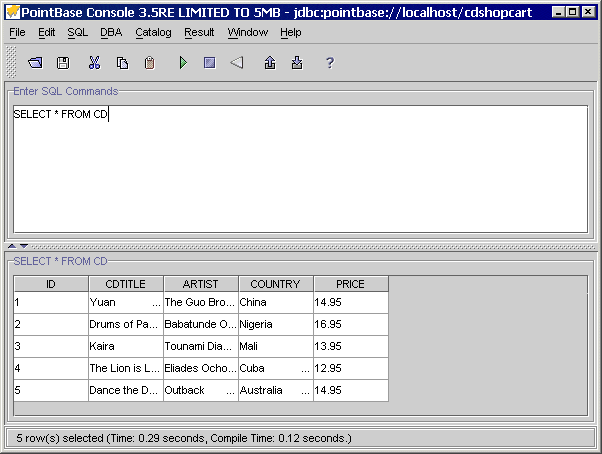
SELECT * FROM CD
In this subsection, you will update the sample code to work with PointBase database.
For ShopCart.jsp, the taglib directive should look like this:
<%@taglib uri="/ietags" prefix="pr" %>
For ProductList.jsp, the taglib directives should look like these:
<%@taglib uri="/dbtags" prefix="jdbc" %>
<%@taglib uri="/ietags" prefix="pr" %>
In ProductList.jsp, update the URL for the database
as follows:
<jdbc:connection id="jdbcConn"
driver="com.pointbase.jdbc.jdbcUniversalDriver"
url="jdbc:pointbase://localhost/cdshopcart"
user="PUBLIC" password="PUBLIC" />
In CheckOutBean.java, update a call to
setConnectionURL as follows:
pmf.setConnectionURL("jdbc:pointbase://localhost/cdshopcart");
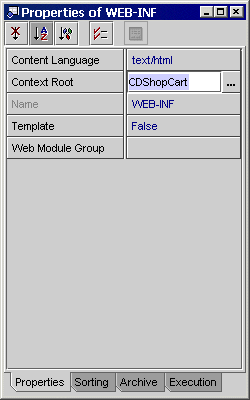
The Context Root will be used in the URL when executing the web module.
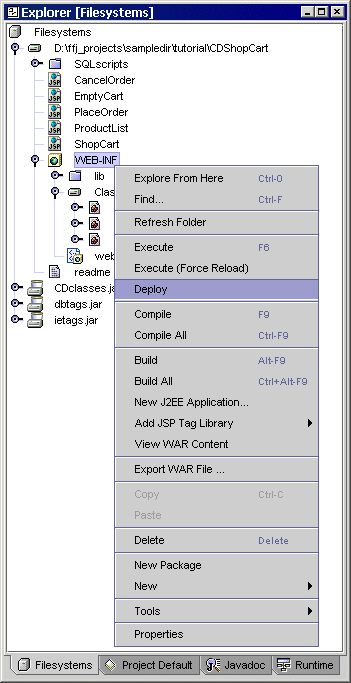
You will now deploy and excute the configured sample code.
The Web Browser launches and displays the following screen:
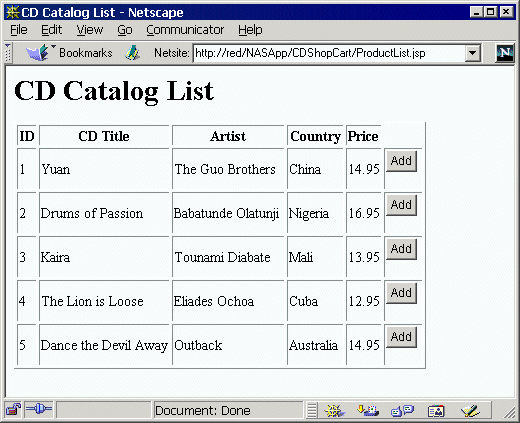
If you have performed the optional step 4 of the previous subsection, you can also visit the same page at http://serverinstance/NASApp/CDShopCart/
| NOTE: Please note that the Place Order page does not work because Transparent Persistence has not been added. Transparent Persistence is beyond the scope of this tutorial. For additional information, see Forte™ for Java™, Community Edition Tutorial. |
| © 2002 Sun Microsystems, Inc. | terms of use privacy policy feedback |