 To Install the OTP Services, Agent, and Plug-ins on
the External OTP Installation Server
Before You Begin
The OTP 1.1 installation source directory must created and NFS-mounted on the external OTP installation server as described in To Create the OTP Installation Directory on the External OTP Installation Server.
-
Log in as root (su - root) to the external OTP installation server.
-
Install the SUNWotpcli package.
Type # pkgadd -d /otp1.1/Products/packages -R / SUNWotpcli.
-
Set up the external installation server.
Type /opt/SUNWotp10/CLI/setupExternalInstallServer /otp1.1
The setupExternalInstallServer script performs the following tasks:
-
Installs the master server and the OTP Application Provisioning Service remote agent
-
Loads the OTP and OSP plug-ins
-
Installs the OSP server and JET Boot/Install server.
-
Changes the default DHCP lease time for Solaris OS provisioning from 5 to 15 minutes.
Wait for the installation process to complete. The installation process can take up to 35 minutes to complete.
-
-
Go to URL http://install server:9090 where install server is either the IP address or the fully qualified name of the external OTP installation server.
If installation was successful, the service provisioning system log in page appears.
-
(Optional) Click change password and change the password on the next page.
Type the default user name and password admin in the user name: and current password: fields.
Type the new password in the new password: and confirm new password: fields, and then click continue to change password.
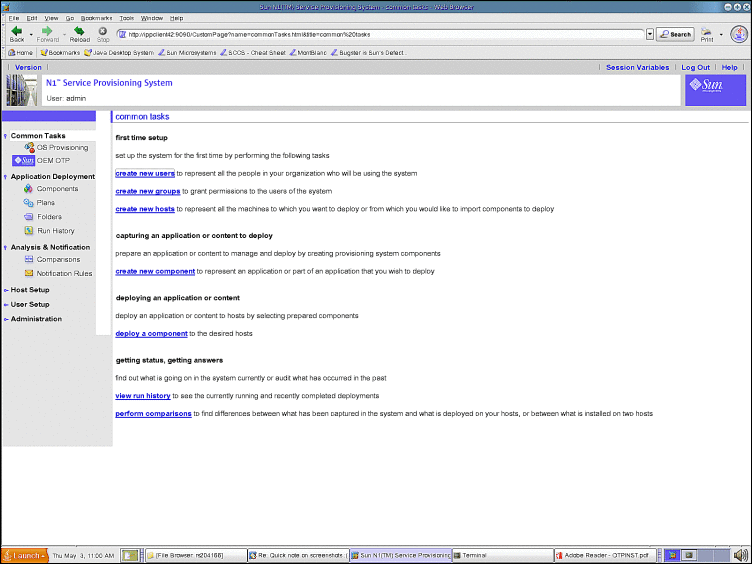
The log in page appears. Log in to the service provisioning system. The Common Tasks page appears.
Figure 3–1 Common Tasks Page

-
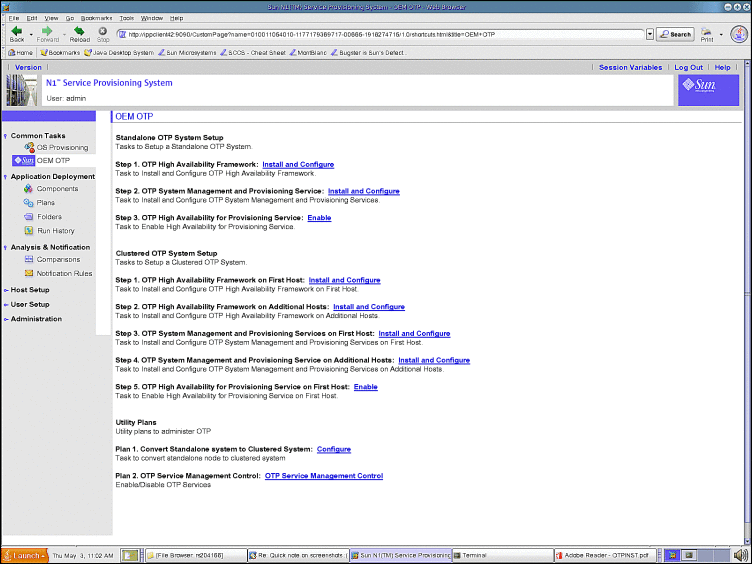
Click OEM OTP under Common Tasks in the left menu to display the Open Telecommunications Platform home page.
Figure 3–2 Open Telecommunications Platform Tasks Page

-
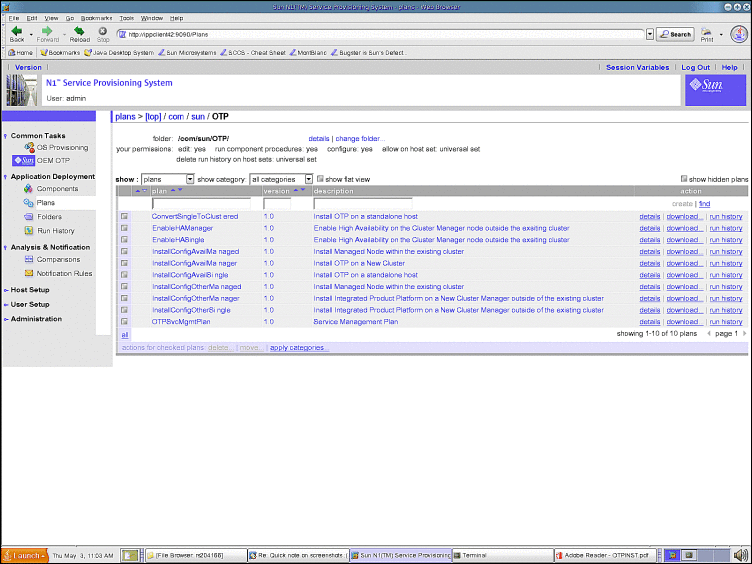
Click Plans under Application Deployment to display the plans screen.
If you do not see the plans screen, click change folder and navigate to /com/sun/OTP.
Figure 3–3 Plans Screen

Successful display of the screens verifies installation of the service provisioning system and the Open Telecommunications Platform plug-in.
-
Next Steps
Install Solaris 10 Update 2 on the OTP hosts as described in the next section.
- © 2010, Oracle Corporation and/or its affiliates
