Document Library Document
To be done.
 To add a Document Library Document
-
Select Document Library Document from the list on the Asset Publisher portlet.
-
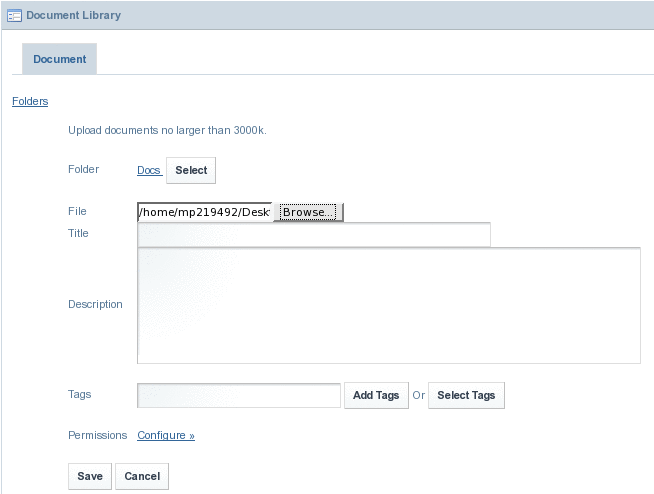
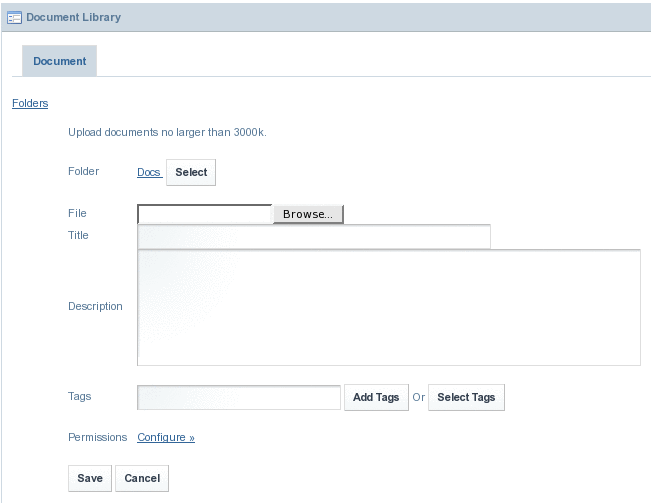
Click Select to select a folder as described in the procedure and browse a document to upload it to the Document Library.
In our example, we are creating a folder called Docs, and uploading a file named Wedding Invitation.
Figure 4–64 Adding a Document Library Document
-
Click Save to save the document to the Document Library.
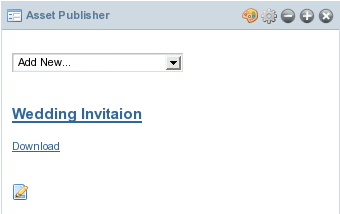
The document is displayed on the Asset Publisher portlet. You can download the document if required.
Figure 4–65 Saving the document to the Document Library
 To Delete a Document from the Document Library
-
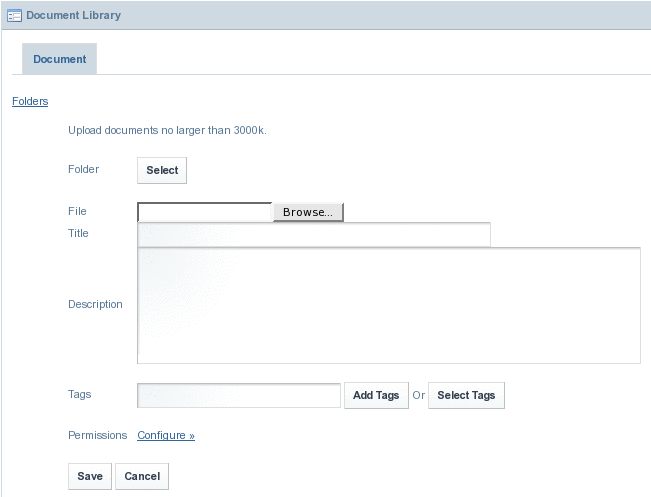
Select Document Library Document from the list on the Asset Publisher portlet.
Figure 4–66 Document Library page
-
Click Select.
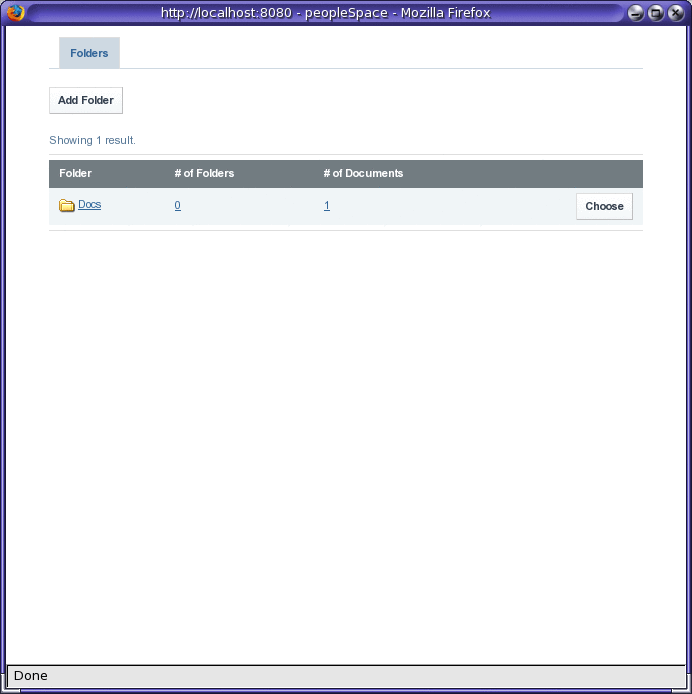
All the documentation folders currently available are listed
-
Click Choose against the folder containing the document.
In our example, choose the Docs folder.
Figure 4–67 Choosing a documentation folder
The selected folder is added to the Document Library page. Note that a link for the folder appears near the Select button.
Figure 4–68 Selected folder (containing the document which need to be deleted)
-
Click on the link for the selected folder.
-
Select Delete from Actions, to delete the document.
Figure 4–69 Deleting the document

- © 2010, Oracle Corporation and/or its affiliates
