 To Create a Workflow Instance
-
Click on Search Definitions from the Workflow portlet to view all workflow definitions.
Figure 4–78 To Create a Workflow Instance

-
Click on the Add Instances button against a workflow definition.
In our example, we are creating an instance for version 1.0 of the LeaveApproval workflow definition.
Figure 4–79 To Create a Workflow Instance

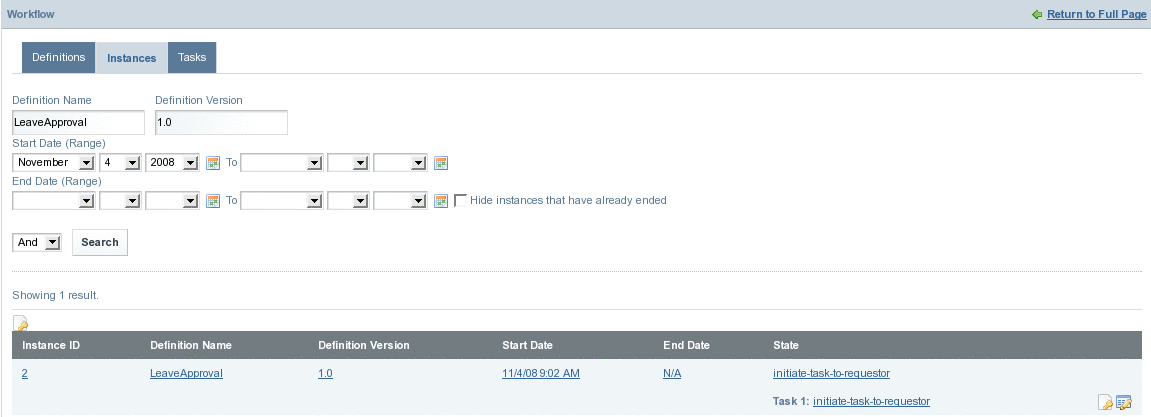
An instance is created for the Workflow Definition. Provide values for the fields such as the Definition Name, Definition Version, Start Date (Range), and End Date (Range), and Click Search to search for the instance. To hide the instances that have already ended, select the Hide the instances that have already ended checkbox.
You can create any number of instances for a version of Workflow Definition.
Figure 4–80 To Create a Workflow Instance

-
Click on the Manage button for the instance.
Figure 4–81 Manage button

-
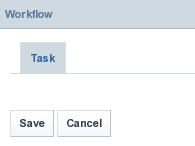
Click Save to save the task.
Figure 4–82 To Create a Workflow Instance

The task is assigned to the requester.
Note –If the admin user clicks the Signal button against an Instance, the instance is promoted to the next state of workflow. The requester is not allowed to use an instance which is promoted to the next state of the workflow.
- © 2010, Oracle Corporation and/or its affiliates
