| Skip Navigation Links | |
| Exit Print View | |

|
Developing OTDs for Oracle Java CAPS Database Adapters Java CAPS Documentation |
| Skip Navigation Links | |
| Exit Print View | |

|
Developing OTDs for Oracle Java CAPS Database Adapters Java CAPS Documentation |
Developing OTDs for Database Adapters
Generating ResultSet Nodes of a Stored Procedure
DB2 Database Configuration Information
DB2 Database Connectivity Information
DB2 Connect Database Connection Information
JDBC Database Connection Information
Informix Database Connection Information
Oracle Database Connection Information
SQL Server Database Connectivity Information
Sybase Database Connectivity Information
The Database OTD Wizard generates OTDs by connecting to external data sources and creating corresponding Object Type Definitions. The OTD Wizard can create OTDs based on any combination of Tables and Stored Procedures or Prepared SQL Statements. Field nodes are added to the OTD based on the Tables in the external data source. Java method and parameter nodes are added to provide the appropriate JDBC functionality. For more information about the Java methods, refer to your JDBC developer’s reference.
Note - Database OTDs are not messageable. The images in the following procedure reflect an Oracle OTD, and might appear different from the images you see depending on the type of database OTD you are creating.
Perform the following steps to create a new database OTD:
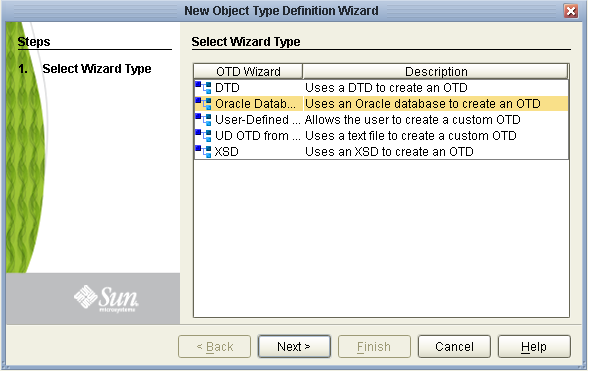
Select the type of wizard required to build an OTD in the New Object Type Definition Wizard.
The New Object Type Definition Wizard appears with the Select Wizard Type page displayed.
Figure 1 OTD Wizard Selection
The Specify Database Connection Information window appears.
Next Steps
Proceed to the following step, Connecting to a Database.
In order to create a database OTD, you must first connect to the database for which you are creating it by specifying the connection information.
Before You Begin
Complete the previous step, Selecting the Wizard Type.
The resulting connection information fields that appear depend on your selection.
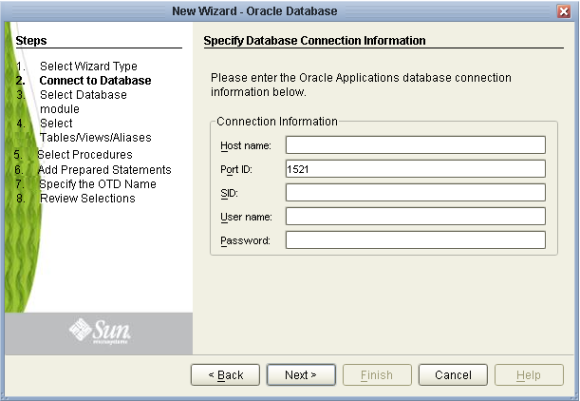
The connection information for each database type is different. See the following topics for more information.
The Select Database Objects window appears.
Next Steps
Proceed to the following step, Selecting Database Objects.
You can select any combination of Tables, Views, Procedures, or Prepared Statements that you want to include in the Database OTD.
Before You Begin
Complete the previous step, Connecting to a Database.
Note - Views are read-only and are for informational purposes only.
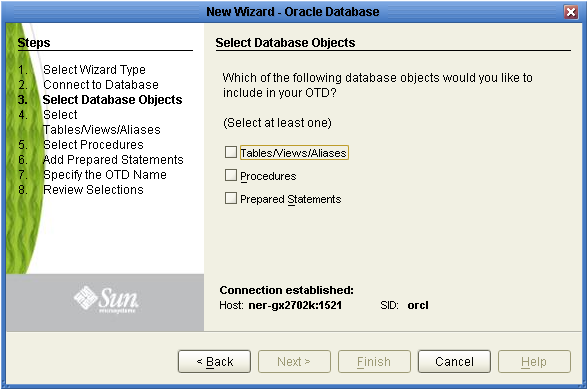
The next window to appear depends on the combination of databases objects you selected.
Next Steps
Do one of the following:
If you selected Tables/Views/Aliases, continue to Selecting Table/Views/Aliases.
If you did not select Tables/Views/Aliases but selected Procedures, skip to Selecting Procedures.
If you selected only Prepared Statements, skip to Adding Prepared Statements.
Select the types of tables or views required in the OTD.
Note - Aliases are not supported in the current release of the Oracle Adapter.
Before You Begin
Complete the previous step, Selecting Database Objects.
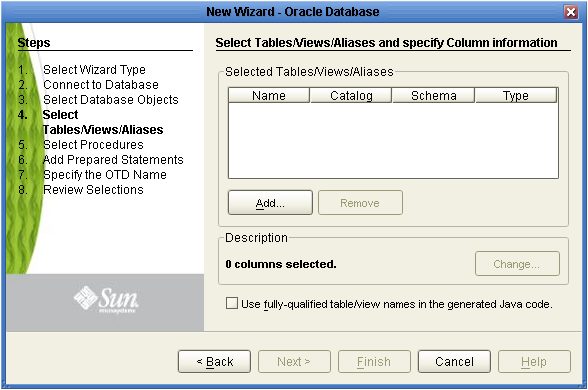
The Add Tables window appears.
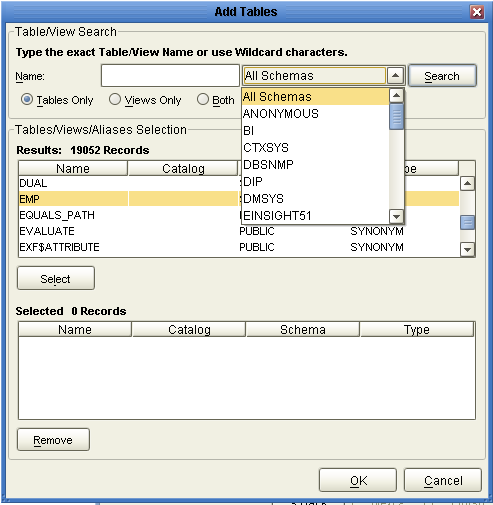
Search criteria can consist of table data, view only data, or both. You can include system tables in your search by selecting the check box.
Search for Table/View Names by entering a table name. The use of wildcard characters of ”?’, and ”*’ as part of your Table/View name search allow for greater search capabilities. For example, “AB?CD” or “AB*CD”.
The table selected is added to the Selected window.
Note - The data type is usually listed as Other when the driver cannot detect the data type. In these situations, you should change the data type to one that is more appropriate for the type of column data.
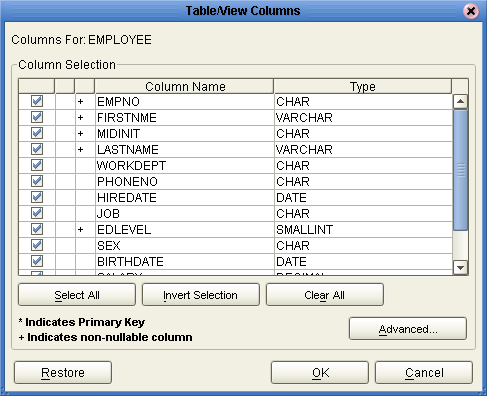
Note - The Informix database driver currently deployed with the Informix adapter displays non-nullable columns in the OTD wizard dialogue box regardless of whether the columns in the database accept null values or not. When using Prepared Statement packages, select Use Fully Qualified Table/View Names in the Generated Java Code.
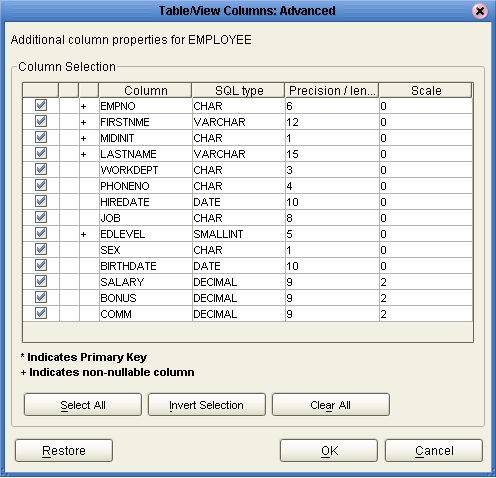
Note - When you use fully-qualified names, the schema name or database name is preprended to the table name in the Java Code. For example, a table named employee in a schema named APM would appear as APM.employee in the generated Java code.
Whether to use fully-qualified names depends largely on your internal business practices. Using fully-qualified named may result in improved performance, and it allows users to access tables outside of their default schemas. However, if the database schema changes in the future, the Java code could be broken. There are many more considerations to take into account. See your database documentation for more information.
The next window to appear depends on the database objects you chose.
Next Steps
Do one of the following:
If you selected Procedures, skip to Selecting Procedures.
If you did not select Procedures but did select Prepared Statements, skip to Adding Prepared Statements.
If you did not select either, skip to Specifying the OTD Name.
Select the procedure required in the OTD.
Note - A fully qualified Procedure name consists of two parts: Schema Name, and the Stored Procedure Table Name. Code that is generated in a Java Collaboration Definition appears fully qualified when the Use Fully-Qualified Procedure Names in the Generated Java Code check box is selected. When this checkbox is not selected, then only the Stored Procedure Table Name appears.
Before You Begin
Complete the previous step Selecting Database Objects, and optionally, Selecting Table/Views/Aliases.
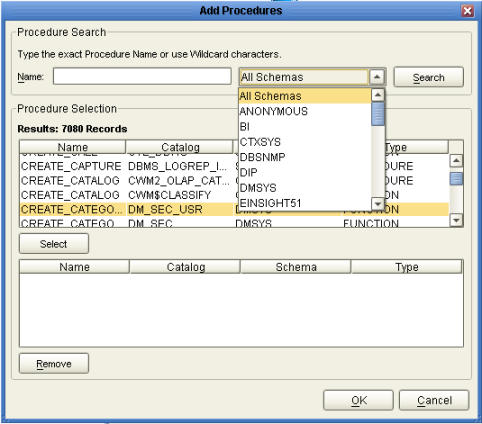
The Add Procedures window appears.
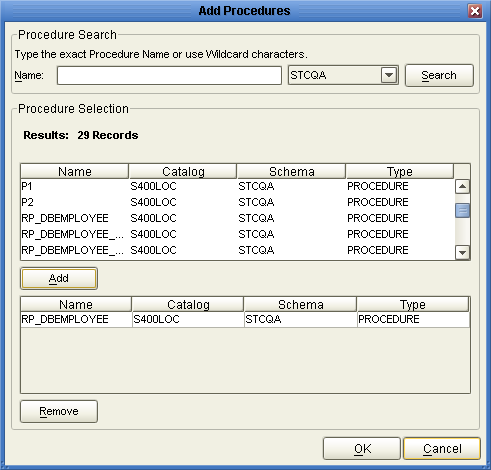
You can use wildcard characters in this search.
Note - For Informix, you must use lower case schema names when calling stored procedures.
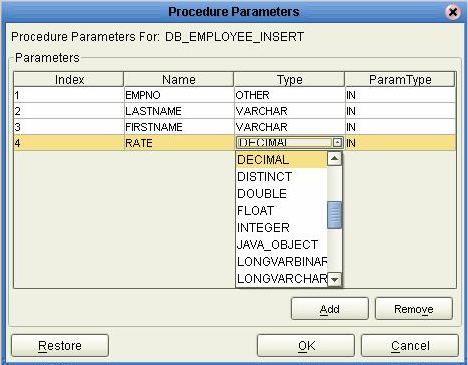
The Procedure Parameters window appears.
The Edit ResultSets window appears.
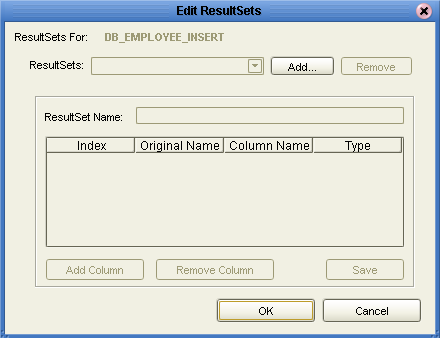
For more information about Add types, see Generating ResultSet Nodes of a Stored Procedure.
The Add Prepared Statements window appears.
Note - Keep the following in mind when working with ResultSets:
Not all drivers and databases support stored procedures or stored procedures with ResultSets. Contact the driver’s vendor for more information.
In some situations, stored procedures that uses a Select statement may not return a ResultSet when a conditional statement is used. In this case, no data is returned when the next() method is called, even if the ResultSet available() method returns “true”. This result is consistent with the type of driver we use.
Note - When you use Insert, Update, and Delete operations, in addition to using Select, the stored procedure will return results for each operation used. We recommend invoking the enableResultSetsOnly() method if you only want to return a ResultSet for the Select statement.
Next Steps
Do one of the following:
If you selected Prepared Statements, continue to Adding Prepared Statements.
If you did not select Prepared Statements, skip to Specifying the OTD Name.
A Prepared Statement OTD represents a SQL statement that has been compiled. Fields in the OTD correspond to the input values that users need to provide. Prepared statements can be used to perform insert, update, delete and query operations. A prepared statement uses a question mark (?) as a place holder for input. For example: insert into EMP_TAB (Age, Name, Dept No) values (?, ?, ?).
To execute a prepared statement, set the input parameters and call executeUpdate() and specify the input values if any.
Note - When using a Prepared Statement, the ResultsAvailable() method will always return true. Although this method is available, you should not use it with a while loop. Doing so would result in an infinite loop at runtime and will stop all of the system’s CPU. If it is used, it should only be used with an if statement. You can process a ResultSet by looping through the next() method.
Before You Begin
Complete the steps under Selecting Database Objects, and optionally under Selecting Table/Views/Aliases and Selecting Procedures.
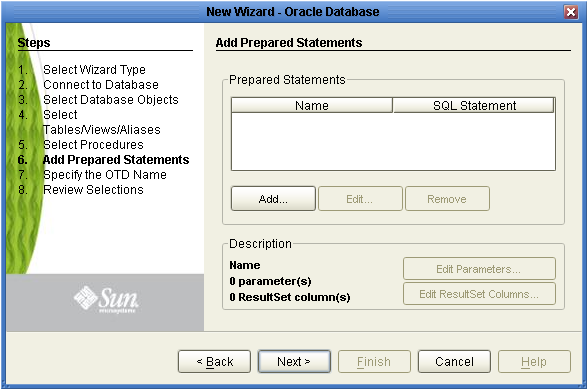
The Add Prepared Statement dialog appears.
Note - If you are creating a VSAM OTD and are not logging into the VSAM database with the default user name, you must enter the table schema name in the SQL Prepared Statement.
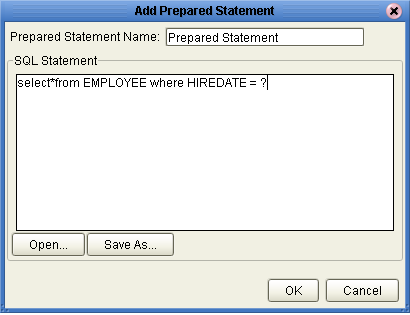
This name will appear as a node in the OTD.
The name you assigned to the Prepared Statement appears on the Add Prepared Statements window of the wizard.
The Prepared Statement Parameters window appears.
Note - When defining a Prepared Statement with two or more tables, where multiple tables have the same column name, you must put the table name qualifier in the Prepared Statement to build the OTD.
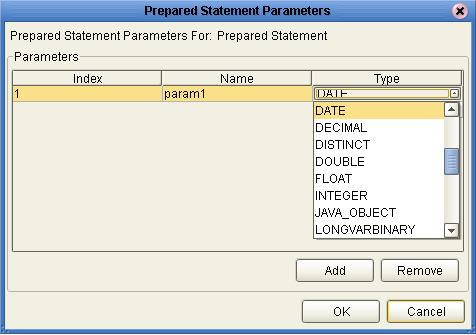
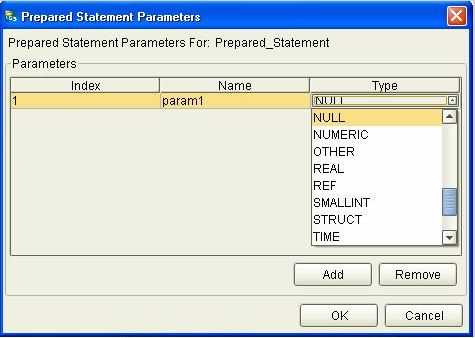
Note - Once you save the Prepared Statement, make sure that the ResultSet Column Name in the Prepared Statement parameters is a valid alphanumeric string with no special characters (for example, no brackets).
Both the Name and Type are editable but it is recommend you do not change the Name. Doing so will cause a loss of integrity between the ResultSet and the Database.
Note - The OTD Wizard cannot create OTDs with complex prepared statements that use the same column name in different tables. This problem is resolved by modifying the SQL statement to use column name aliases.
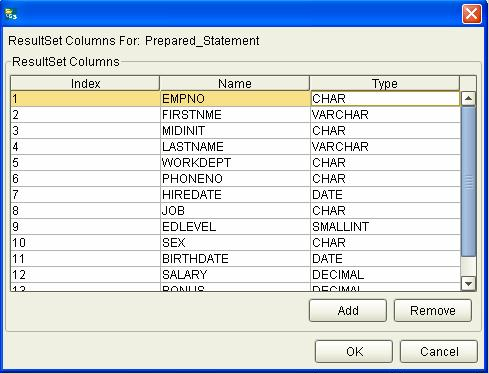
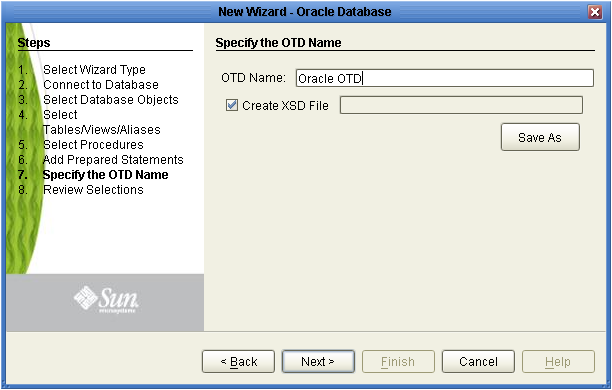
The Specify the OTD Name window appears.
Next Steps
Proceed to the following step, Specifying the OTD Name.
Specify the name that your OTD will display in the Java CAPS IDE.
Before You Begin
Complete the steps one or more of these previous steps (depending on the database objects you created): Selecting Table/Views/Aliases,Selecting Procedures, and Adding Prepared Statements.
The OTD contains the selected tables and the package name of the generated classes.
Next Steps
Proceed to the following step, Review Selections.
Review the selections made for the new OTD.
Before You Begin
Complete the previous step, Specifying the OTD Name.