| Skip Navigation Links | |
| Exit Print View | |

|
Developing OTDs for Oracle Java CAPS Web Server Adapters Java CAPS Documentation |
| Skip Navigation Links | |
| Exit Print View | |

|
Developing OTDs for Oracle Java CAPS Web Server Adapters Java CAPS Documentation |
One important component of the OTD Wizard allows you to create an Object Type Definition (OTD) from EJB class files for web server adapters.
Java classes provided in the OTD Wizard can contain APIs created using the standard JDK 1.6.x. Consult the JDK Javadoc for the latest API documentation for specific restrictions imposed by the J2EE specification.
 | Caution - JNI methods and inner classes are not supported. If the home or remote interface class or their dependent classes contain recursive references, support for the corresponding EJB methods will be limited. |
Perform the following tasks to create a web server OTD using the OTD Wizard:
The images in the following procedure are based on a WebLogic OTD Wizard. This might vary from what you see on your screen if you are creating a Sun Java System Application Server OTD.
When you launch the OTD Wizard, the first thing you need to do is select the type of OTD you want to create. The available options are populated based on what you have installed in your Java CAPS environment.
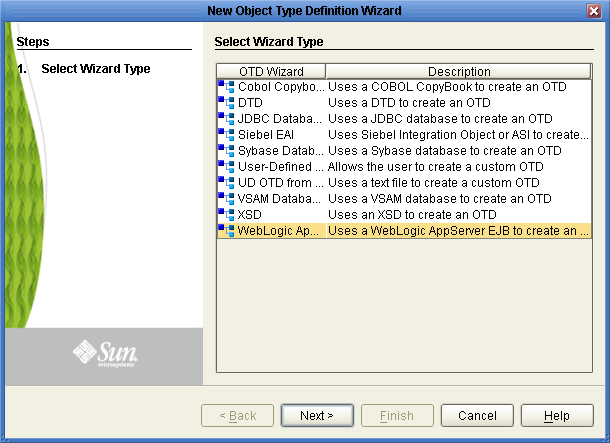
The Specify OTD Name page appears.
Next Steps
Proceed to the following step, Specify the OTD Name.
Before You Begin
Complete the previous step, Select the Wizard Type.
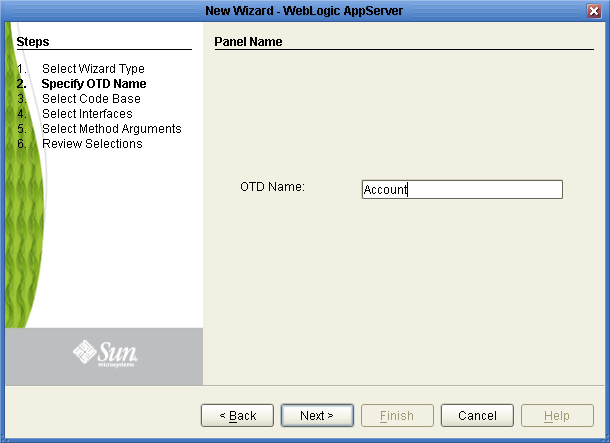
The Select Code Base page appears.
Next Steps
Proceed to the following step, Select the Code Base.
From the Select Code Base page, you can select the directory that contains your EJB class files by selecting the root directory above the top-level Java package, or you can select a specific JAR file containing the EJB class files.
Note - Keep the following in minds when making your selections:
If you do not specify a JAR file, the program searches through the entire directory looking for all Java Archive files. Searches on top level drives or directories can significantly increase search times. Only recognized Class File Root file names are accepted in the File Name field.
EJB class files must contain a package name for the EJB Home and Remote Interface Classes. The wizard does not support EJB class files that do not provide a package name.
EJB Class files and their dependent files must be located in a directory to be used with the OTD Wizard. The Wizard does not support EJB classes imbedded in archived files, such as EAR, WAR, or SAR files. These files must be extracted to a directory before they can be used to create an OTD.
Before You Begin
Complete the previous step, Specify the OTD Name.
The EJB archive file must contain, at a minimum, both the Home and Remote Interface class pair for the EJB.
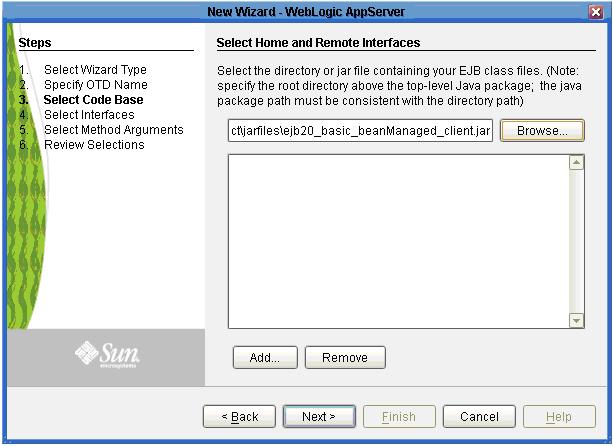
The Select Home and Remote Interfaces page appears.
Next Steps
Proceed to the following step, Select Home and Remote Interfaces.
The Select Home and Remote Interfaces page displays the selected Java Home and Remote Interfaces. These fields are automatically populated. Both fields include a drop-down list that allows you to select the appropriate home and remote interface (if more than one choice is available).
Before You Begin
Complete the previous step, Select the Code Base.
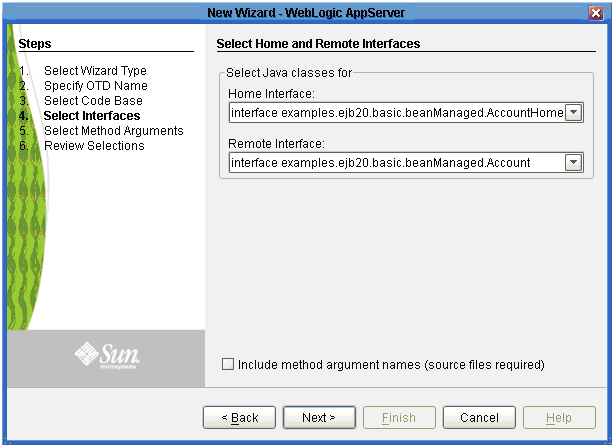
If the selected EJB file’s interfaces are valid and the Select Method Argument Names option was not selected, the Review Selections page appears. Otherwise, the Select Methods Arguments page appears.
Next Steps
Proceed to the following step, Select Method Arguments.
If you did not specify to select method argument names, skip to Review Selections.
Before You Begin
Complete the previous step, Select Home and Remote Interfaces.
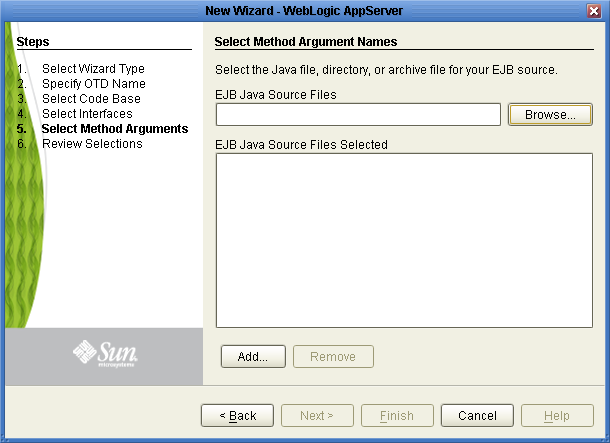
The files are populated to the EJB Java Source Files Selected field. At least two files must be supplied -- one for the home interface and one for the remote interface or the EJB bean implementation source. Once the field contains all the necessary EJB source files, click Next.
 | Caution - It is the user’s responsibility to match the correct source files to the EJB. |
The Review Selections page appears.
Next Steps
Proceed to the following step, Review Selections.
Once you have entered all the OTD configuration information, a summary page appears for you to review your selections.
Before You Begin
Complete one of these previous steps:
Next Steps
Proceed to the following step, Generate the OTD.
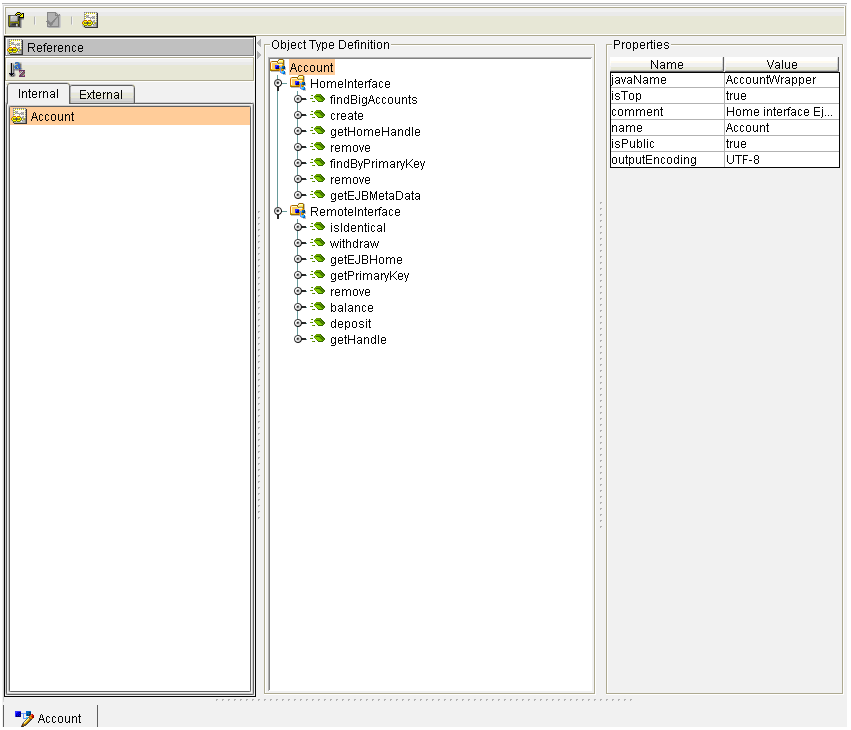
When the wizard is done generating the OTD, the new OTD appears in the Project tree and the structure appears on the OTD Editor.
Before You Begin
Complete the previous step, Generate the OTD.
A Confirm duplicate file dialog box might appear, stating that the JAR file is already in the Project. Select Yes, the JAR file is added to your Project. If you click No, an additional copy of the JAR file will be added to the Project.
The OTD Editor appears with the generated OTD (see the figure below).
