Notebooks are used when the object being displayed contains more information than can fit within the Object Display Area. Let's use the example from Oracle Utilities Customer Care and Billing of the page that contains account information:
Figure 1. Notebook Example
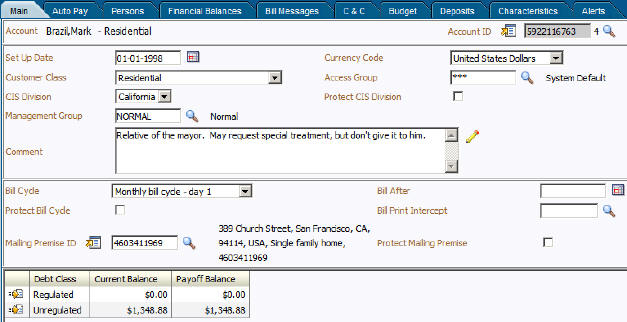
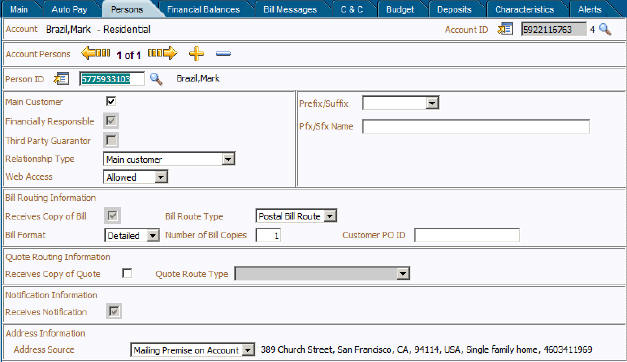
Because the account object has more information than can fit within the confines of the object display area, multiple tabs appear across the top of the object display area. The names of the tabs describe the type of information that will be displayed in the page when the tab is clicked. For example, if you click on the Persons tab, the contents of the page show the persons linked to the account.
Figure 2. Notebook Example (After Persons Tab Is Clicked)
Note:
F2 and Shift+F2. Rather than clicking on a tab, you
can press F2 or Shift+F2 to scroll through the tabs. F2 moves you
through the tabs from left to right. Shift+F2 moves you through the
tabs from right to left.
Note:
Alt+1 through Alt+9. When pressed, the tab page whose
relative position corresponds with the number appears. For example,
if you press Alt+3 on the above page, the Person tab will be
displayed. If there are more than 9 tabs on a page, you must use the
mouse or F2 / Shift+F2 to display a tab. Note that the numeric keypad
on your keyboard cannot be used to implement this function.
Note:
Returning to a page that contains a notebook. If you
return to a page (by clicking the Back button or the Recent Pages button), the notebook will be positioned on the
last tab that was opened.
Note:
Page versus Tab nomenclature. The documentation frequently
refers to the contents of a notebook tab as a page. However, the page
actually comprises the entire collection of tabs.