About Text Sections
To add text to a Websheet page, you create a Text section. You can type directly into a Text section, or copy and paste content from a spreadsheet. Copying and pasting from a spreadsheet creates a new section for each spreadsheet row.
Adding a Text Section
To add a text section:
-
Run the Websheet application. See "Running a Websheet".
-
From the Create menu, select New Section.
-
When prompted for the section type, select Text and click Next.
-
On Create Text Sections select either:
-
Create single text section
-
Create multiple text section from Spreadsheet
-
-
If you select Create single text section:
-
Sequence - Enter the section display sequence.
-
Title - Enter a section title.
-
Content - Enter text. To learn more about formatting text, see "Editing a Text Section".
-
Click Create Section.
-
-
If you select Create multiple text section from Spreadsheet:
-
First Row Contains Column Headings - Select this option if applicable.
-
Paste Spreadsheet Data - Paste a two column spreadsheet or other tab delimited data. The first column must contain the section title and the second column must contain the section content.
-
Click Create Section.
Tip:
You can also add a new section by selecting New Section on the Control Panel. -
Editing a Text Section
You can edit and format text sections using an intuitive WYSIWIG editor.
To edit a text section:
-
Run the Websheet as described in "Running a Websheet".
-
Click the Edit icon that displays in the upper right of the section.
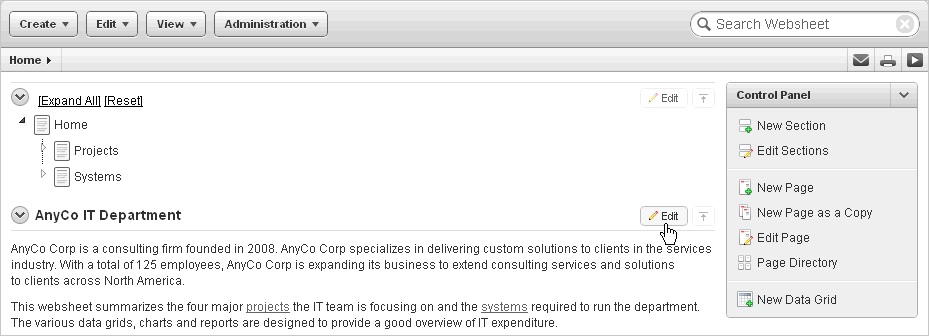
Description of the illustration websheet_edit_sect.gif
The Edit Section page appears.
-
Edit the text in the field provided.
Tip:
To learn more about adding or embedding links, see "Understanding Markup Syntax". -
To change the formatting, click the Expand Toolbar icon in the upper right corner.
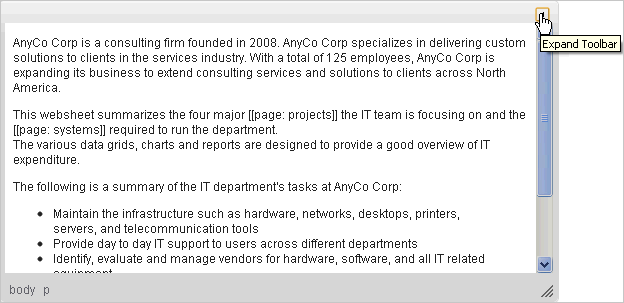
Description of the illustration websheet_toolbar2.gif
The Toolbar appears. When you pass your cursor over an icon, a descriptive tooltip displays.
-
To hide the toolbar, click the Collapse Toolbar icon.
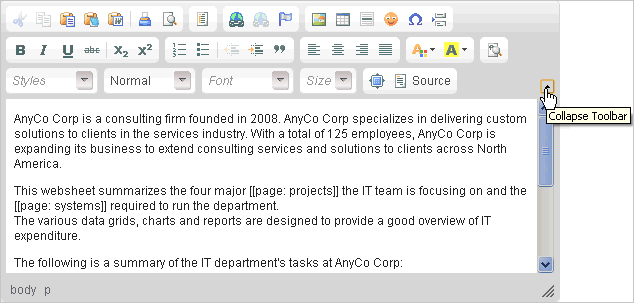
Description of the illustration websheet_toolbar.gif
-
To save your changes, click Apply Changes.