F Managing Disk Images Used Within the EnterpriseOne VMs
You can use the Linux Logical Volume Manager (LVM) to manage disk images used within the JD Edwards Virtual Machines (VM). The procedures in this appendix demonstrates how to extend the current disk file system by creating a new disk image, creating a physical volume, and then adding the physical volume to the existing logical volume.
This appendix discusses these topics:
-
Section F.2, "Updating the vm.cfg File to Add the New Disk Image"
-
Section F.4, "Creating a New Physical Volume with the New Disk Image"
-
Section F.5, "Extending the Volume Group with the New Physical Disk"
-
Section F.6, "Extending the Logical Volume with the New Volume Group"
Caution:
It is highly recommended that you backup the JD Edwards EnterpriseOne application image file before executing the procedures in this appendix.F.1 Creating a New Disk Image
The current verions of the JD Edwards EnterpriseOne VM templates are delivered as a single disk image paired with a single disk system image to create a fully functioning application. A configure file named vm.cfg is also included with each set of images, and is used to provide instruction to the VM Server on such things as number of Virtual CPU, memory, and certain file locations.
To create a new disk image:
-
Use the Linux disk command
lsto show the content of a application directory.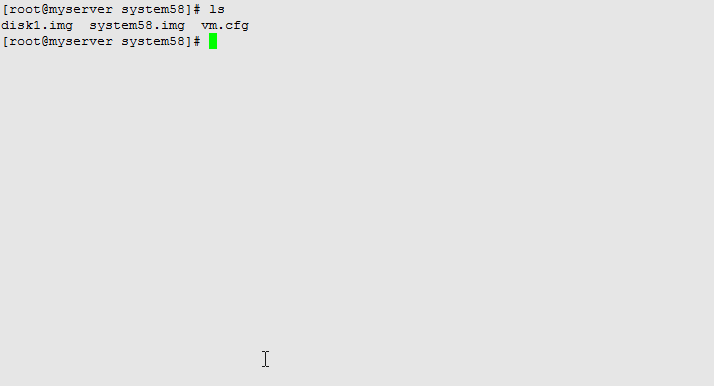
-
Create the new disk image that will be used in the VM application by executing the
ddcommand to create an empty file. The following shows an example command string to create an empty 10GB file nameddisk2.img.dd if=/dev/zero of=disk2.img bs=1 count=1024 seek=10GB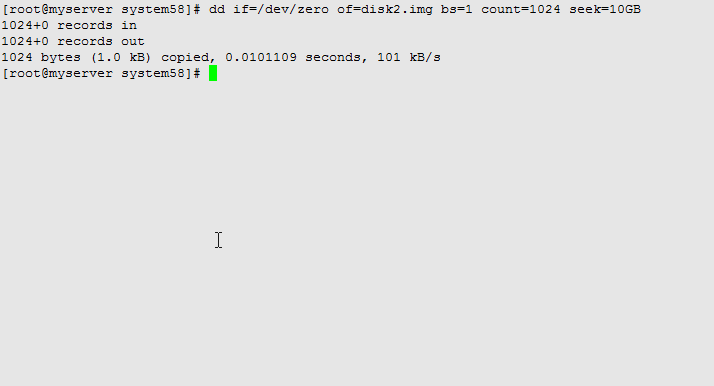
-
For more information refer to the Linux man pages for the
ddcommand.
F.2 Updating the vm.cfg File to Add the New Disk Image
To update the vm.cfg file to add the new disk image that you created in the previous section:
-
You need to update the
vm.cfgfile with the name and location of the new image. In the example below, the new disk (disk2.img) image is added as the last line in thedisksection with the designation ofhdc.'file:/OVS/development/system58/disk2.img,hdc,w',1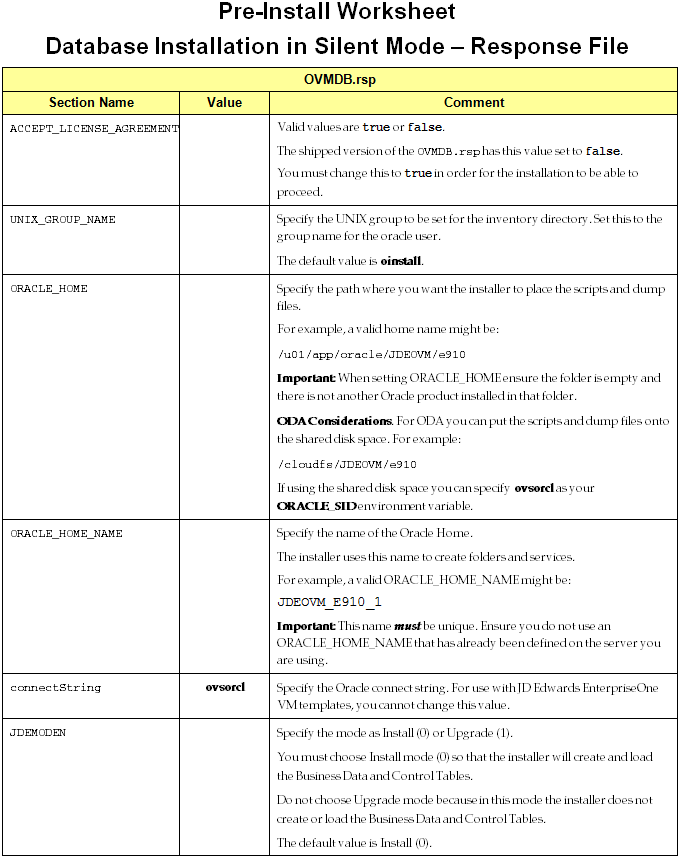
-
Save the updated
vm.cfgfile. -
You can review available disk space on the system prior to adding the new disk image by running the
df -hcommand.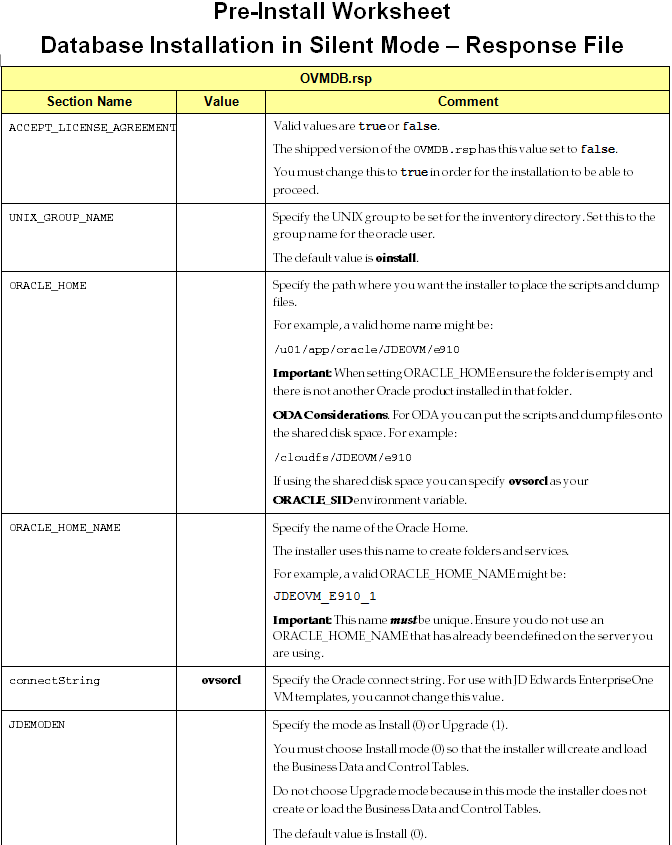
-
Start the VM using the
xm createto create the new disk image in the VM.Note:
The following example uses the commandxm createfrom the command line. Alternately you can use the OVM Manager to start the VM from the OVM GUI console.xm create vm.cfg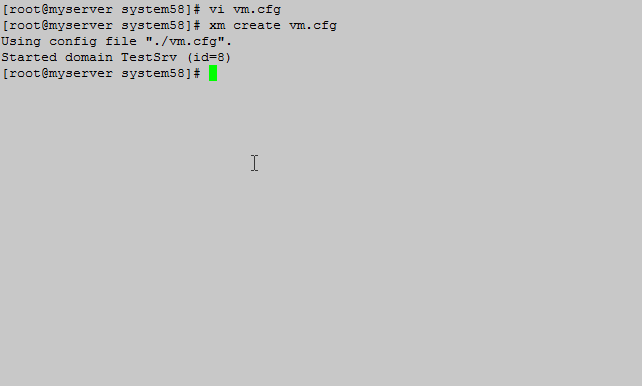
-
Once the VM is up and running, sign into the 'root' user account.
-
Refer to the Oracle VM Server User Guide for more details on the content of the
vm.cfgfile.
F.3 Creating a Partition Table
To make the disk image usable, you must create a partition table. This is done using the fdisk command.
To create a partition table:
-
Verify that the new disk image (in the example in this guide
disk2.img) has been attached to the running VM, and the name of the new file device (hdc) by running thefdisk -lcommand from the command line as shown below.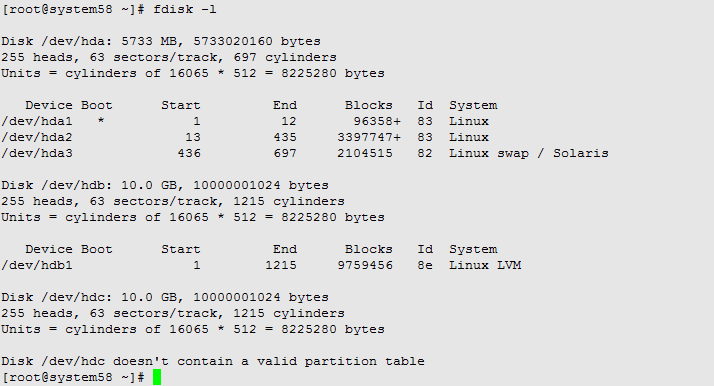
-
To create a partition table, instead of using the
-loption, replace it with the disk device. For example, in the example used in this guide ishdc.fdisk /dev/hdc -
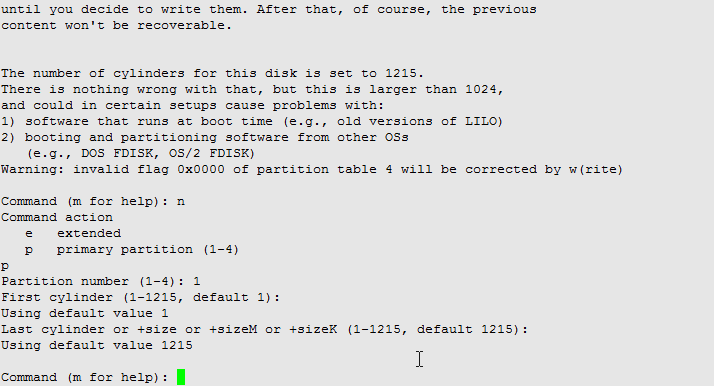
Next, at the prompts from the
fdiskcommand, enter the following command letters to create primary partition #1:n p 1 <enter> <enter>
-
This process created a new device
hdc1which is the first partition on thehdcdisk device. Since this new disk will be part of a logical volume, the disk type must be set to8ewhich indicates that this partition is for Linux LVM. While still within thefdiskcommand prompts, enter the following commands.t 8e -
The next command writes these changes out to the disk images and exits the
fdiskprogram.w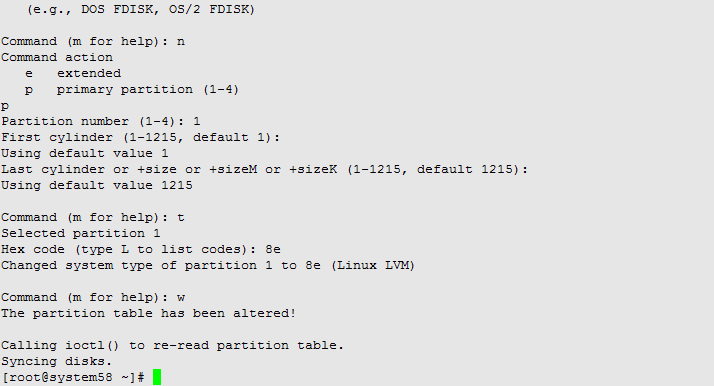
-
For more information refer to the Linux man pages for the
fdiskcommand.
F.4 Creating a New Physical Volume with the New Disk Image
After you create a partition table as described in the previous procedure, the disk.image is now ready to become a physical device that can be added to a logical volume.
To create a new physical volume with the new disk image:
-
Execute the
pvcreatecommand as shown below:pvcreate /dev/hdc1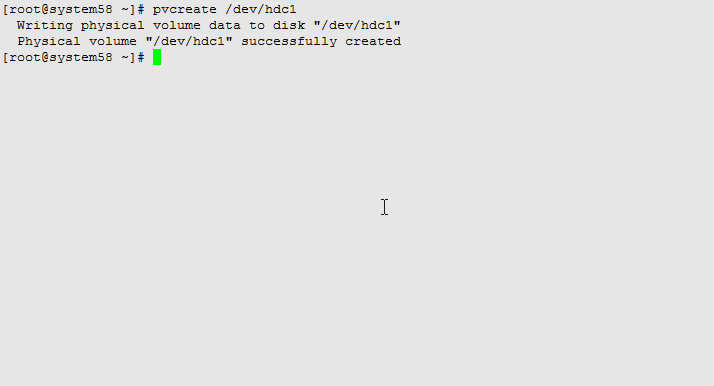
-
For more information refer to the Linux man pages for the
pvcreatecommand.
F.5 Extending the Volume Group with the New Physical Disk
To extending the volume group with the new physical disk:
-
You must determine the name of the volume group to which the disk will be added by using the
vgscancommand. In the below example, the name of the volume group isVolGroup00.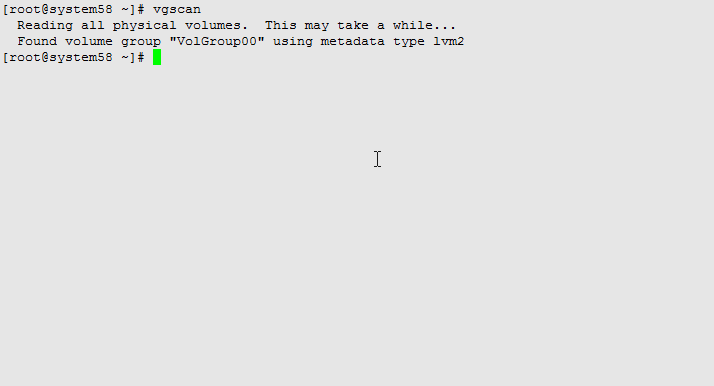
-
Using the volume group name found in the previous step, extend the volume group by using the
vgextendcommand. The below example usesVolGroup00as the volume group name.vgextend VolGroup00 /dev/hdc1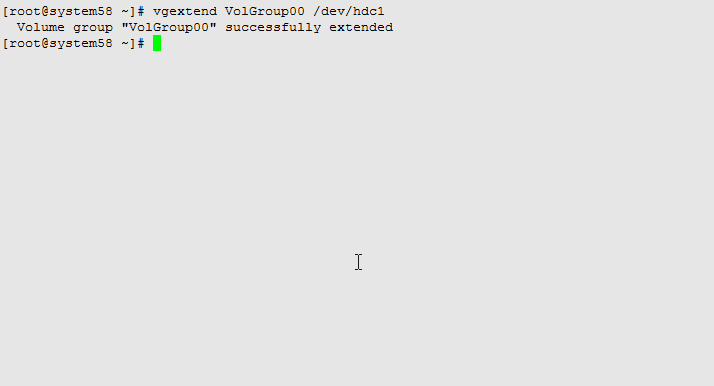
-
For more information refer to the Linux man pages for the
vgextendcommand.
F.6 Extending the Logical Volume with the New Volume Group
As you did with the volume group, you must also extend the logical volume. To do so, you need to determine the logical volume name using the lvscan command. In this example, the logical volume name is LogVol01.
-
Determine the logical volume name using the
lvscancommand. In this example, the logical volume name isLogVol01.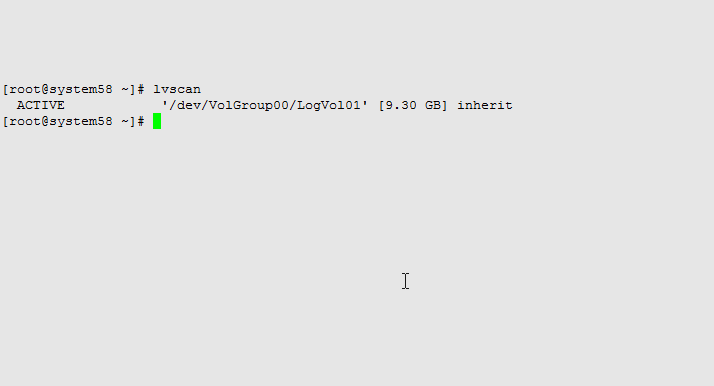
-
Using the name of the logical volume returned by the
lvscancommand, extend the logical volume using the following command. In this example, the name of the logical volume isLogVol01.lvextend -l +100%FREE /dev/VolGroup00/LogVol01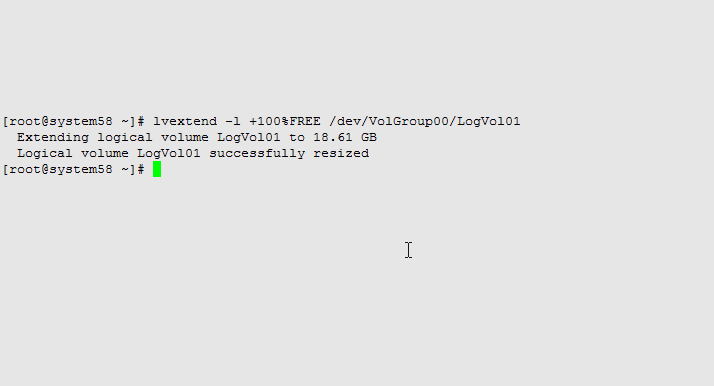
Note:
The second command parameter of+100%FREEinstructs the program to use all of the free space available on the new disk image. To use less than 100%, you would use a numerical value.
-
For more information refer to the Linux man pages for the
vgextendcommand.
F.7 Resizing the File System
The final process is to resize the file system to enlarge the current LVM files system based on the size of the new disk image being added.
To resize the file system:
-
Enter the
resize2fscommand:resize2fs /dev/VolGroup00/LogVol01
-
Verify that the new disk image has been added by issuing the
df -hcommand.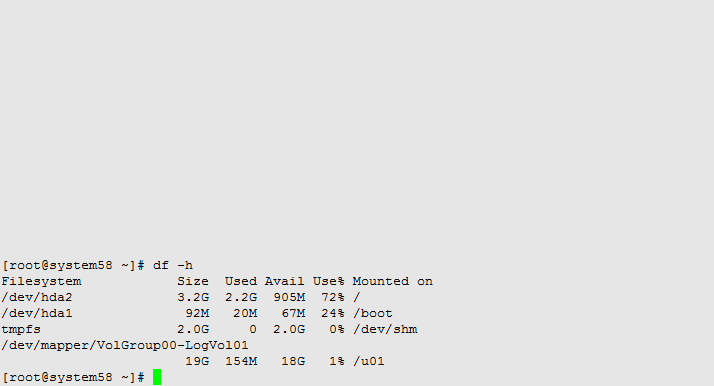
Upon verification, you have successfully added a new disk image to you JD Edwards VM image.
-
For more information refer to the Linux man pages for the
resize2fscommand.
F.8 Logical Volume Manager Command Summary
This section provides a summary of the Logical Volume Manager commands using in this guide.
-
[fdisk]
This is the disk utility command.
To add a number 1 primary partition, use this syntax where subsequent values are entered at the command prompts:
fdisk /dev/hdc
    n
    p
    1
    <enter>
    <enter>
While still in the prompts for the preceding
fdiskcommands, to change the type of disk to LVM:t 8eWhile still in the prompts for the preceding
fdiskcommands, to permanently save the changes to the disk:w -
[pvcreate]
Use this utility to initialize a disk or partition for use by LVM. For example:
pvcreate /dev/hdc1 -
[vgscan]
Use this command to scan all disks for volume groups and rebuild caches (returns names).
-
[vgextend]
Use this command to add physical volumes to a volume group. For example:
vgextend VolGroup00 /dev/hdc1 -
[lvscan]
Use this command to scan all disks for Logical Volumes (returns names). For example:
-
[lvextend]
Use this command to extend the size of a logical volume. For example:
lvextend -l +100%FREE /dev/VolGroup00/LogVol01 -
[resize2fs]
Use this command to resize the file system. For example:
resize2fs /dev/VolGroup00/LogVol01