4 Configure the WebLogic Application Server
This chapter contains the topic:
4.1 Configuring the WebLogic Application Server
Before you begin, see the World specific steps outlined in Appendix A, "Install WebLogic Application Server."
To configure the WebLogic Application Server
-
Start the WebLogic Admin Server.
%SystemRoot%\system32\cmd.exe /k"C:\Oracle\Middleware\user_projects\domains\base_domain\bin\startWebLogic.cmd"
-
Launch the application server console.
http://localhost:7001/console
-
From WebLogic console select Security Realms to create a Security Realm.
Click New.
-
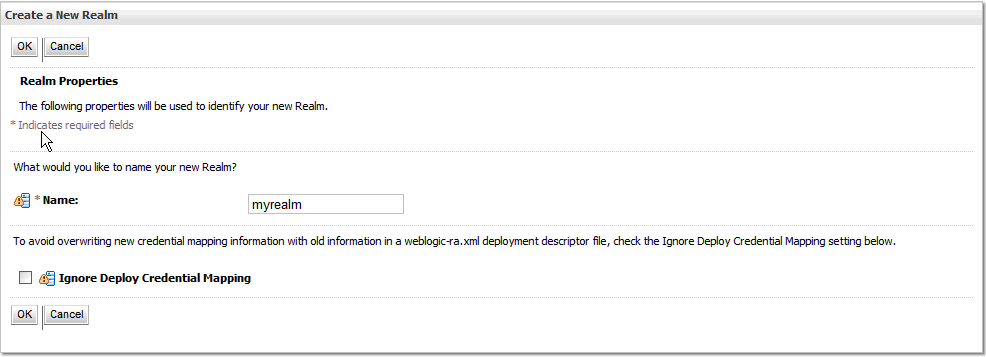
Enter a Realm Name and then click OK.
Figure 4-2 Summary of Security Realms screen
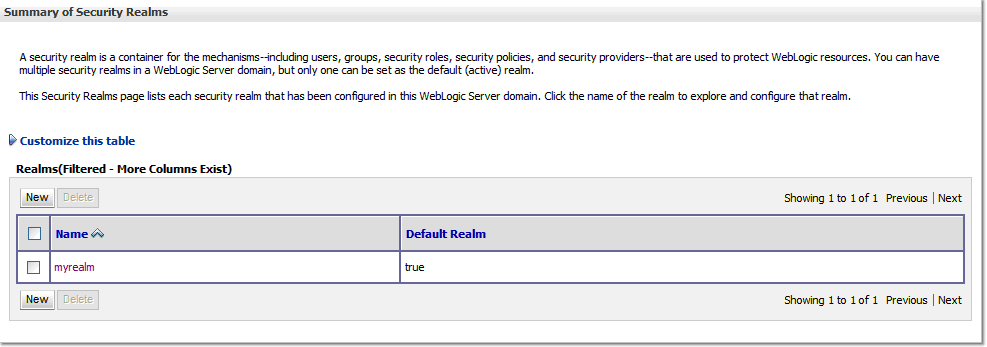
Description of ''Figure 4-2 Summary of Security Realms screen''
-
Click New to create a realm.
-
Select the Providers tab and then click New.
Figure 4-4 Create a New Authentication Provider screen
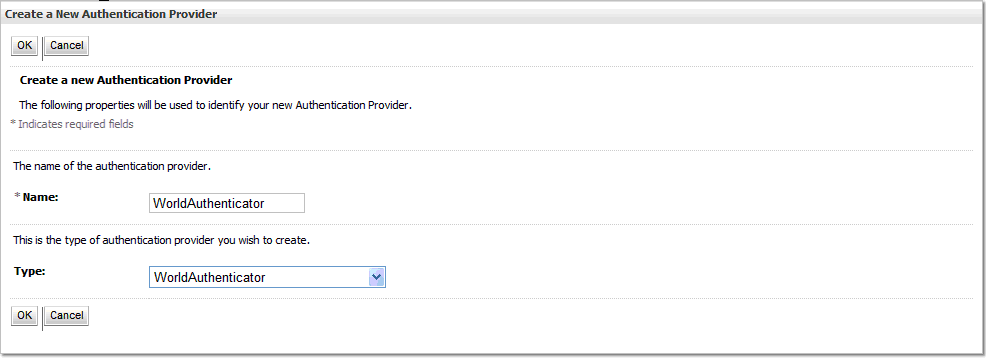
Description of ''Figure 4-4 Create a New Authentication Provider screen''
-
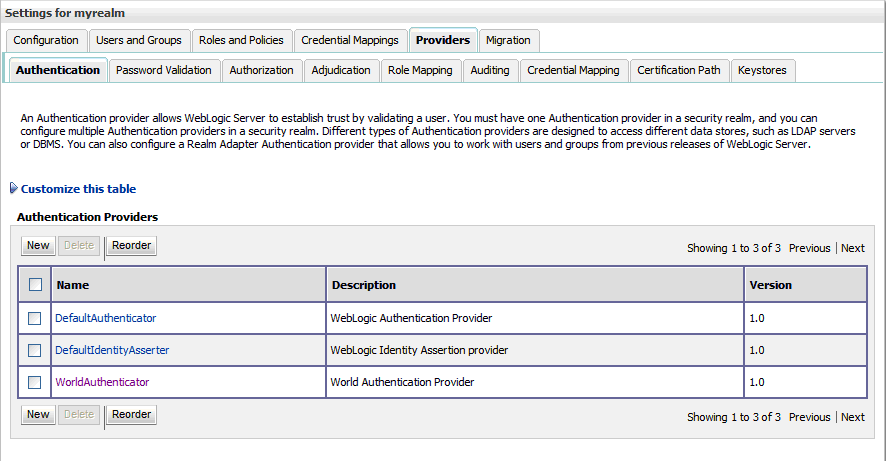
Enter the Name and select the Type WorldAuthenticator from the dropdown list. (If the WorldAuthenticator is not listed, review steps 18 and 19 of Appendix A, "Install WebLogic Application Server.")
Click OK.
The WorldAuthenticator displays as one of the Authentication Providers.
Make sure the WLS DefaultAuthenticator is before the WorldAuthenticator.
-
Click the WorldAuthenticator link.
Figure 4-6 Settings for World Authenticator screen
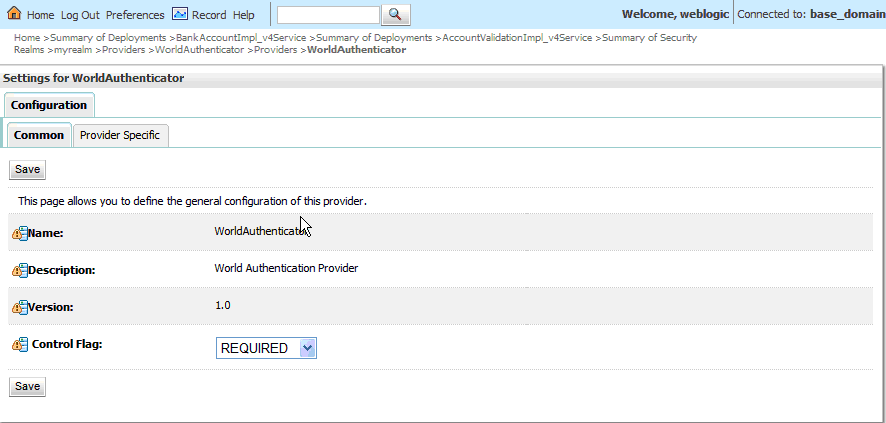
Description of ''Figure 4-6 Settings for World Authenticator screen''
-
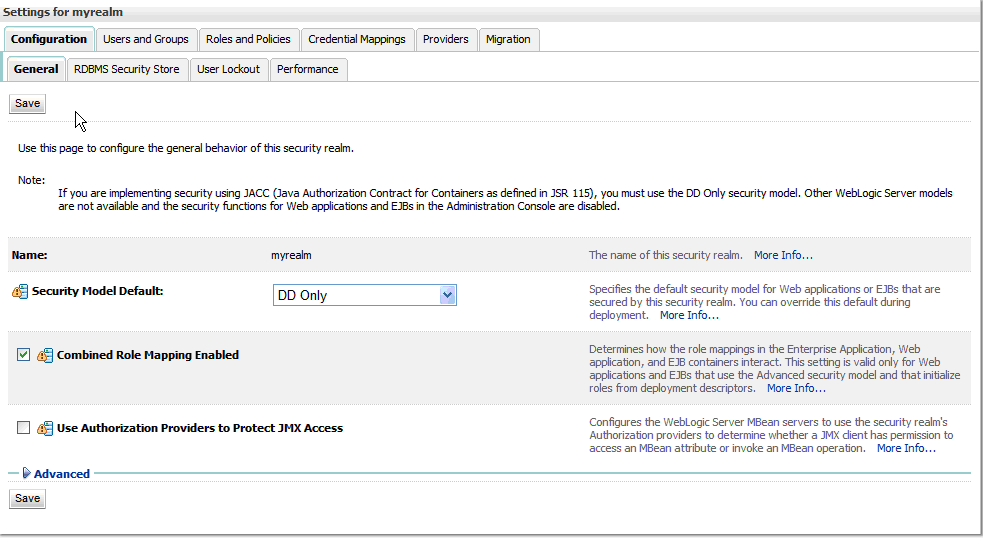
Set the Control Flag to REQUIRED, and then click Save.
Figure 4-7 Settings for Default Authenticator screen
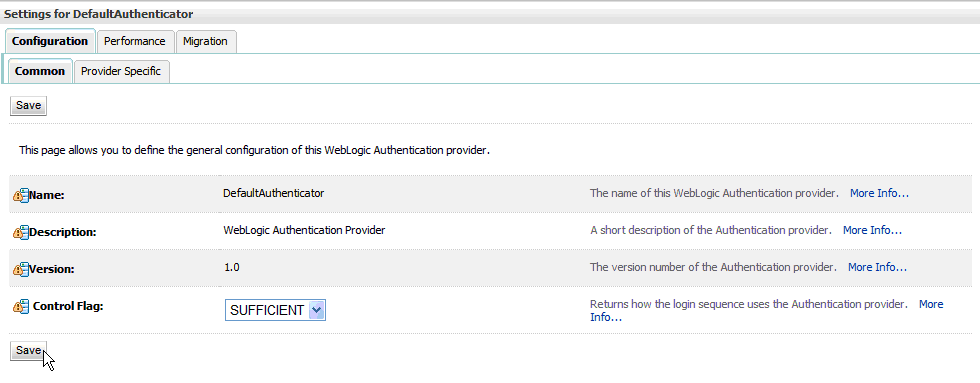
Description of ''Figure 4-7 Settings for Default Authenticator screen''
From WebLogic console select Security Realms. Then select the Security Realm (the exsisting or created one), and then select Providers.
-
Select the DefaultAuthenticator link, and change the Control Flag of the DefaultAuthenticator to SUFFICIENT.
Click Save.
-
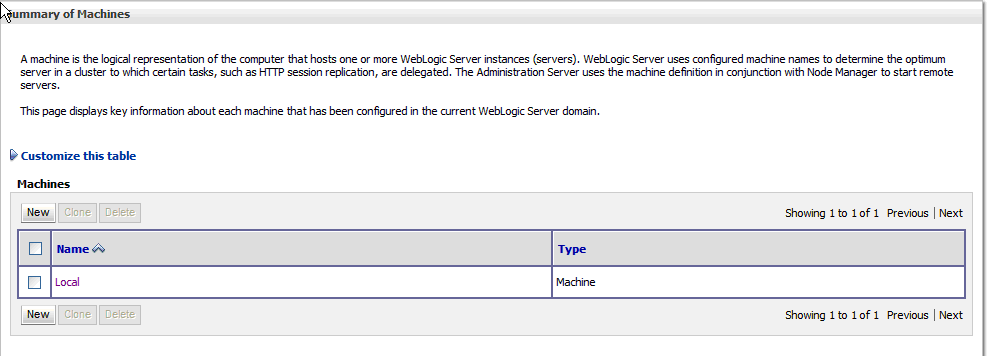
Create a machine using default values.
http://localhost:7001/consolehelp/console-help.portal?_nfpb=true&_pageLabel=page&helpId=machines.ConfigureMachines
-
Select Local Machine.
-
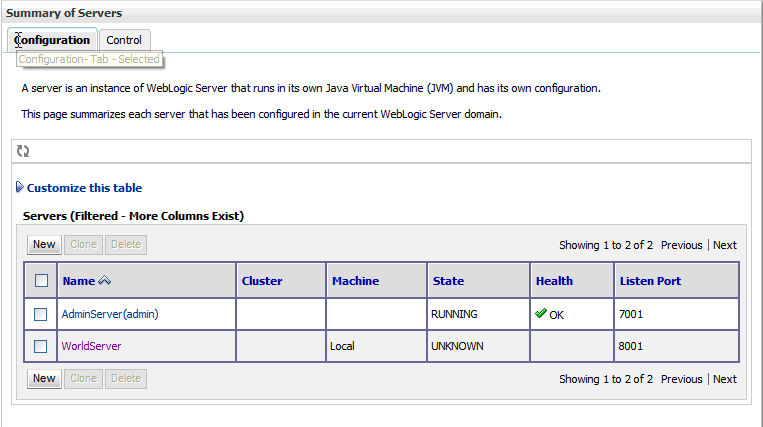
Create a managed server for the Web Services.
http://localhost:7001/consolehelp/console-help.portal?_nfpb=true&_pageLabel=page&helpId=domainconfig.CreateManagedServers
-
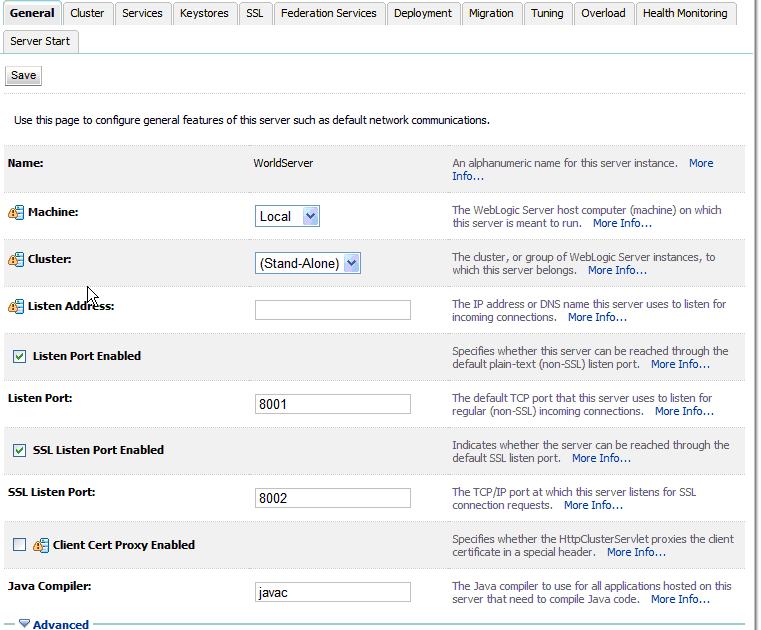
Select WorldServer.
Set Machine to machine configured in step 12.
Services use the SSL port (https://). Make sure to verify that the SSL Listen Port is Enabled.
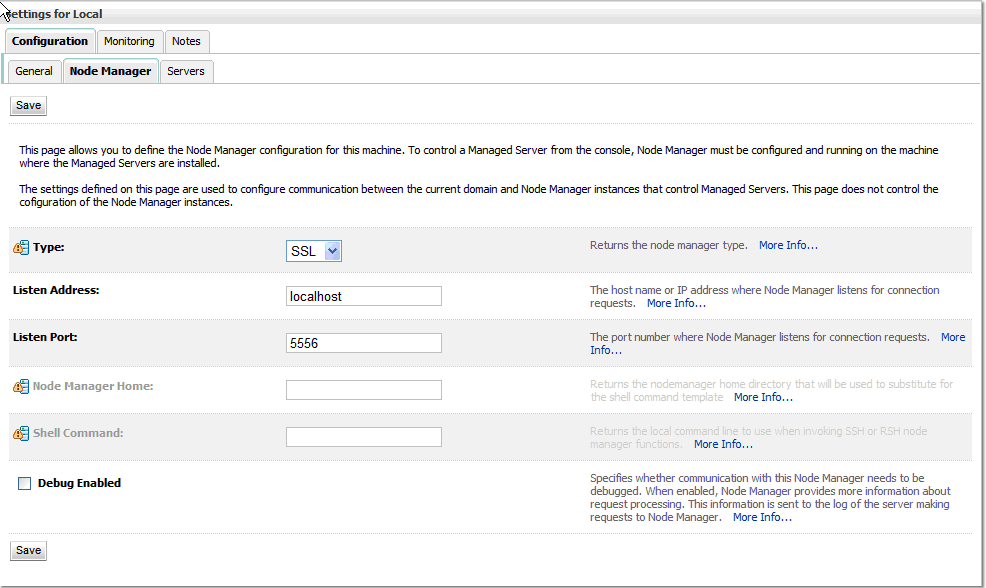
If using NodeManager to start and stop the managed server, select the Server Start tab and configure as the following graphic displays:
Figure 4-12 Settings for World Server screen
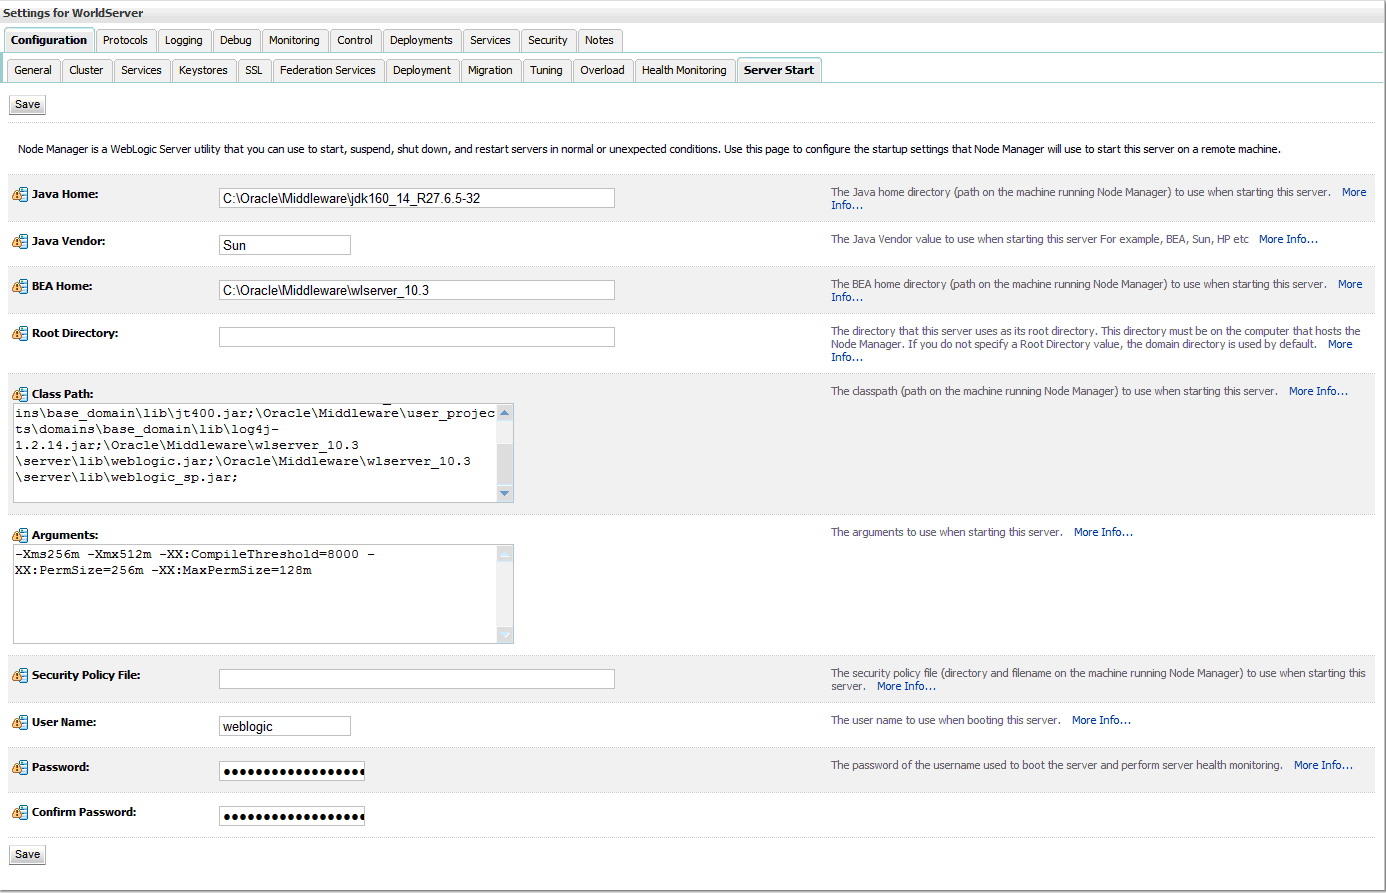
Description of ''Figure 4-12 Settings for World Server screen''
-
Class Path:
\Oracle\Middleware\user_projects\domains\base_domain\lib\BaseJar.jar;\Oracle\Middleware\user_projects\domains\base_domain\lib\JDEWorldJDBC.jar;\Oracle\Middleware\user_projects\domains\base_domain\lib\jt400.jar;\Oracle\Middleware\user_projects\domains\base_domain\lib\log4j-1.2.14.jar;\Oracle\Middleware\wlserver_10.3\server\lib\weblogic.jar;\Oracle\Middleware\wlserver_10.3\server\lib\weblogic_sp.jar;
Note:
For details about the latest version supported for log4j, see Doc ID 2318897.1 in My Oracle Support. (WS: Instructions to Address JD Edwards World Security Vulnerabilities (Doc ID 2318897.1) (Release A9.3 Update) -
Arguments:
-Xms256m -Xmx512m -XX:CompileThreshold=8000 -XX:PermSize=256m -XX:MaxPermSize=128m
-
-
Deploy Services to managed server On Server Console, select Deployments.
Figure 4-13 Summary of Deployments screen
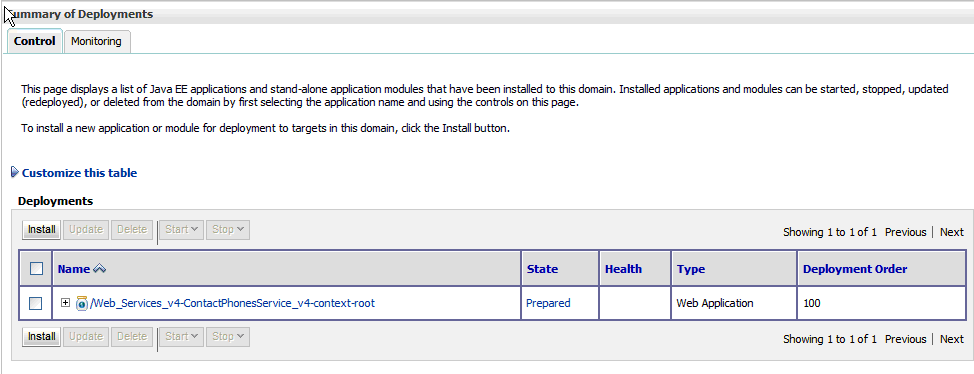
Description of ''Figure 4-13 Summary of Deployments screen''
-
Click Install.
Figure 4-14 Install Application Assistant screen
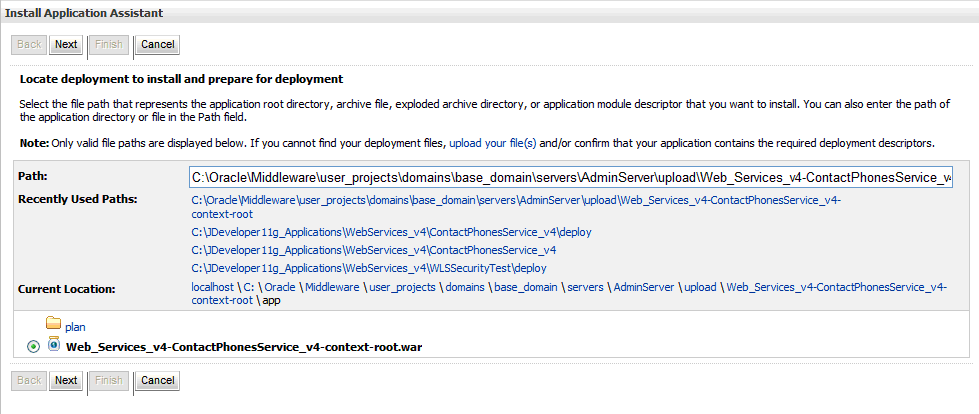
Description of ''Figure 4-14 Install Application Assistant screen''
-
Locate service WAR file (WebServices_xx_WLS.ear) and then click Next.
Figure 4-15 Install Application Assistant screen
Description of ''Figure 4-15 Install Application Assistant screen''
-
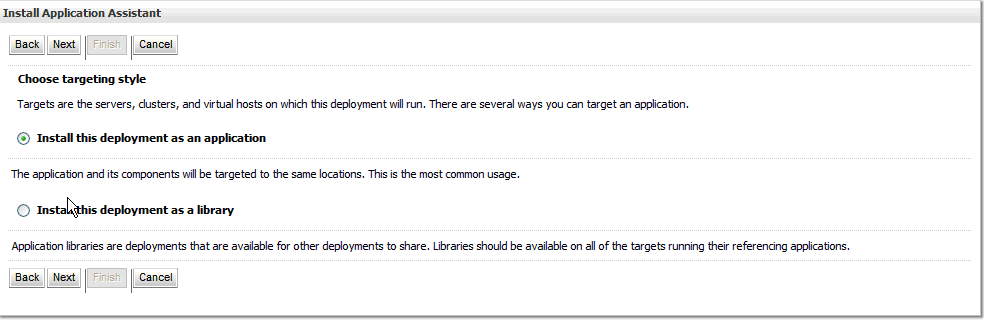
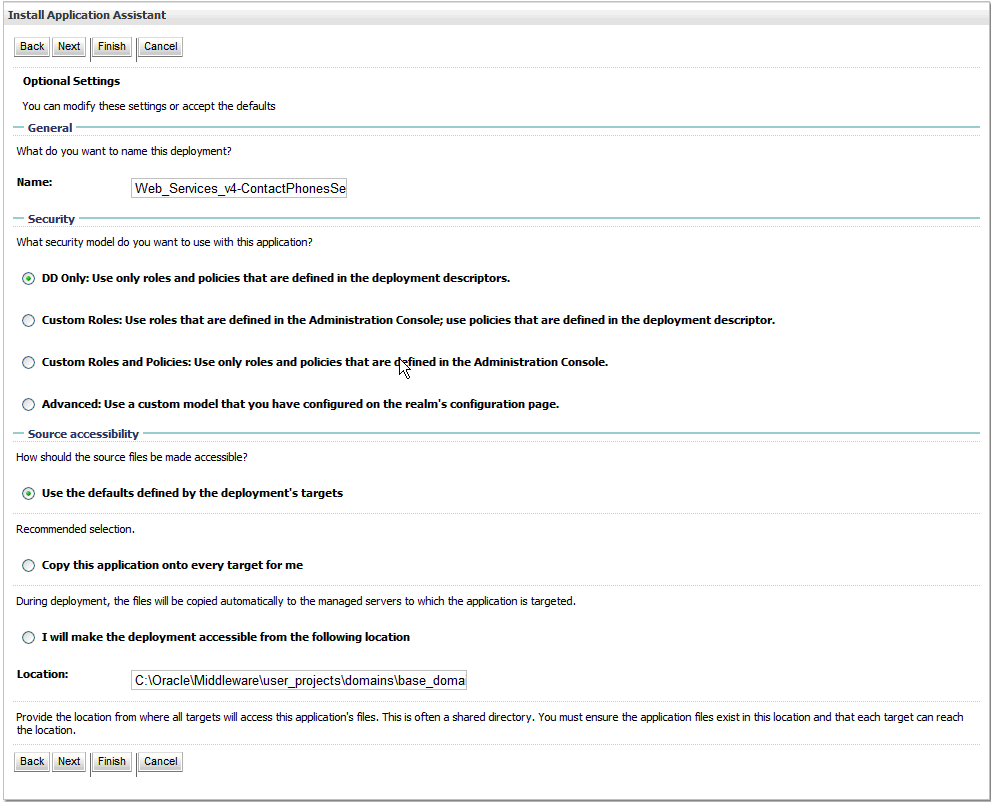
Select Install this deployment as an application and then click Next.
Figure 4-16 Install Application Assistant screen
Description of ''Figure 4-16 Install Application Assistant screen''
-
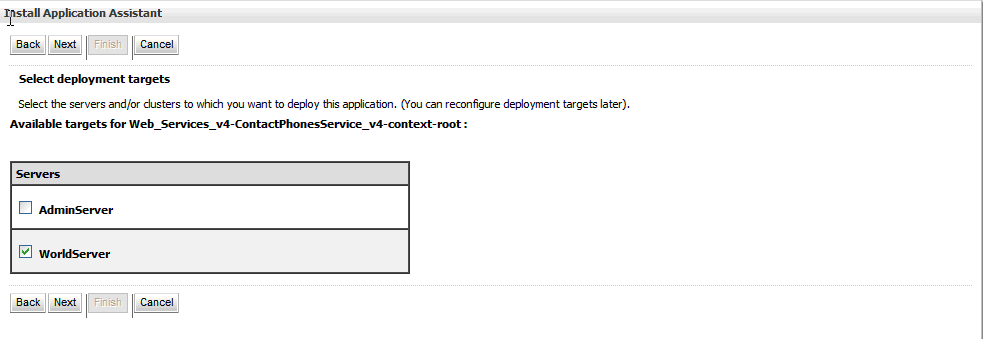
Verify the managed server you created earlier, and click Next.
Figure 4-17 Install Application Assistant screen
Description of ''Figure 4-17 Install Application Assistant screen''
-
Click Finish.
Figure 4-18 Summary of Deployments screen
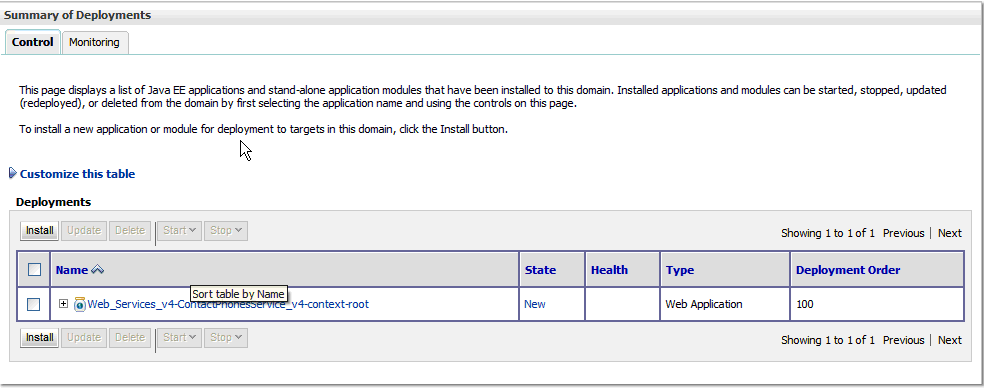
Description of ''Figure 4-18 Summary of Deployments screen''
The Summary of Deployments displays your service.
-
Configure security for service (the service must be Active/Started).
-
From the Deployments screen, expand the service you want to secure.
Collapse the Modules and EJBs nodes and then select the service you want to secure (for example: AddressBookImpl_v4Service).
Figure 4-19 Summary of Deployments screen
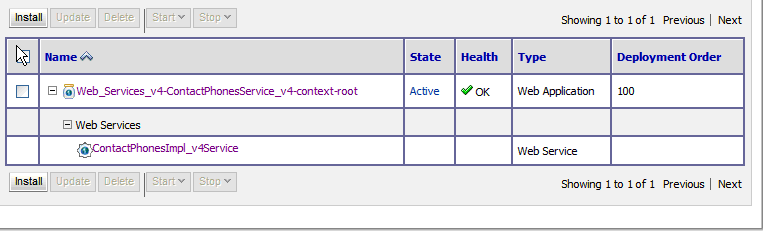
Description of ''Figure 4-19 Summary of Deployments screen''
-
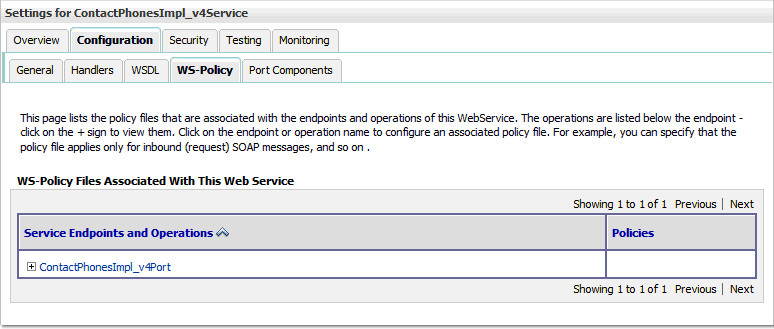
Select the web service and then select the Configuration-> WS-Policy tab.
-
Select the option WebLogic on the Configure the Policy Type for a Web Service screen and select Next.
Figure 4-21 Configure a WebService policy screen
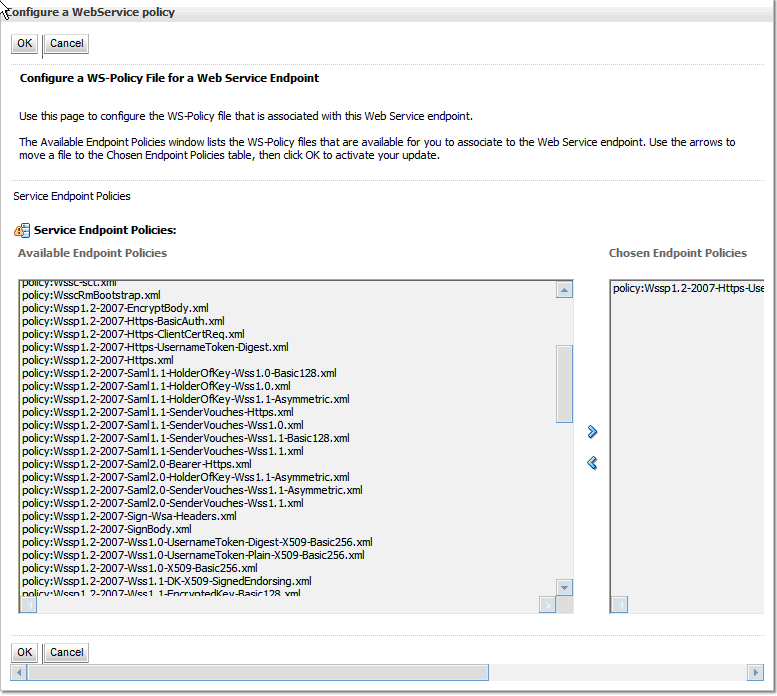
Description of ''Figure 4-21 Configure a WebService policy screen''
-
Select:
policy:Wssp1.2-2007-Https-UsernameToken-Plain.xml
Click the right arrow to move it from the Available Endpoint Policies to the Chosen Endpoint Policies area.
Click OK.
Save the deployment plan.
Figure 4-22 Save Deployment Plan Assistant screen
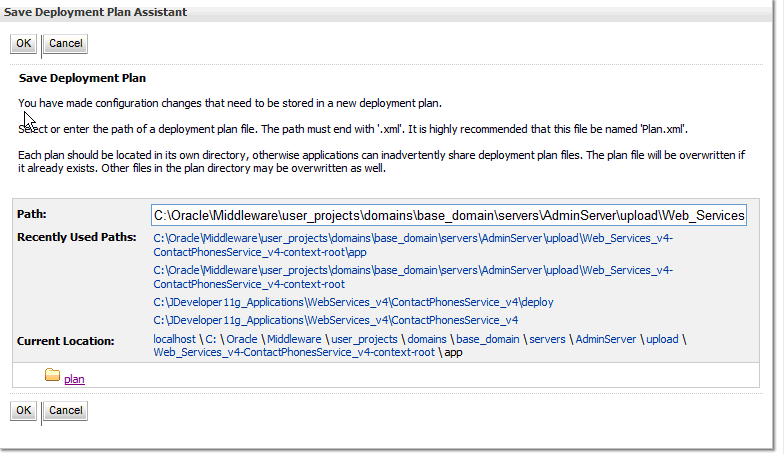
Description of ''Figure 4-22 Save Deployment Plan Assistant screen''
Restart the server.
Access the WSDL.
From the Home Weblogic screen, select Deployments, then Expand Web Services. Select the Web Service Secured in Step 23. Select the Testing tab then Expand the service. Select ?WSDL under Test Point. The service WSDL will open in a browser window. Copy the URL (WSDL) and paste into testing application. Remember to use SSL and the Secure port (listed in Step 14).
-
Test services.
All web services need to specify a security string as part of the SOAP Header in the format DN=username, ADR=machineName, ENV=environment, for example; replace <soapenv:Header/> with the following lines:
<soapenv:Header>
<wsse:Security xmlns:wsse="http://docs.oasis-open.org/wss/2004/01/oasis-200401-wss-wssecurity-secext-1.0.xsd" xmlns="http://docs.oasis-open.org/wss/2004/01/oasis-200401-wss-wssecurity-secext-1.0.xsd" xmlns:env="http://schemas.xmlsoap.org/soap/envelope/" soapenv:mustUnderstand="1">
<wsse:UsernameToken xmlns:wsse="http://docs.oasis-open.org/wss/2004/01/oasis-200401-wss-wssecurity-secext-1.0.xsd" xmlns="http://docs.oasis-open.org/wss/2004/01/oasis-200401-wss-wssecurity-secext-1.0.xsd">
<Username>DN=SOAPROXY,ADR=JDED, ENV=A93TS</Username>
<wsse:Password Type="http://docs.oasis-open.org/wss/2004/01/oasis-200401-wss-username-token-profile-1.0#PasswordText">edduser93</wsse:Password>
</wsse:UsernameToken>
</wsse:Security>
</soapenv:Header>