Error Management
WebADI based Error Reprocessing
The Manufacturing Operations Center provides capability to correct the errors encountered during loading of data through flat files or collected from source systems such as Oracle E-Business Suite using a simple WebADI based template. It also provides an ability to view the entire error data, improving the efficiency and accuracy of data integration.
Note: You do not require database access for data upload to correct the incorrectly entered data.
Reprocessing Errors
-
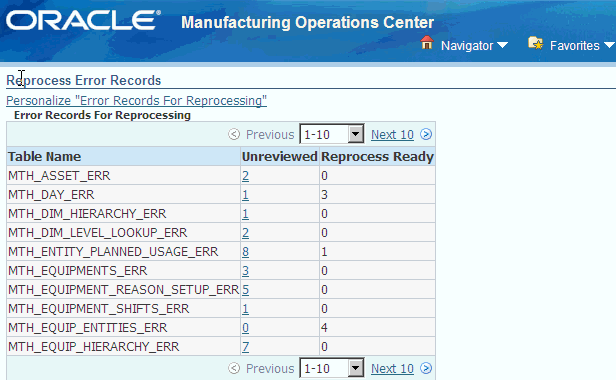
Navigate to Reprocess Errors window.
Reprocess Errors window opens with a list of 50 error tables.
-
Click on the error record's number link against the Table Name you want to reprocess in the Not Modified column.
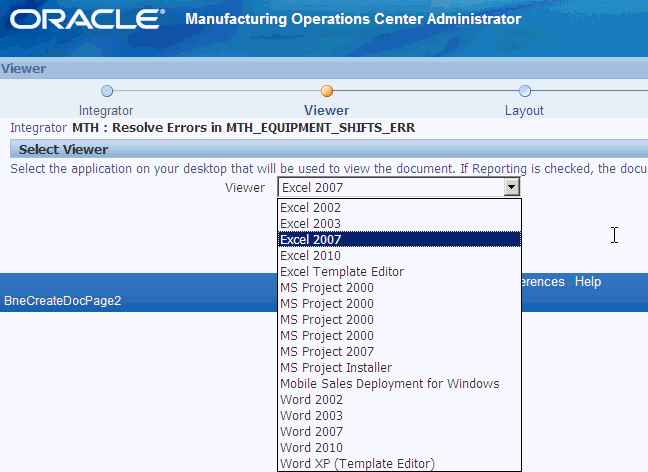
The Viewer window appears.
-
Select Excel 2007 option from the list of values in the Viewer field.
-
Click Next.
The Document Creation Review window appears with the list of parameters that will be used to create your document.
-
Click the Create Document button.
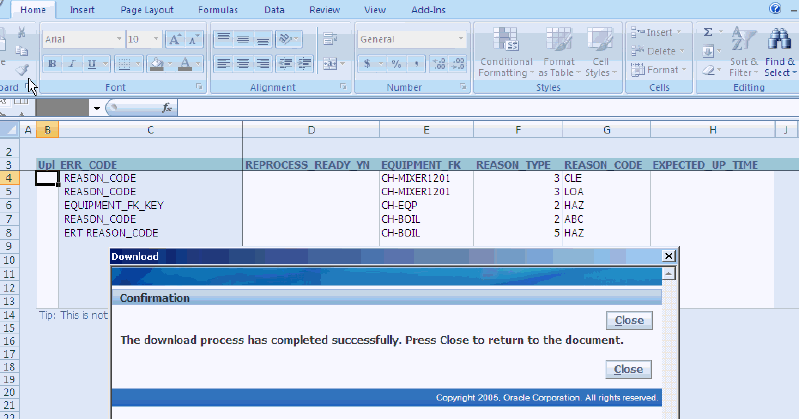
The File Download window appears.
-
Click Open.
The Confirmation window appears with a message that the download process has been completed successfully.
-
Click Close.
-
Go to Add-Ins in the menu bar.
-
Click Upload option in the Oracle drop-down list.
The Upload Parameters window appears.
-
Click the Upload button.
The Confirmation message appears.
Note: Validations are added to ensure REPROCESS_READY_YN is D for time dimension tables and Y, N, D for all other tables. REPROCESS_READY_YN column allows mandatory values of Y, N, and D for all error tables and for the following TIMEDIMENSION error tables only D is allowed:
-
MTH_TIME_HIERARCHY_ERR
-
MTH_DAY_ERR
-
MTH_YEAR_ERR
-
MTH_QUARTER_ERR
-
MTH_PERIOD_ERR
-
MTH_WEEK_ERR
Records will not be committed if a batch has any invalid value other than D, Y, or N.
-
-
Click Close.
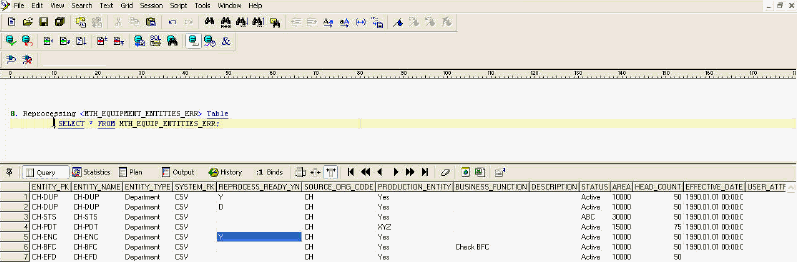
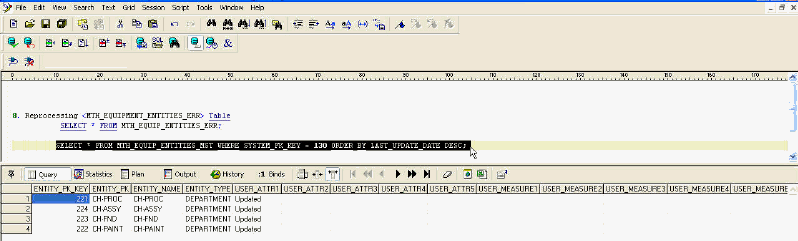
Check the Error table data and the Fact table data before reprocessing.
-
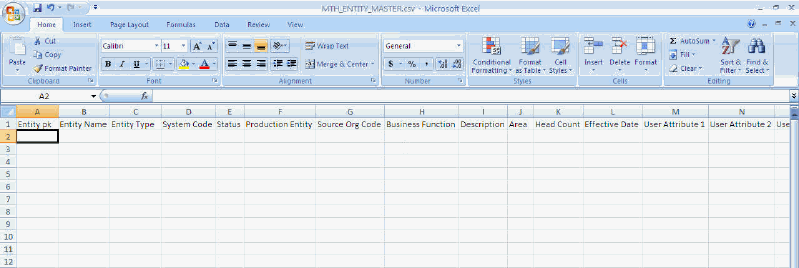
Place an empty flat file in the CSV file path of the ODI configured environment.
-
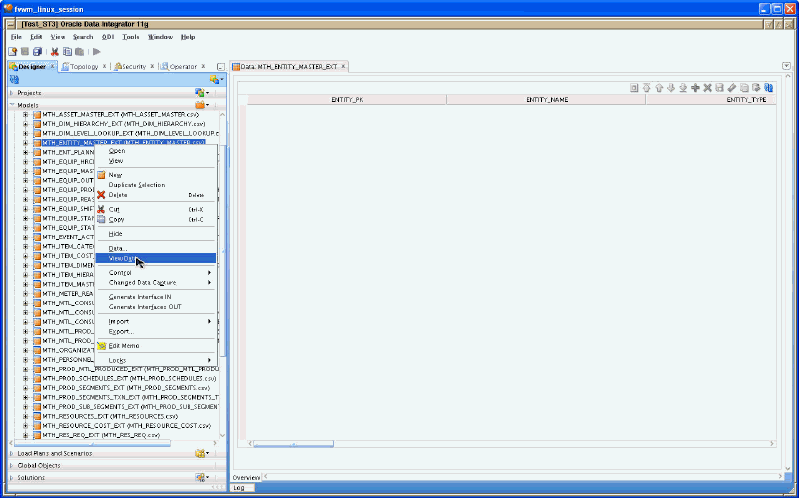
Check the EXT table to ensure that an empty flat file is placed.
-
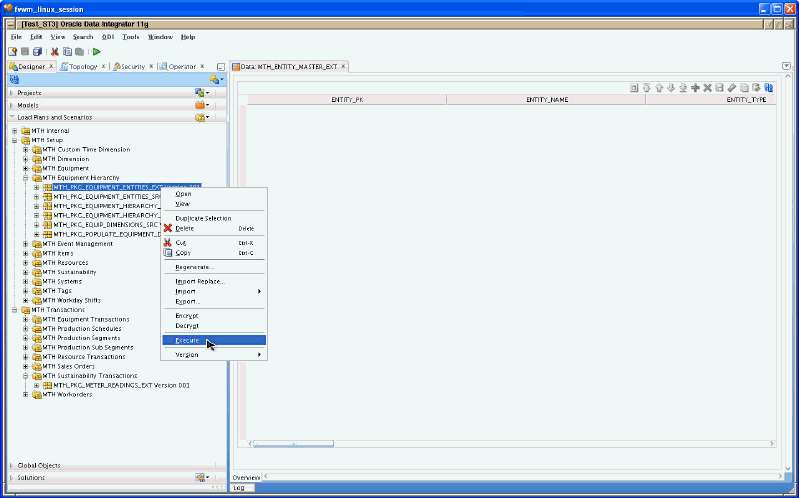
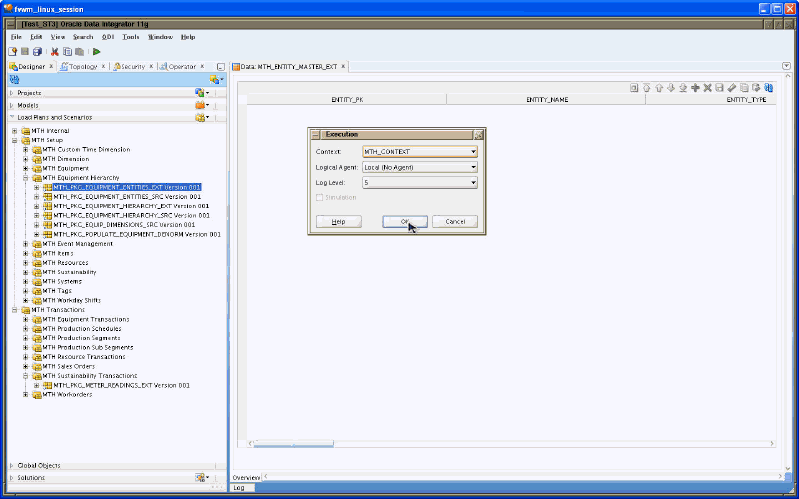
Select the scenario and right click to Execute in the ODI.
-
Select the Context in the Execution window to run the ODI scenario.
-
Click OK to run the ODI scenario.
Check if reprocessing is complete in the Error table and the Fact table after the Scenario is completed successfully.