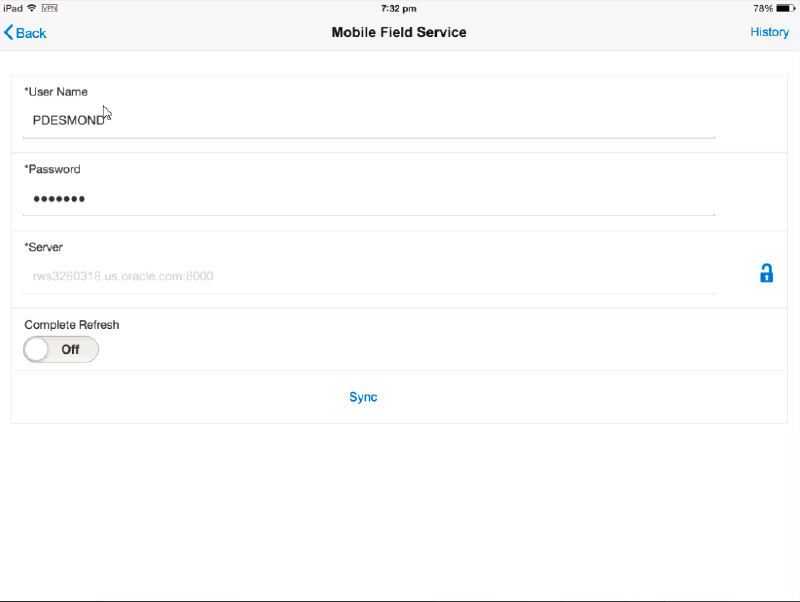
Oracle Mobile Field Service (S&F) Multiplatform - Tablet Edition
Introduction
This section highlights the navigation and user interaction on the tablet edition of the Mobile Field Service S&F Multiplatform application.
Using the Technician Dashboard on the Multilplatform Tablet
To perform task related activities
-
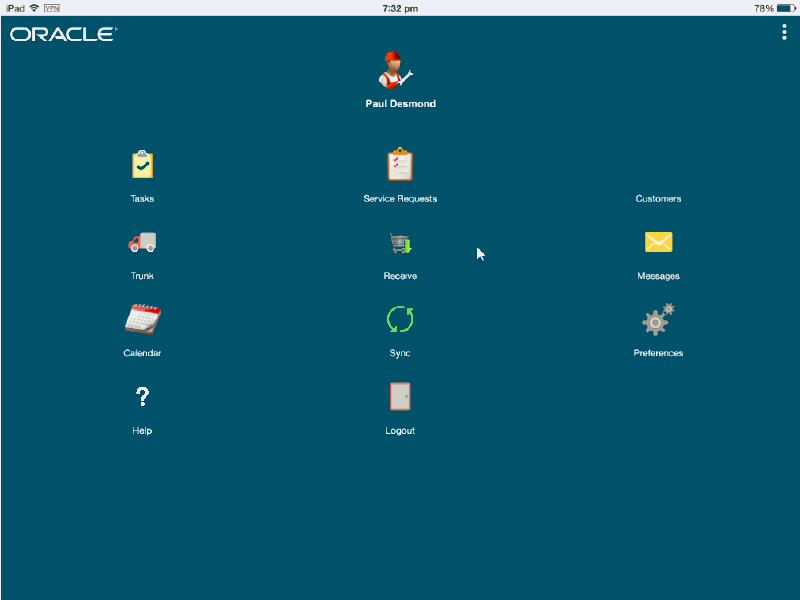
Login to the application. The Home screen is displayed.
-
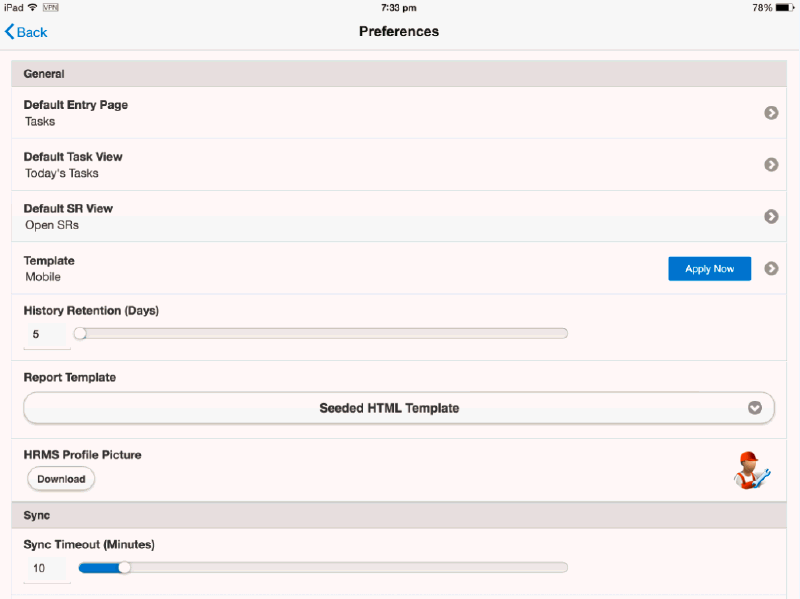
Tap Preferences to set default task views or set the entry page to any one of the following: Task Details and Home Page.
-
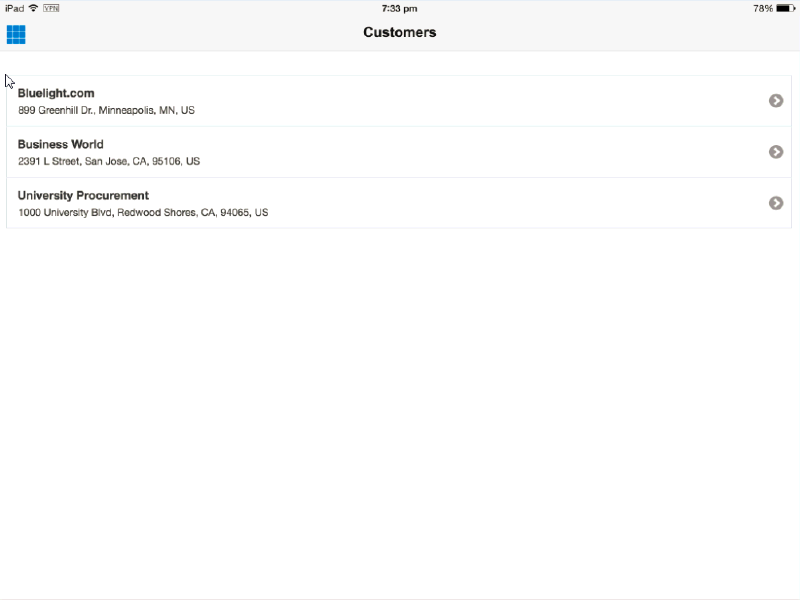
Tap Customers to view the list of customers for the field service technician.
-
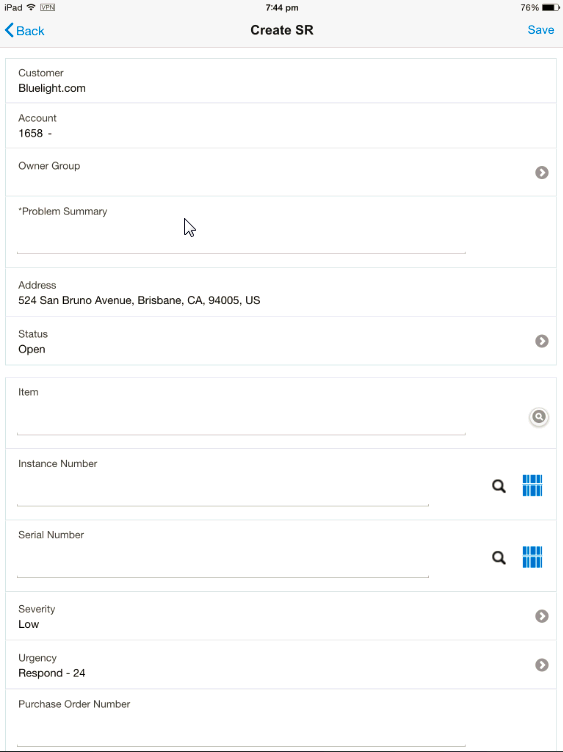
Field service technicians can select a customer record and create a service request for the same..
-
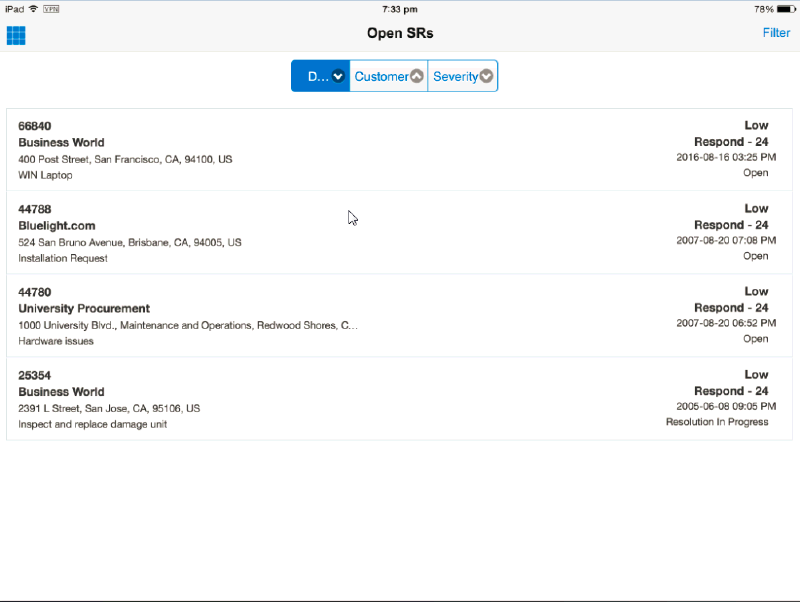
All open service requests can be viewed by tapping on the Service Requests icon on the Home screen.
-
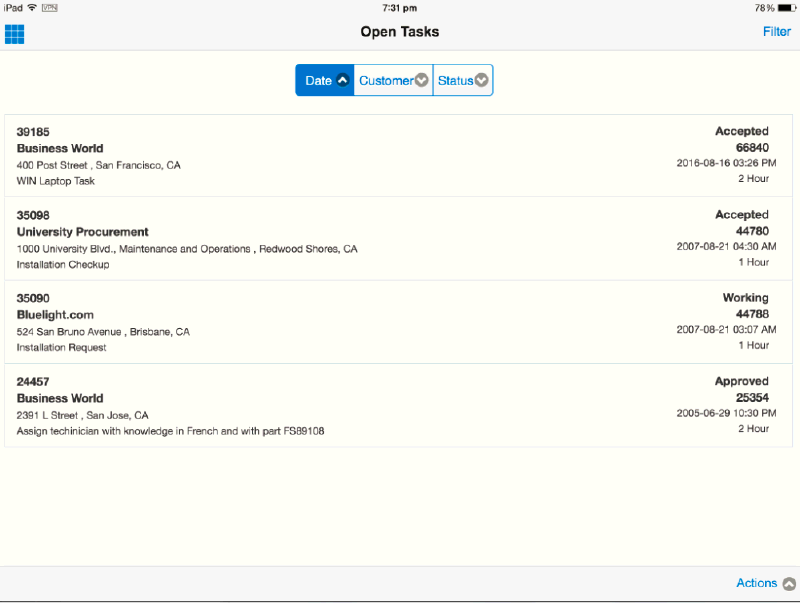
To access the task list, tap the Tasks icon in the Home page. The task list is displayed.
-
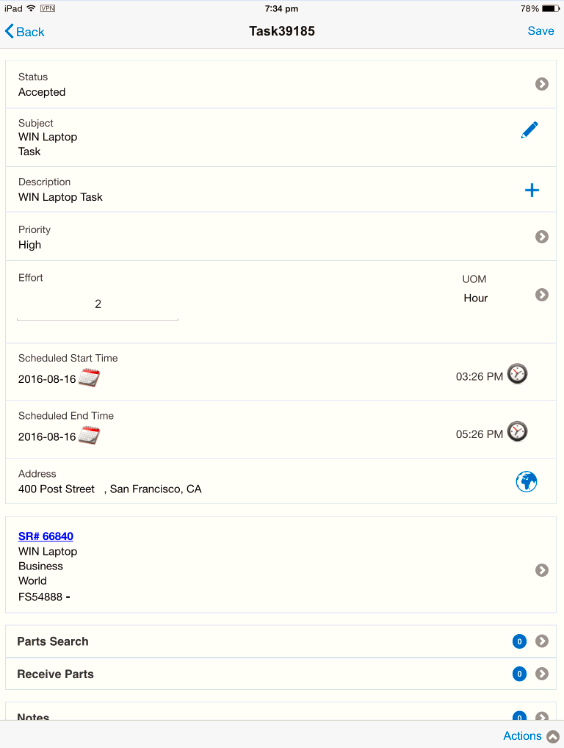
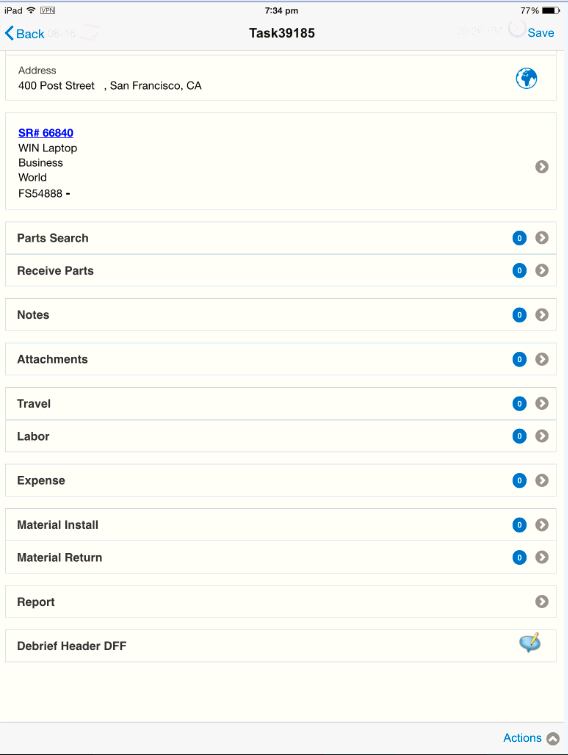
Click the task to display the task details.
-
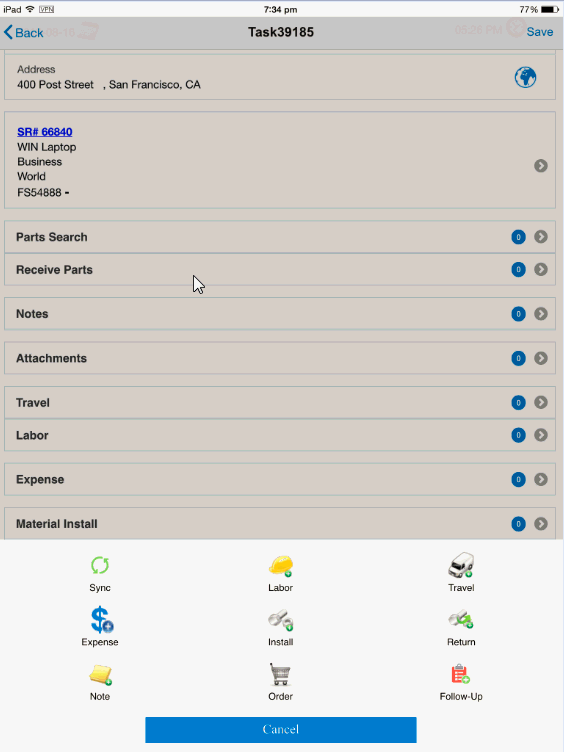
Tap the Actions menu to display the options available to the field service technician.
-
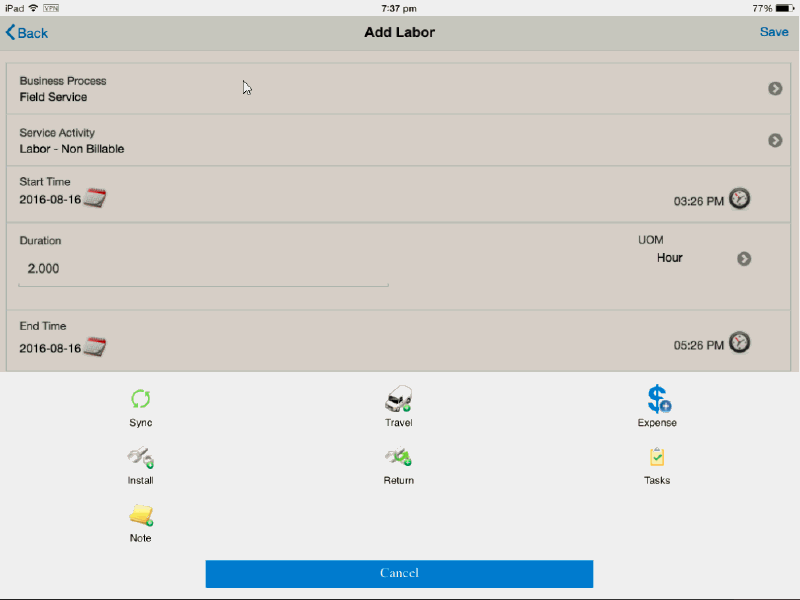
To add labour debrief, tap the Labor icon.
-
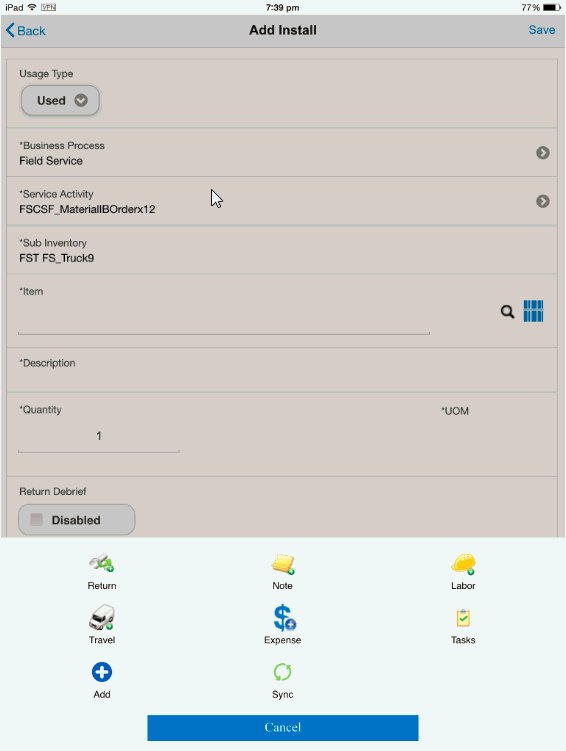
Click Install to create install debrief for the task.
-
Tap Return to access the Add Return screen and create a material return for the task.

-
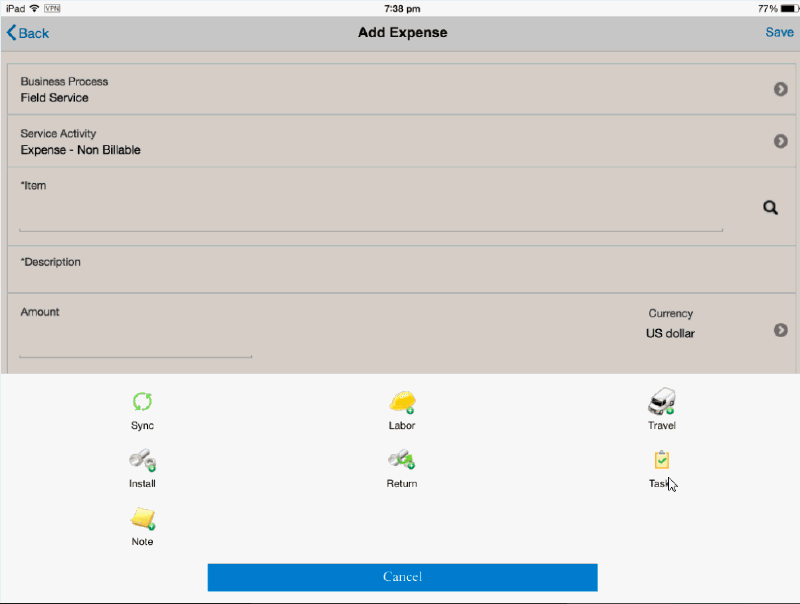
To add expense debrief, tap the Expense icon.
-
Tap the Travel icon to add a travel line to an existing task.

-
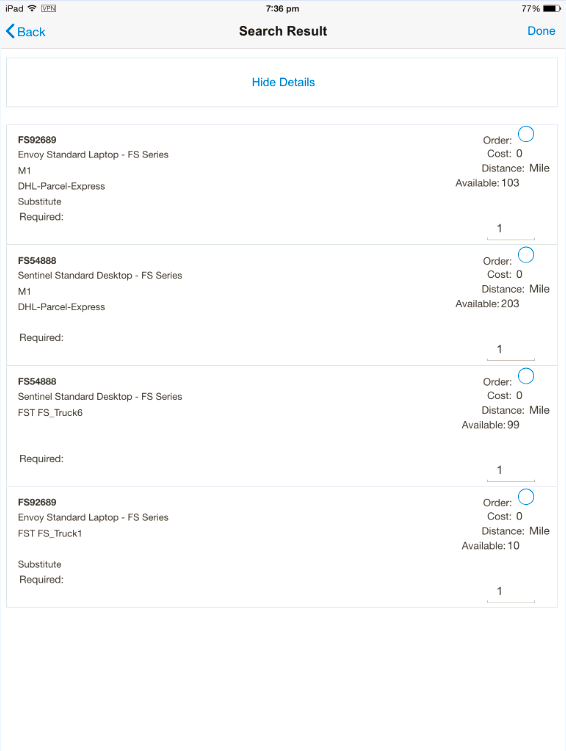
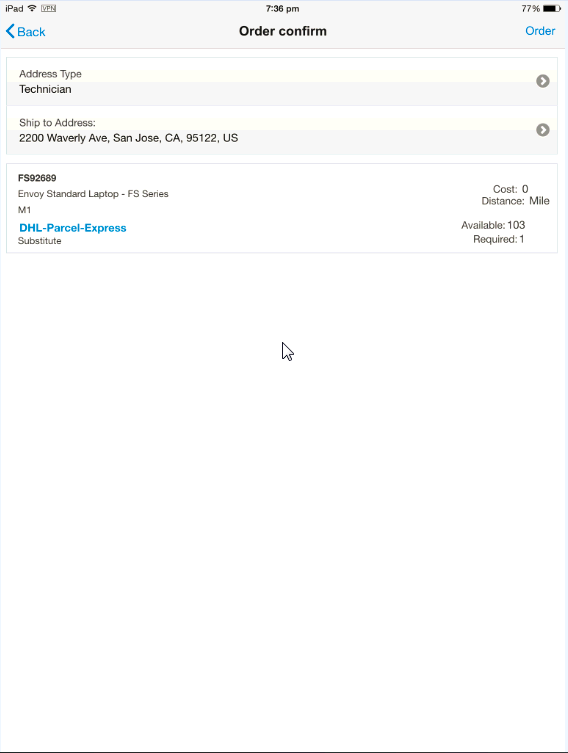
Tap the Order icon to access the search page to query for parts and place a parts request.

-
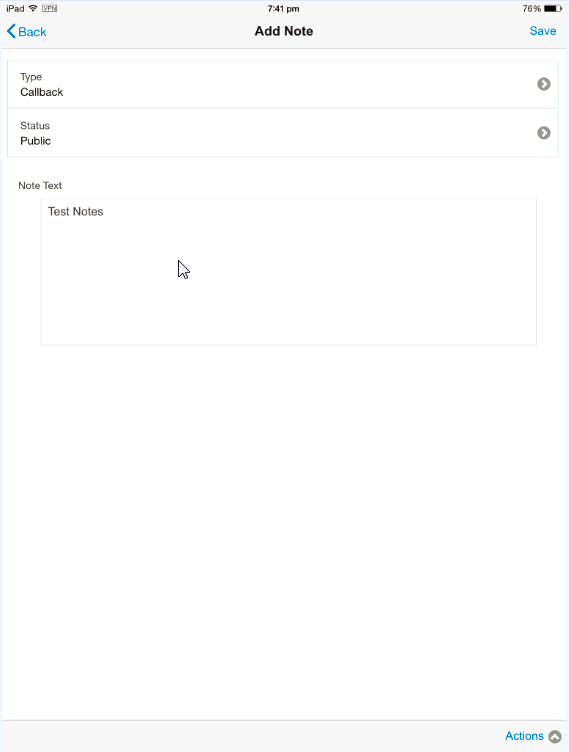
Tap the Note icon to add a note to your task.
-
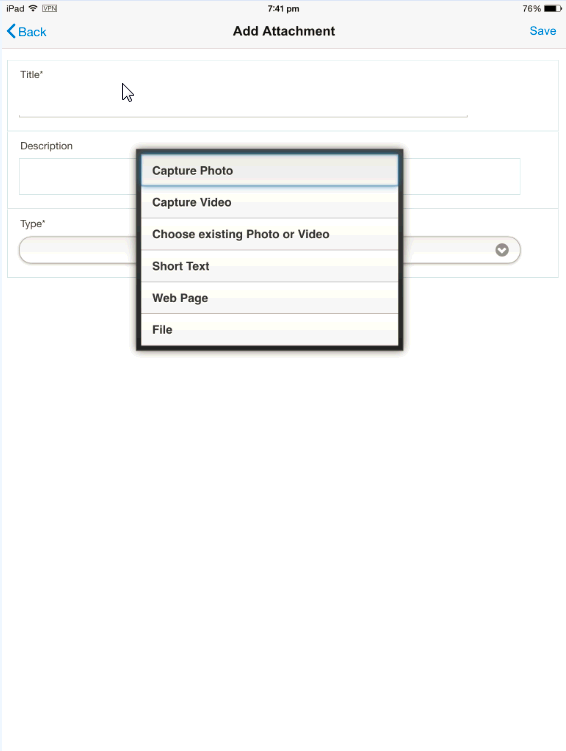
Tap the Attachment icon to attach files to your task.
-
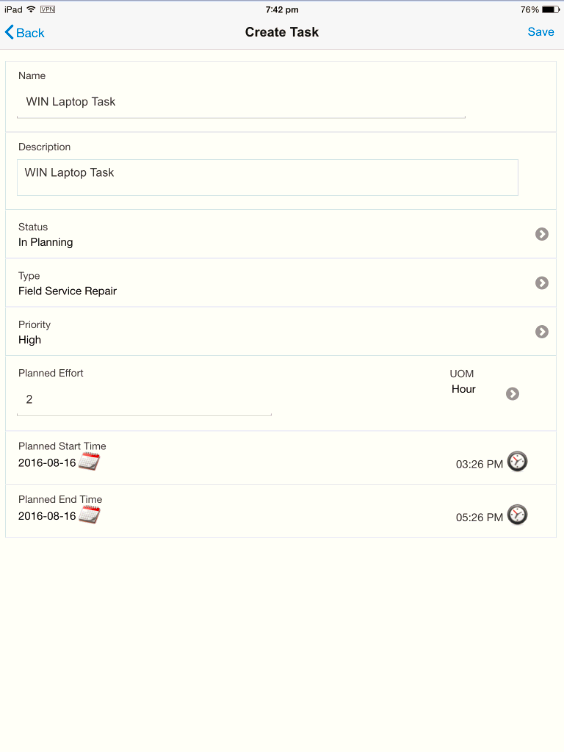
To create a follow-up task, tap the Follow-Up task icon.
-
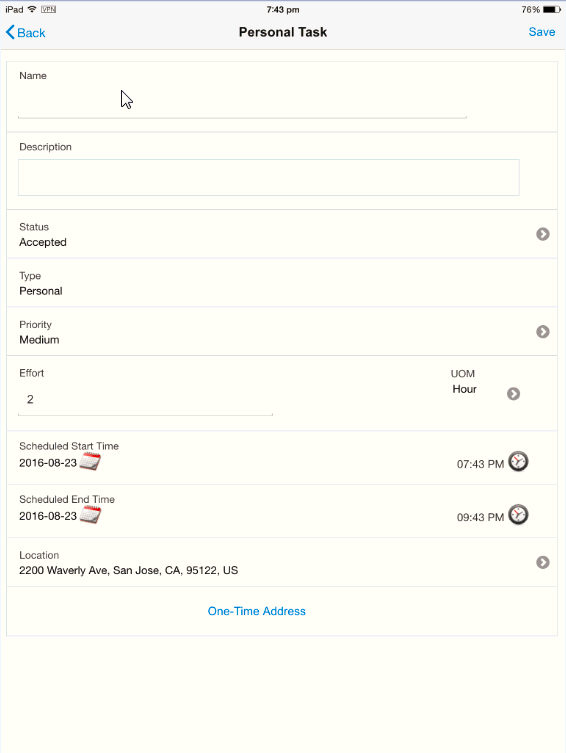
To create a personal task, tap the Personal task icon.
-
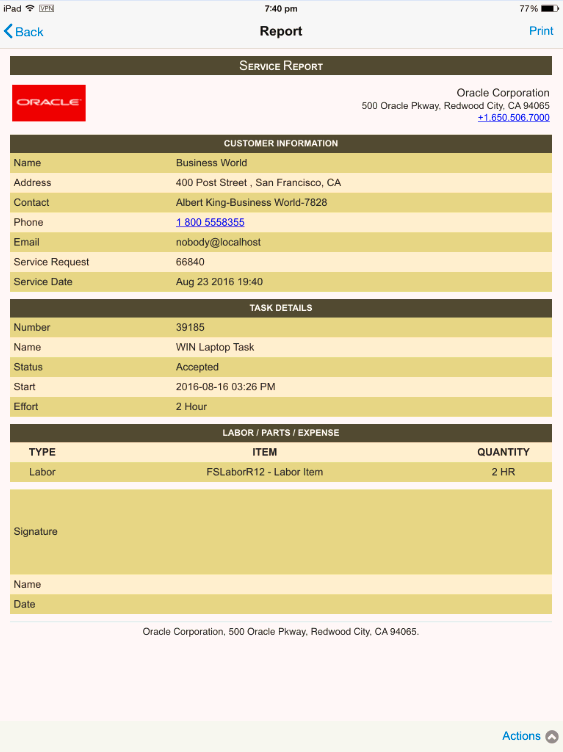
Tap Report to generate the action summary report.
-
To receive parts assigned to the task, navigate to the Home screen and tap the Receive parts icon.

-
To view the items available in your inventory, on the Home screen, tap the Trunk icon.

-
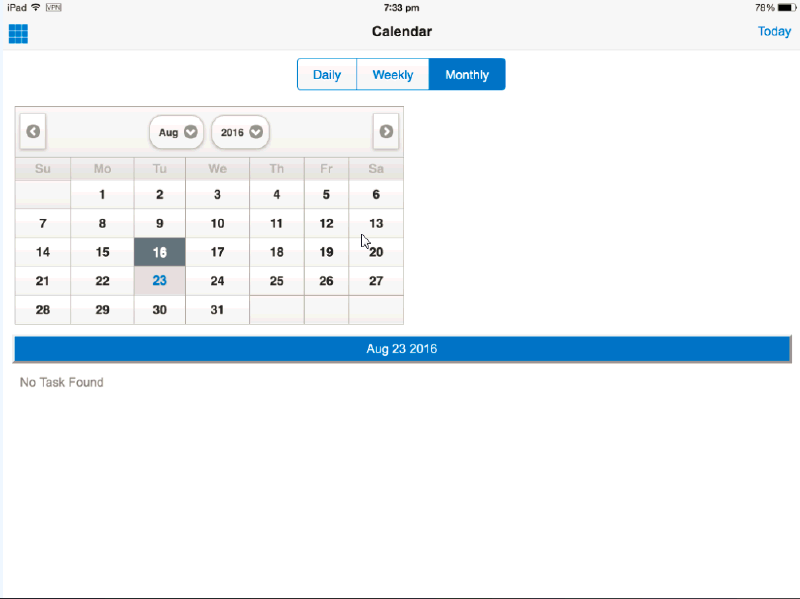
To access your calendar, on the Home screen, tap the Calendar icon.
-
Sync your client application by tapping on the Sync icon.
