7 Installing Oracle HTTP Server 11g
This chapter provides instructions for installing Oracle HTTP Server and configuring Oracle HTTP Server to use with WebLogic.
This chapter contains the following section:
7.1 Oracle HTTP Server 11g Installation Steps
Follow these steps to install the Oracle HTTP Server:
-
Oracle HTTP Server is available as a webserver component in Oracle Web Tier. Download Oracle Web Tier 11g from Oracle. The following steps assume you have downloaded the Oracle FMW Web Tier and installed it on a Linux system.
-
Create a non root user and extract the installer contents from the downloaded Oracle Web Tier zip file.
-
Navigate to the extracted directory and execute
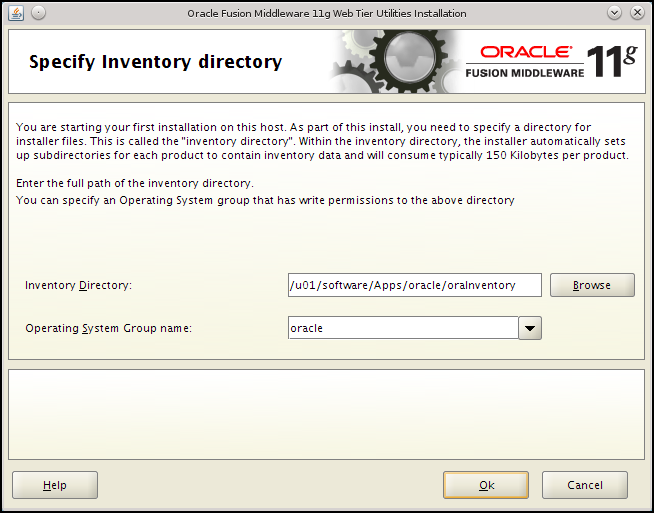
runInstaller. On the first installation it will ask you for the Inventory Directory (Figure 7-1). Select Browse and select the correct group name and click OK. -
In this chapter, we enable the Continue installation with local inventory option (Figure 7-2). This may not apply to your installation configuration.
Figure 7-2 Inventory Location Confirmation Dialog
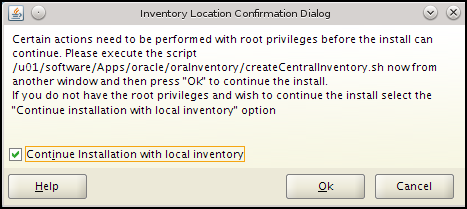
Description of ''Figure 7-2 Inventory Location Confirmation Dialog''
-
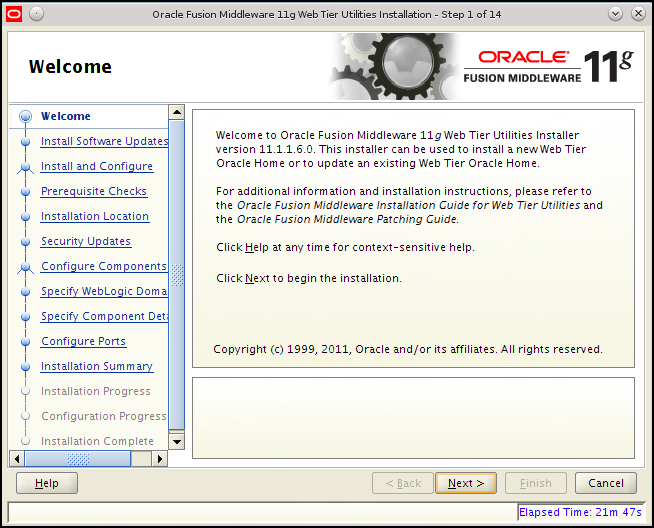
On the Welcome screen (Figure 7-3), click Next.
-
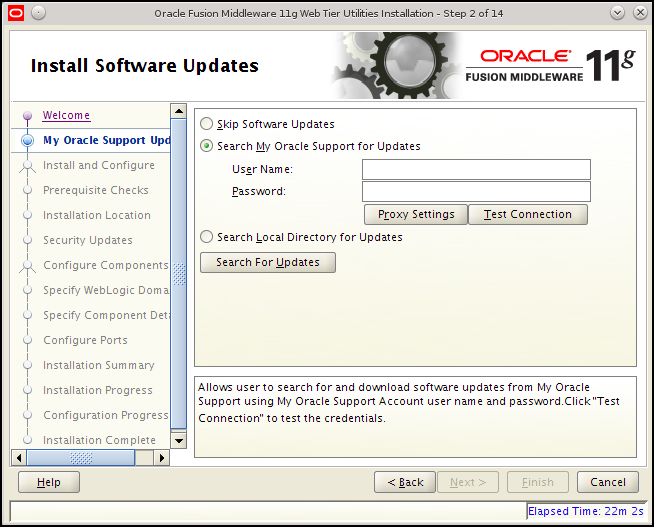
If you wish to install software updates enter your credentials (Figure 7-4) and click Next.
-
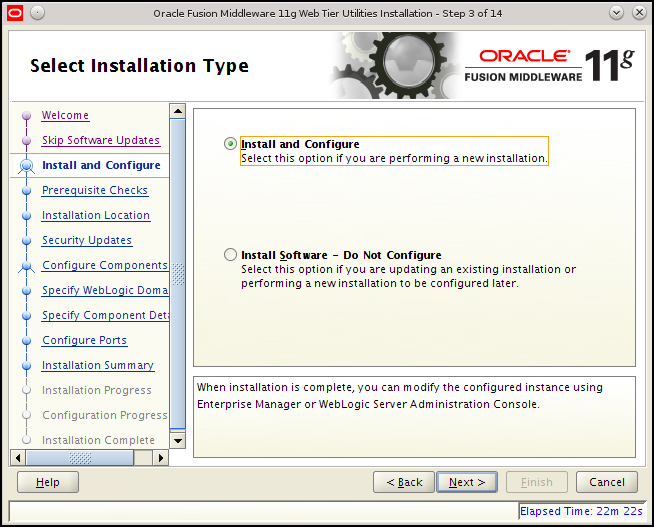
On the Select Installation Type step (Figure 7-5), select the Install and Configure option and click Next.
-
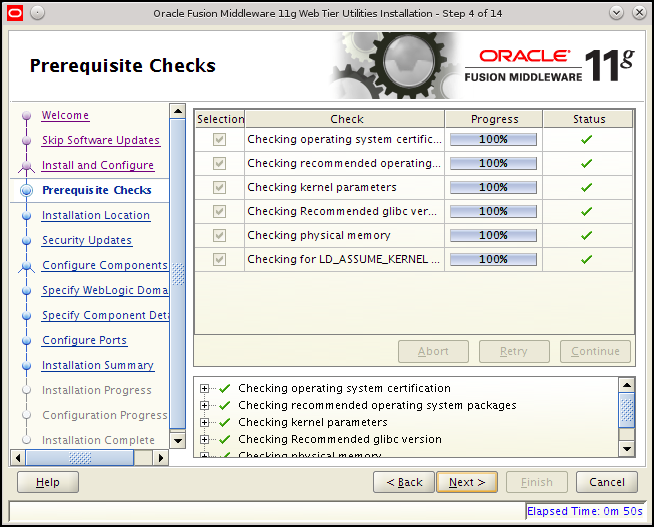
On Prerequisite Checks steps (Figure 7-6), be sure you have all the required prerequisites and then click Next.
-
In this chapter, we will create a new Middleware home (Figure 7-7). This may not apply to your installation configuration.
Figure 7-7 Specify Installation Location
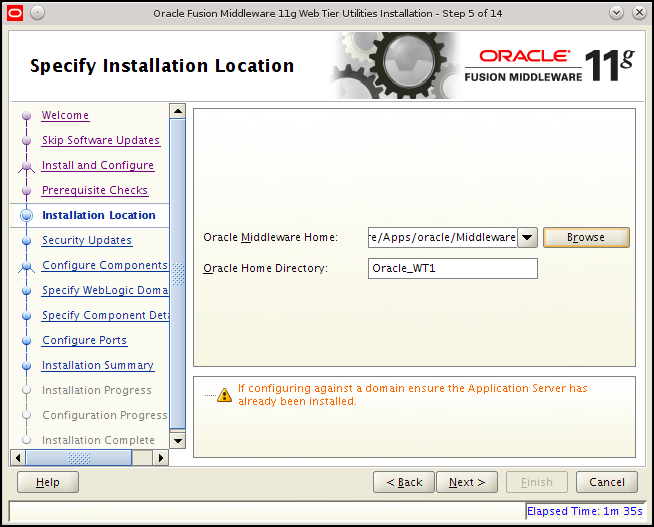
Description of ''Figure 7-7 Specify Installation Location''
-
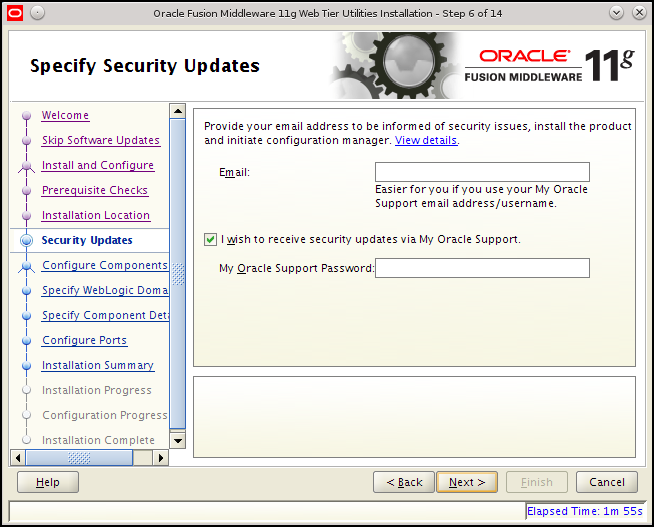
On the Specify Security updates step (Figure 7-8), enter your details to receive security updates.
-
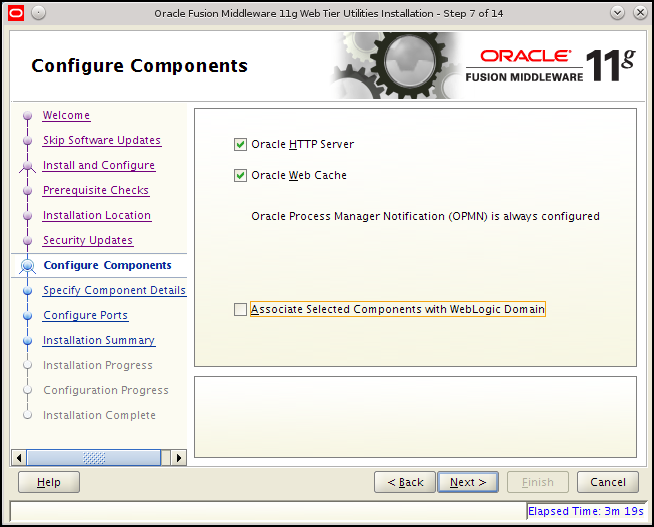
For this release, we will not associate Oracle HTTP Server with a WebLogic domain. Associating web tier components involves creating a WebLogic domain with JRF. WebCenter Sites version 11.1.1.8.0 will not deploy correctly on a WebLogic domain with JRF and EM components.
On the Configure Components step (Figure 7-9), do not enable the Associate Selected Components with WebLogic Domain option. Disable this option if it is enabled. click Next.
-
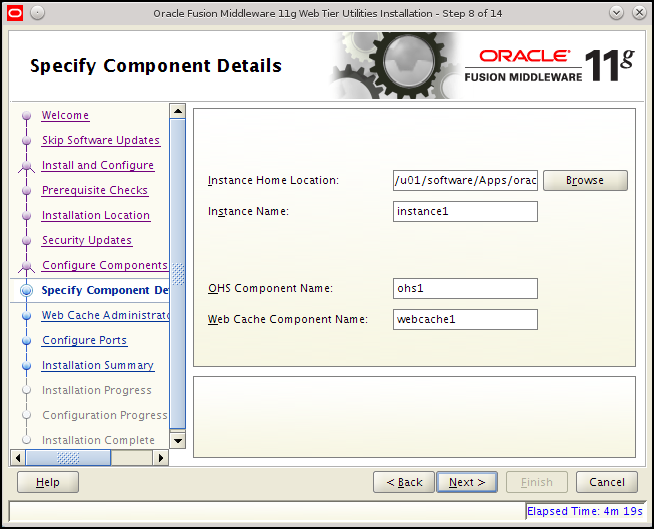
On the Specify Component Details step (Figure 7-10), specify your web tier component details and click Next.
-
On the Web Cache Administrator Password step (Figure 7-11), enter the web cache password and click Next.
Figure 7-11 Web Cache Administrator Password
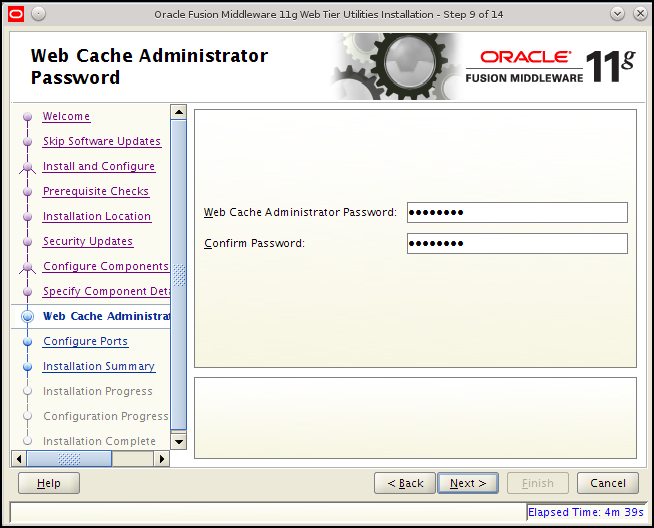
Description of ''Figure 7-11 Web Cache Administrator Password''
-
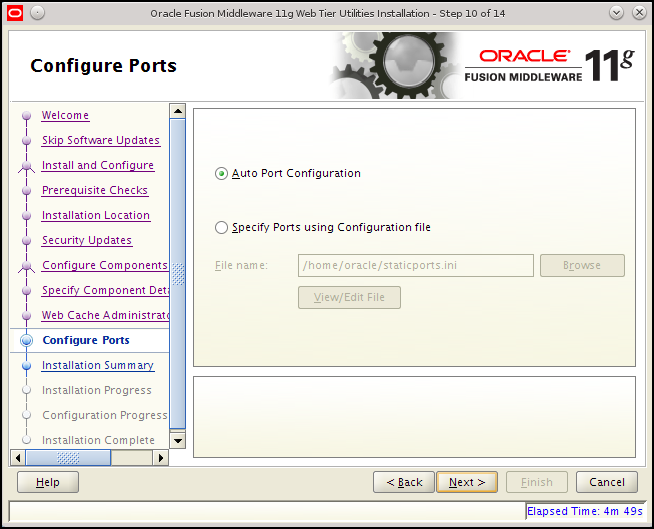
Depending on your configuration, select the Auto Port Configuration option or the Specify Ports Using Configuration File option (Figure 7-12). If you select the Specify Ports Using Configuration File option, provide the file name of the configuration file used to specify the ports. Ports can be modified later if needed. Select Next.
-
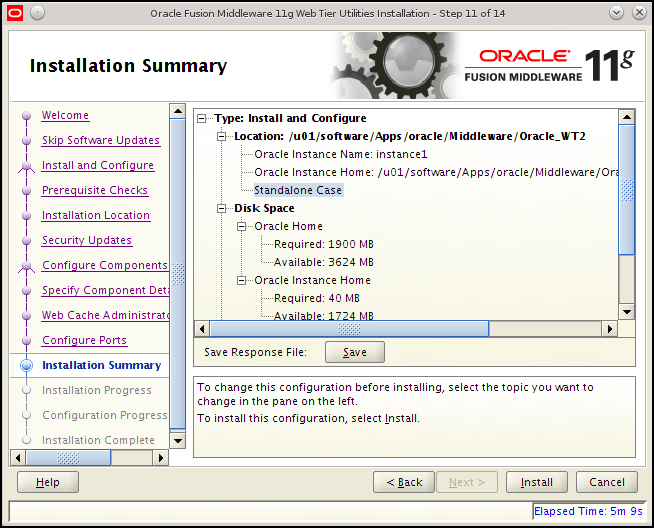
On the Installation Summary step (Figure 7-13), verify the installation summary and click Install.
-
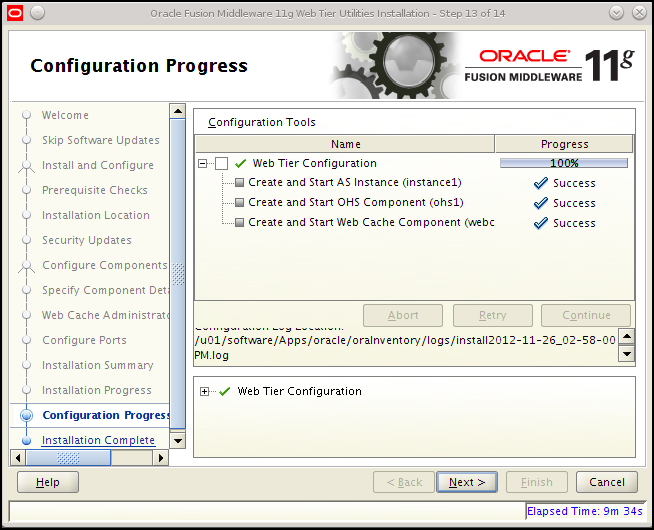
On the Configuration Progress step (Figure 7-14), click Next when configuration is complete.
-
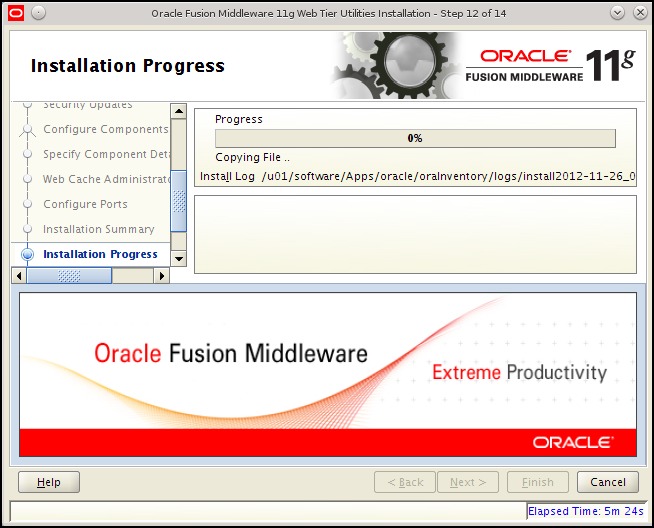
The Installation Progress step displays the installation progress (Figure 7-15). The installer will start the web tier components by default.
Starting or Stopping from the Command Line
To start or stop components from the command line:
-
Use
cdto navigate to your instance directory. Under the /bin directory execute theopmnctlcommand. To start or stop all components use:./opmnctl stopall ./opmnctl startall
-
For one component first execute
./opmnctl startand then use the commands listed below to start or stop specific components:./opmnctl startproc ias-component=<Oracle HTTP Server1> ./opmnctl stopproc ias-component=<Oracle HTTP Server1> ./opmnctl restartproc ias-component=<Oracle HTTP Server1>