To import the certificates, use the Microsoft Management Console (MMC) with the Certificates snap-in.
If your MMC does not have the Certificates snap-in, add it as follows:
- Start the MMC by selecting Run from the Start menu, typing in MMC, and then clicking OK.
- From the File menu, select Add/Remove Snap-in.
- At the Add/Remove Snap-in dialog, select a name from the Snap-ins added to drop-down box. This procedure assumes that you have selected the default, Console Root.
- At the Add/Remove Snap-in dialog, click Add. The Add Standalone Snap-in dialog box is displayed with a list of the snap-ins that are installed on your computer.
- At the Add Standalone Snap-in dialog, select Certificates and click Add.
- At the Certificates snap-in dialog, select Computer account and click Next.
- At the Select Computer dialog, select Local computer and click Finish.
- You are returned to the Add Standalone Snap-in dialog. Click Close.
- You are returned to the Add/Remove Snap-in dialog. The dialog should have Certificates (Local Computer) in the list. Click OK.
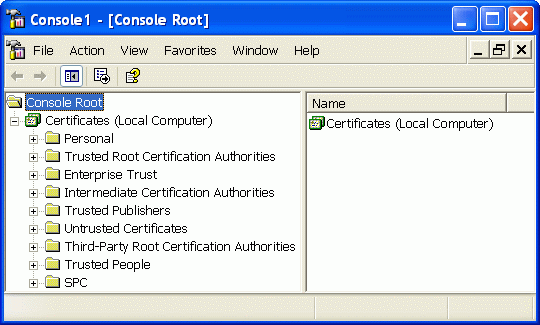
As a result, the Console Root window now has the Certificates (Local Computer) snap-in rooted at the Console Root folder, as shown in this example: