You can use the Record Store Wizard to generate an external metadata file by querying the Record Store instance for its properties.
Before you can use the Record
Store Wizard:
- You must have created a Record Store instance.
- The Record Store instance must have at least one committed generation of records. That is, you must have run a full (baseline) crawl with the output sent to the Record Store.
- The Endeca CAS Service must be running so that the Record Store Wizard can connect to it.
- You must have created an Integrator project and graph for the Record Store Reader component, as you will store the metadata file in this project.
To generate an external metadata file from the Record Store instance:
-
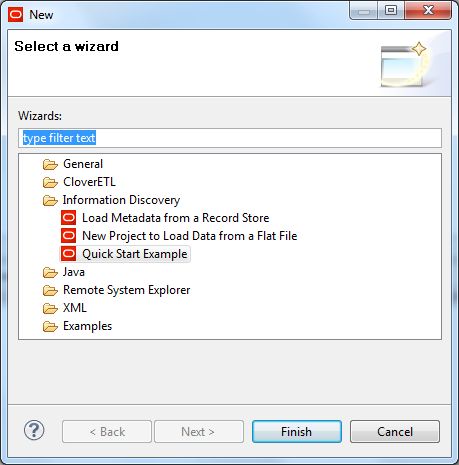
From your Record Store Reader project, select
.
Integrator displays the Select a Wizard menu:
-
In the Select a Wizard menu, select
Load Metadata from a Record Store and then
click
Next.
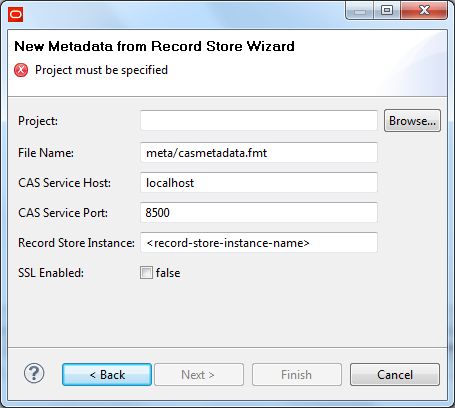
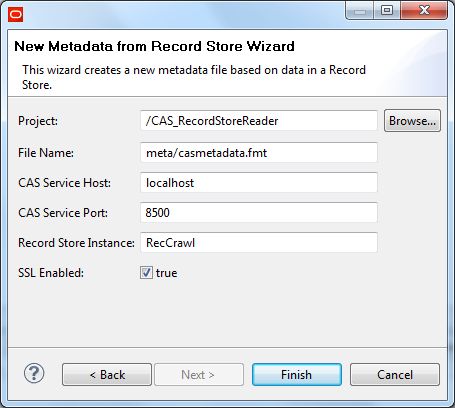
Integrator displays the Record Store Wizard.
-
In the Record Store Wizard, enter these values:
- In the Project field, click Browse and select your project from the Folder Selection dialog.
- In the File Name field enter the pathname (project folder and file name) for the metadata file you want to create. You can use the default name: casmetadata.fmt.
- In the CAS Service Host field enter the name of the machine on which the Endeca CAS Service is running. This name should be the same as the name in the CAS Service Host configuration property of the Record Store Reader component.
- In the CAS Service Port field enter the port of the Endeca CAS Service. This port should be the same as the one in the CAS Service Port configuration property of the Record Store Reader component.
- In the Record Store Instance field enter the name of the Record Store instance that you created. This name should be the same as the one in the Record Store Instance configuration property of the Record Store Reader component.
- Only toggle the SSL Enabled field to true if the Endeca CAS Service is SSL enabled.
-
Click the
Finish button.
The wizard retrieves the record properties from the Record Store
instance and displays them in the Integrator Metadata editor, as shown in this
truncated example:
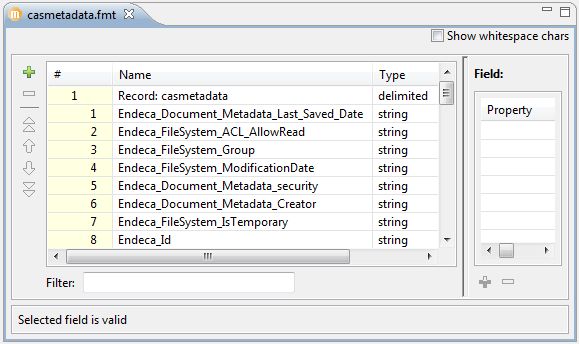
The external metadata file is stored in the folder you specified in the File Name field.
Assign this metadata to the edge that joins the Record Store Reader component to the next component in the graph.
