You can apply styles to members of a dimension in a database. Applying styles to dimensions enables you to easily view the various dimension members in Spreadsheet Add-in.
 To apply styles to dimensions:
Select Cell Border to create a border around each cell containing a member from the selected dimension.
From Font style, select Bold, and then click OK.
An example of the selected style is displayed in the Sample box.
From the list of dimensions, select Measures, and from Background Color, select Fuchsia.
From the list of dimensions, select Product, and clear Cell Border.
Select Cell Border, and then click Format to the right of Dimensions.
When Font is displayed, from Font style, select Italic, and then click OK.
From the list of dimensions, select Scenario, and from Background Color, select Red.
Press Alt and drill down (double-click) on Scenario in cell E1.
Select Essbase, and then Retrieve.
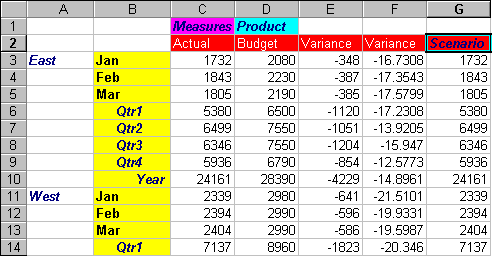
Essbase redisplays the worksheet and implements the newly defined styles. For example, members of the Scenario dimension are displayed with a red background.