You can use JavaScript to customize Interactive Reporting menus. Add scripted menu items to the menu bar to:
 To add a custom menu:
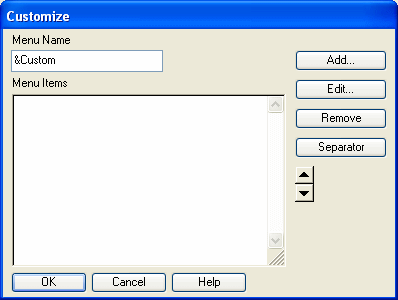
Select Tools , then Customize.
The Customize dialog box is displayed.

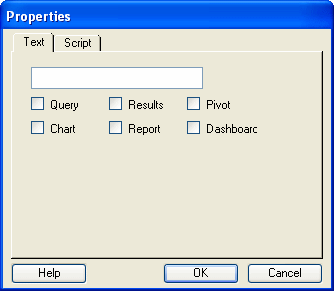
Select the Text tab.
Type a name for the menu item.

Select one or more check boxes to indicate the sections where the menu item should be displayed.
Select the Script tab to display the Script page.
Enter script commands to be run when the item is chosen from the menu. If you plan to deploy the menu item to a group of users, make sure that commands which reference external applications or files use universal paths.
Note:
When entering script commands, make sure the JavaScript is kept to one line. Multi-line scripts are not intended for this feature.
Click OK to return to the Customize dialog box.
Add separator lines and move menu items as needed to complete the final menu.
To provide the same functionality for distributed users, copy the preference file which supports this feature to users’ machines.