Copying and Pasting Data into Your Application
To upload data to your application, the application must have been built with Data Upload capability and the pasted data must be formatted properly.
To illustrate how you can use the Data Load wizard to copy and paste data from a text file, the following section demonstrates the upload process and includes an illustration of the sample packaged application, Sample Database Application.
To copy and paste data into your application:
-
Log into the sample packaged application, Sample Database Application.
-
On the Customers page, click Upload Data to launch the Data Load wizard.
The first page of the Data Load wizard appears.
-
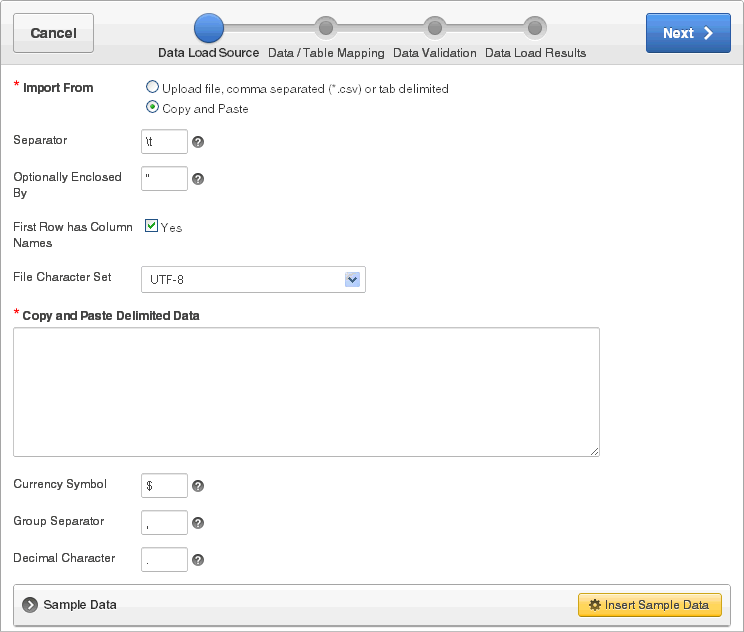
For Data Source Load:
-
Import From - Select Copy and Paste.
-
Separator - Enter the column separator character. Use
\tfor tab separators. -
Optionally Enclosed By - Enter a delimiter character to delineate the start and end boundary of a data value.
-
First Row has Column Names - Options include:
-
Yes - Columns are named with column names from the first row of the uploaded data file.
-
No - Columns will not be named with column names from the uploaded data file.
-
-
File Character Set - Select the file character set associated with the data to be copied.
-
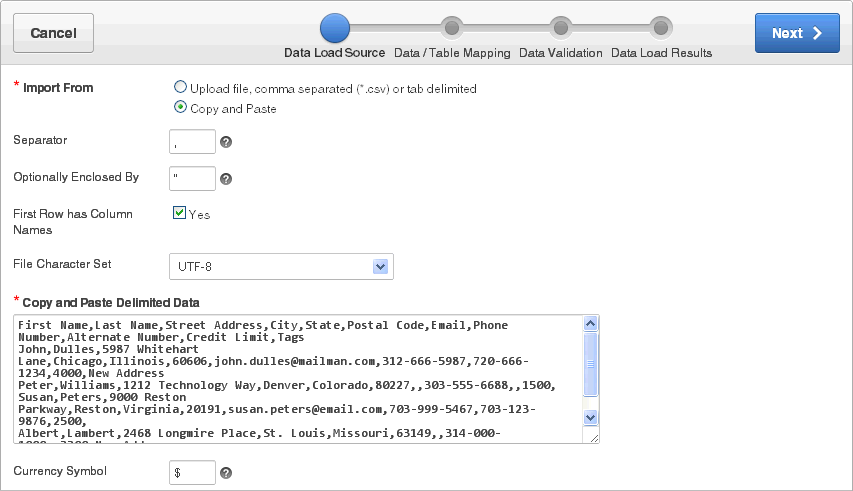
Copy and Paste Delimited Data - Click the Insert Sample Data button at the bottom of the page.
The sample data appears in the Copy and Paste Delimited Data field.
-
Currency Symbol - If your data contains an international currency symbol, enter it here. For example, if your data has "$1,234.56" or "©1,234.56", enter $ or ©. Otherwise the data will not load correctly.
-
Group Separator - If your data contains a group separator enter it here. A group separator is a character that separates integer groups, for example to show thousands and millions.
Any character can be the group separator. The character specified must be single-byte, and the group separator must be different from any other decimal character. The character can be a space, but cannot be a numeric character or any of the following: plus sign (
+), hyphen (-), less than sign (<), or greater than sign (>). -
Decimal Character - If your data contains a decimal character, enter it here. The decimal character separates the integer and decimal parts of a number. Any character can be the decimal character. The character specified must be single-byte, and the decimal character must be different from any other group separator. The character can be a space, but cannot be a numeric character or any of the following: plus sign (
+), hyphen (-), less than sign (<), or greater than sign (>)
-
-
Click Next.
The Data/Table Mapping page appears.
-
For Data/Table Mapping:
-
Column Mapping - Indicates the destination column name. To change the column name, select a new column name from the list. To hide a column, select Do Not Load.
-
Date/Number Format - Most of the standardized date and number formats are automatically parsed and then passed to the database. If you want to define your own format or the format is not an automatically parsed format, use this field to define your own. See "Automatically Supported Date, Timestamp and Number Formats".
-
Click Next.
-
-
Click Next.
The Data Validation page appears showing the data that to be inserted or updated after any table lookup and transformation rules have been applied. For more information regarding table look up and transformation rules, see "About Using the Data Loading Wizard".
-
For Data Validation, review the data to be uploaded and click Load Data.
The Data Load Results page appears.
The Data Load Results page shows:
-
Inserted Row(s) - This is the number of new rows uploaded to the table.
-
Updated Row(s) - This is the number of rows in the table updated with new information.
-
Failed Row(s) - This is the number of rows from the upload file that were not added or updated.
-
To be Reviewed Row(s) - This is the number of rows needing review.
-
-
Click View Customers to return to the Customers page.


