This topic describes how to install the Oracle Endeca Server package.
Before you install Endeca Server, both Oracle WebLogic Server and the Application Developer Framework Runtime must be installed on the machine.
- Run the Endeca Server installer.
- Create a WebLogic domain for the Endeca Server application. (If you are deploying an Endeca Server cluster, this step is needed only when you install on the machine that will become the Admin Server in the WebLogic domain created for the Endeca Server.)
- Run the post-installation script to create SSL certificates (if you installed in a secure mode), and generate SSL certificates in your browser. (If you are deploying an Endeca Server cluster, this step needs to be completed on the Admin Server only and before you clone this server to create Managed Servers.)
- Verify that the Endeca Server application is correctly deployed in WebLogic Server.
- The Endeca Cluster Coordinator software is installed as part of the package.
- You can install Endeca Server in either secure (SSL) or non-secure mode. Secure mode is highly recommended for production deployments, while non-secure installations can be used for development environments.
- When installing Endeca Server on Linux, do not run the installation program as the root user.
- You must have an X-Windows (X11) environment on Linux. The installer requires that your monitor must be configured to display at least 256 colors.
To install Oracle Endeca Server:
-
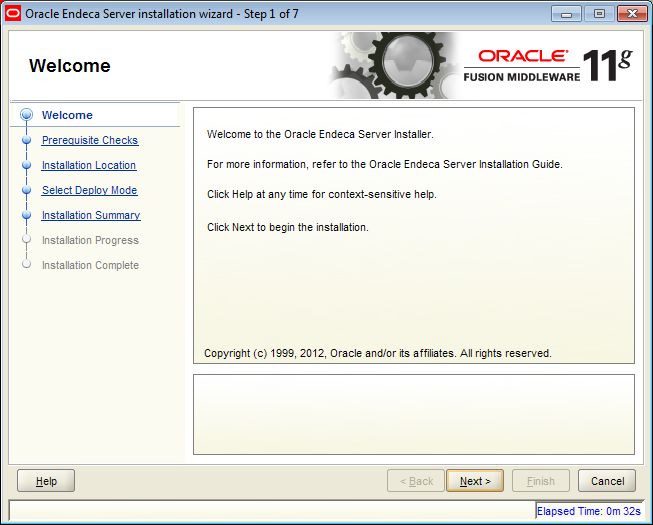
At the
Welcome screen, read the information and click
Next.
-
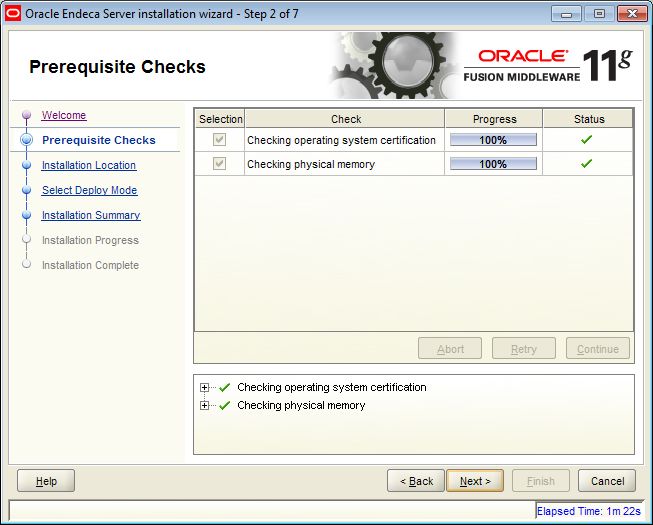
At the
Prerequisite Checks screen, click
Next if everything passes the checks.
-
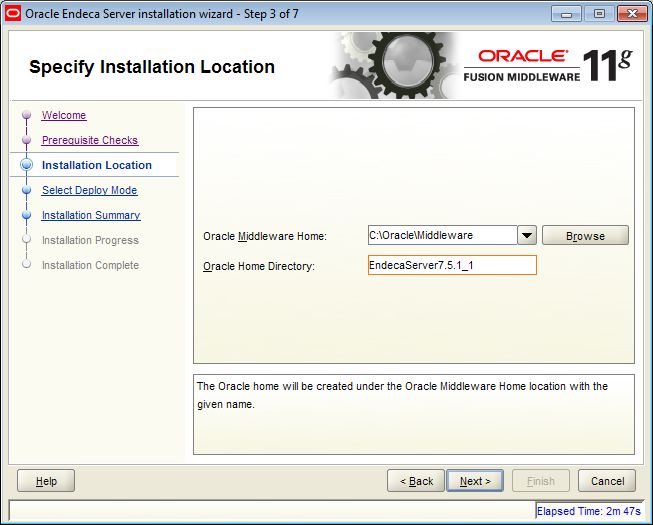
At the
Specify Installation Location screen, do the
following:
- In the Oracle Middleware Home field, verify the name of the Oracle Middleware home directory. You can either accept the default location or browse to another location.
- In the Oracle Home Directory field, enter the name of the Endeca Server home directory. (This will be the root directory of the Endeca Server installation.) You can either accept the default name or enter a new name. The Endeca Server Home directory name may only contain alphanumeric , hyphen (-) , dot (.), and underscore (_) characters, and it must begin with an alphanumeric character.
- When you have finished, click Next.
-
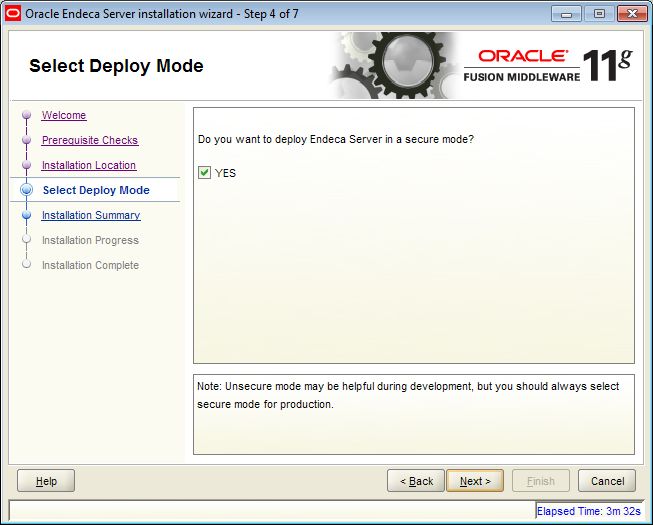
At the
Select Deploy Mode screen, either leave the
YES checkbox checked (to deploy Endeca Server
in an SSL mode) or uncheck it (for a non-SSL mode). Then click
Next.
-
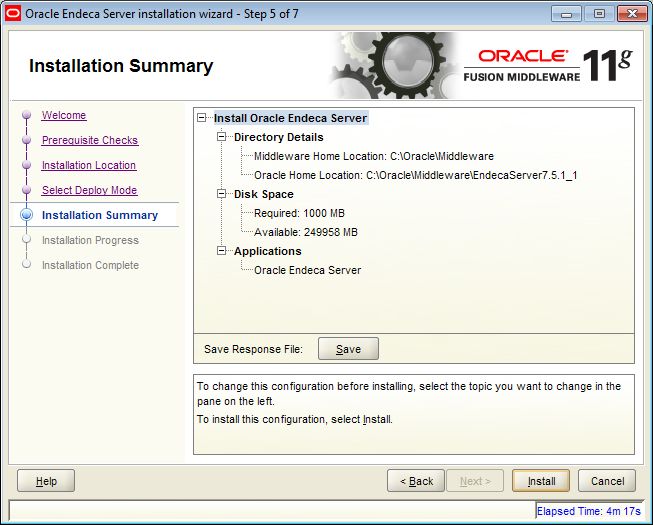
At the
Installation Summary screen, verify the
installation details and click
Install.
Note that the Save button allows you to save a Response File for silent-mode installations.
-
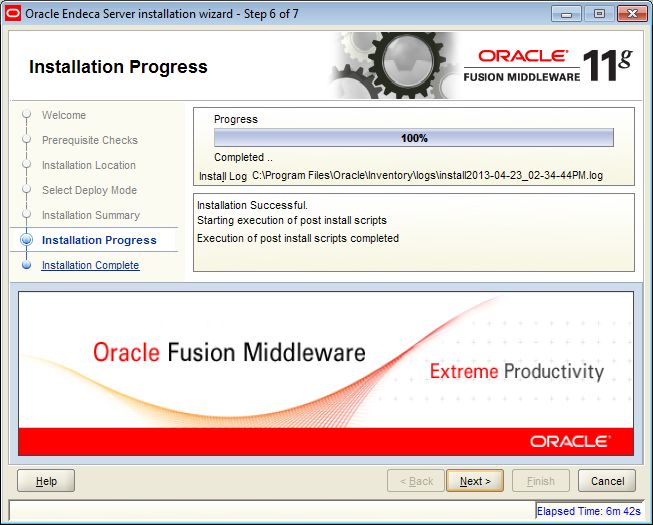
At the
Installation Progress screen, click
Next when the installation progress has
completed.
-
At the
Installation Complete screen, click
Finish to exit the installation wizard.
Before exiting the installation wizard, you have the option of first saving the installation details to a disk file.
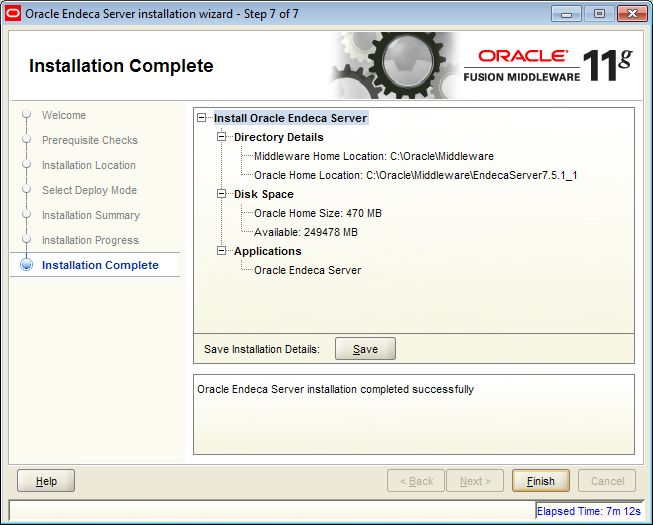
When the installation finishes, the Endeca Server files and directories are written to the Oracle Home Location (as indicated in the Installation Complete screen).
The next step is to create a WebLogic domain for the Oracle Endeca Server application.
