This topic describes how to install the ADF (Application Development Framework) Runtime 11.1.1.6 product, which contains the JRF on which the Endeca Server package depends.
- Installed Oracle WebLogic Server 10.3.6.
- Downloaded the Oracle ADF (Application Development Framework) Runtime 11.1.1.6 product installer, as described on Oracle ADF Runtime requirement.
- Do not run the installation program as the root user.
- Have an X-Windows (X11) environment. The installer requires that your monitor must be configured to display at least 256 colors.
To install Oracle ADF Runtime:
-
At the
Welcome screen, read the information and click
Next.

-
At the
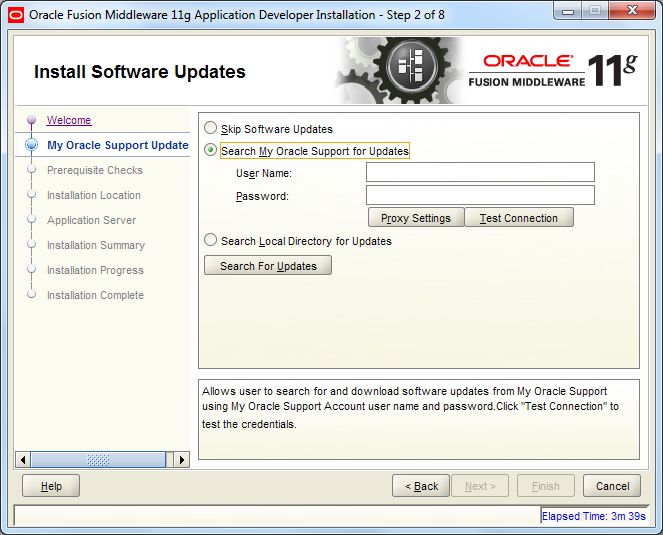
Install Software Updates screen, either select
Skip Software Updates or search for updates.
Then click
Next.
This procedure assumes that you selected the Skip Software Updates option. Keep in mind that you can search for software updates after you finish all the installation steps.
-
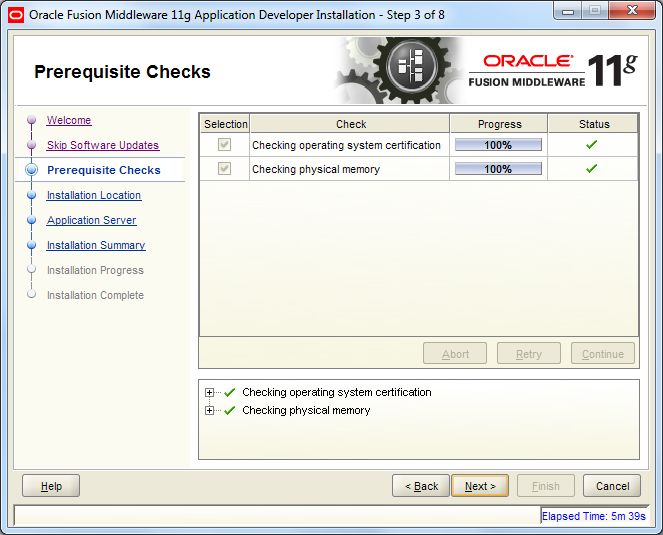
At the
Prerequisite Checks screen, wait until the
installation process passes all the necessary checks. It is important that the
WebLogic Server passes its "number of file descriptors" check that is part of
this step. If everything passes the checks, click
Next.
-
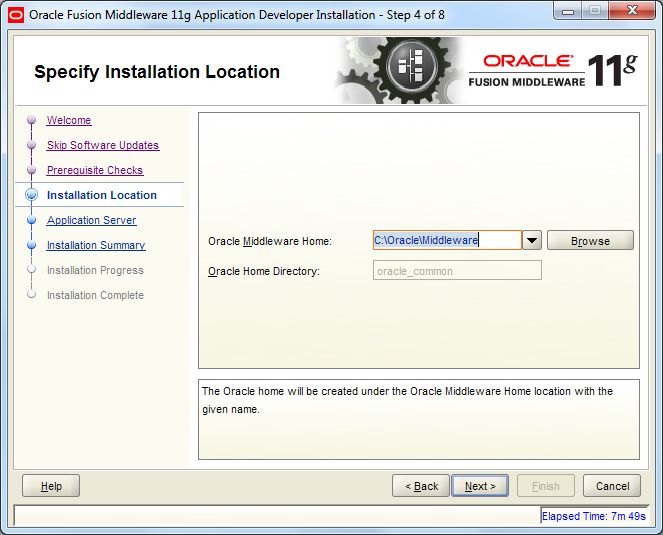
At the
Specify Installation Location screen, verify
that the Oracle Middleware Home directory is the location to where you
installed the WebLogic software. Then click
Next.
-
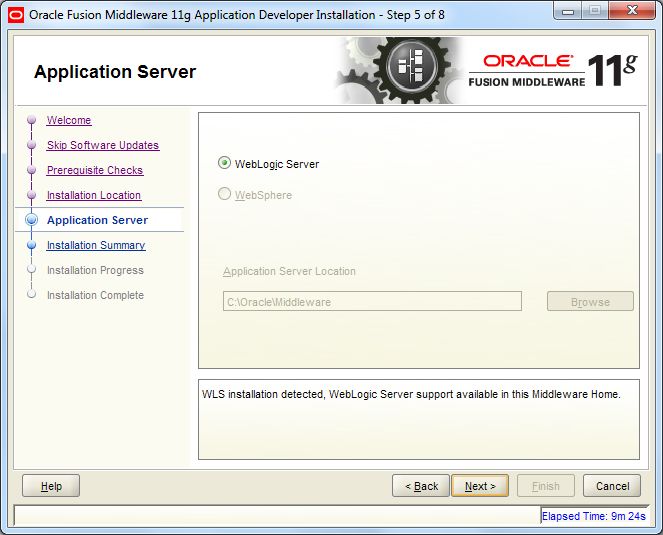
At the
Application Server screen, select
WebLogic Server and click
Next.
-
At the
Installation Summary screen, verify the
installation details and click
Install.
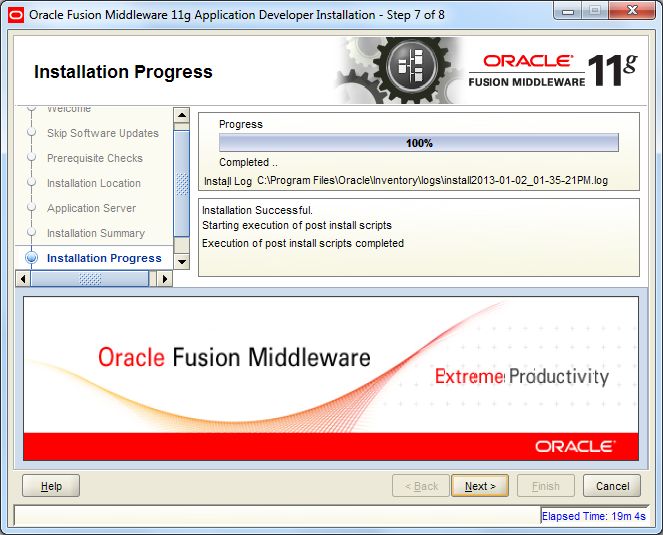
The Installation Progress screen shows the progress. When it finishes, the screen should look like this:

-
At the
Installation Progress screen, click
Next when the installation progress has
completed.
-
At the
Installation Complete screen, click
Finish to exit the installer.
Before exiting the installer, you have the option of first saving the installation details to a disk file.
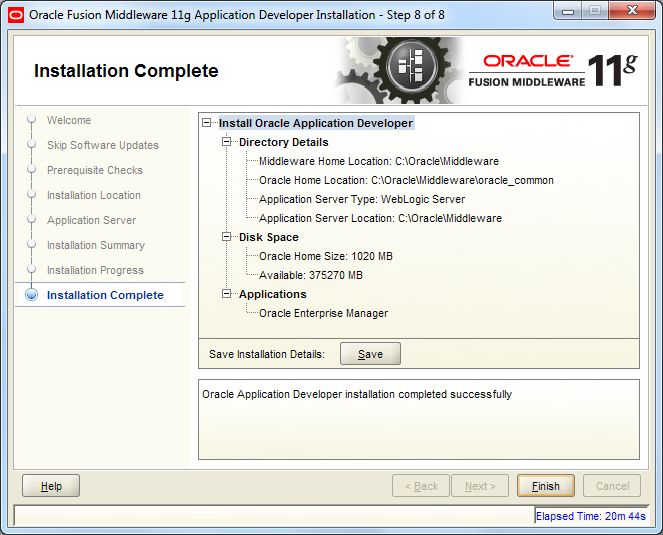
On Windows, two shortcuts are created in the Start Menu: Oracle Application Developer 11g and Oracle Common Home 11g.
The next step is to install Oracle Endeca Server.
