This topic provides a brief description of how to install Oracle WebLogic Server, which is the Web server container in which the Endeca Server application is hosted.
- The Generic version of the WebLogic Server installer, as described in Oracle WebLogic Server requirement.
- The Java 6 version of the Oracle Sun Java SE JDK, as described in Sun Java 6 JDK requirement.
Note that this procedure will install the minimum Oracle products needed to run Oracle Endeca Server. For example, it will not install the Oracle Coherence product, even though it is included in the installation package.
The installation instructions in this topic are a distillation of the complete instructions in the Oracle Installation Guide for Oracle WebLogic Server, which is available online at: http://docs.oracle.com/cd/E23943_01/doc.1111/e14142/toc.htm
These distilled instructions concentrate on installing only those WebLogic Server components that are mandatory for an Endeca Server environment.
To install WebLogic Server:
-
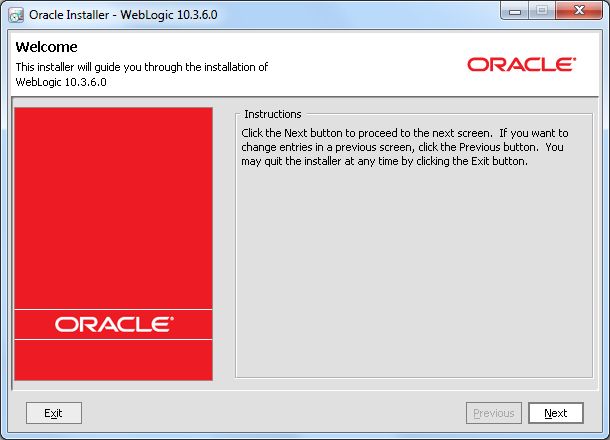
At the
Welcome screen, click
Next.
-
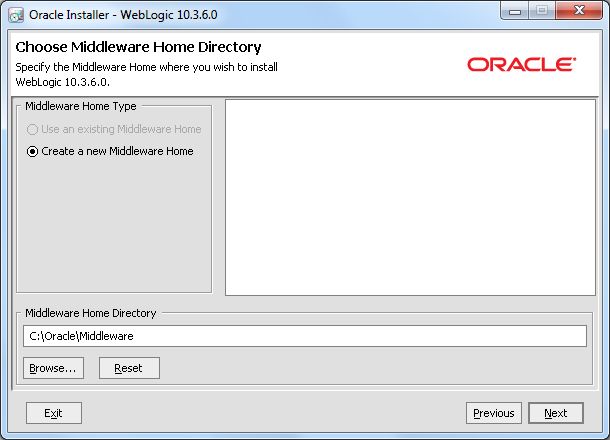
At the
Choose Middleware Home Directory screen, do
the following:
- Select Create a new Middleware Home.
- In the Middleware Home Directory field, enter the name of the Middleware home directory. (This will be the $MW_HOME directory of your installation.) You can either accept the default location or enter another one. The Oracle Middleware Home Directory name may only contain alphanumeric , hyphen (-) , dot (.), and underscore (_) characters, and it must begin with an alphanumeric character.
- When you have finished, click Next.
-
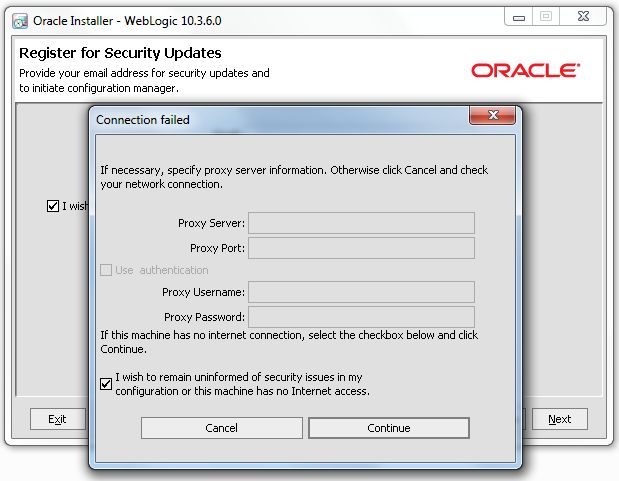
At the
Register for Security Updates screen, enter
your support details if you want to receive security updates and then click
Next. If you do not want to receive security
updates, (or if your machine has no Internet access), you can bypass the screen
as follows:
- Click Next without entering an email address.
- At the Email Address Not Specified pop-up, click Yes.
- At the Are You Sure? prompt, click Yes.
- In the Connection Failed dialog, click the I wish to remain uninformed of security issues in my configuration or the machine has no Internet access checkbox and then click Continue.
-
At the
Choose Install Type, select
Custom and click
Next.

-
At the
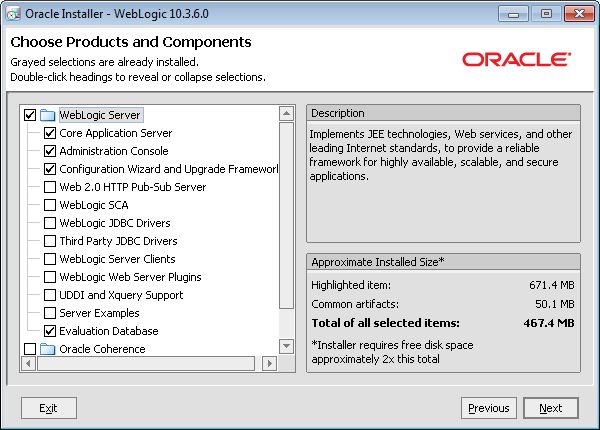
Choose Products and Components screen, leave
only these products checked and click
Next:
- Core Application Server
- Administration Console
- Configuration Wizard and Upgrade Framework
- Evaluation Database (needed only if the EID Provisioning Service will be installed on this WebLogic instance)
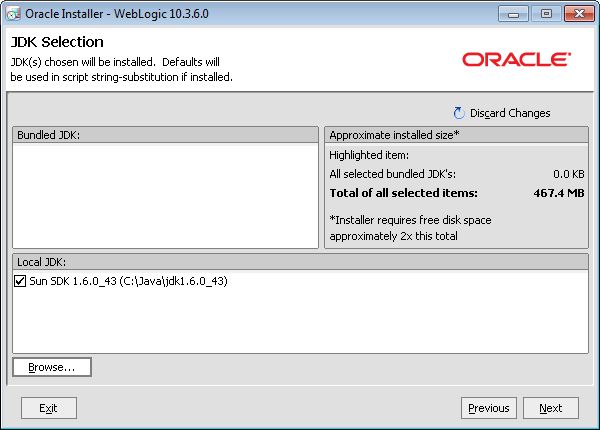
-
At the
JDK Selection screen, do the following:
- Click the Browse button in the Local JDK pane.
- Browse to a local directory that contains the Oracle Java 6 JDK and select it. (The JDK will appear in the Local JDK pane with a checked box next to it.)
- Click Next.
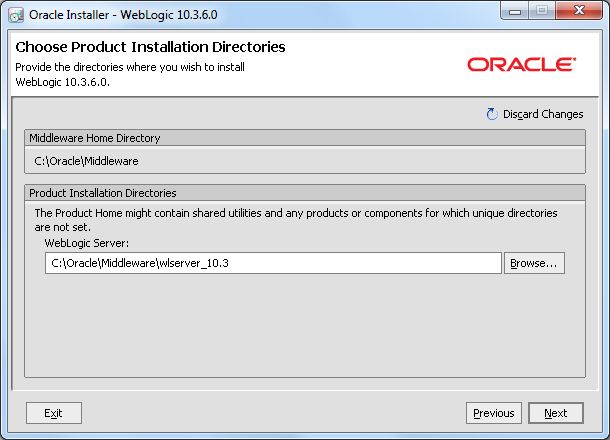
-
At the
Choose Product Installation Directories
screen, enter the name of the WebLogic Server installation directory. You can
either accept the default installation directory or browse to another one. Then
click
Next.
-
At the
Install Windows Service screen, leave the
No button selected and click
Next.
Note that you may not get this screen. It is typically displayed if all these conditions are true: you have Administrator privileges, you are performing an initial installation, you are installing on Windows, and you are performing a Custom installation.

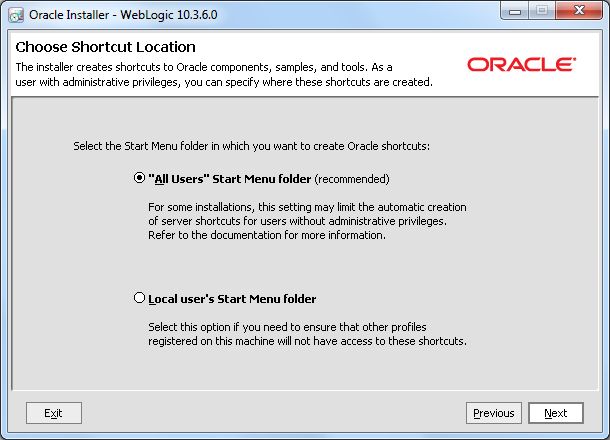
-
At the
Choose Shortcut Location screen, select the
Start Menu folder in which to create Oracle
shortcuts and then click
Next.
Note that you may not get this screen. It is typically displayed if all these conditions are true: you have Administrator privileges, you are performing an initial installation, you are installing on Windows, and you are performing a Custom installation.
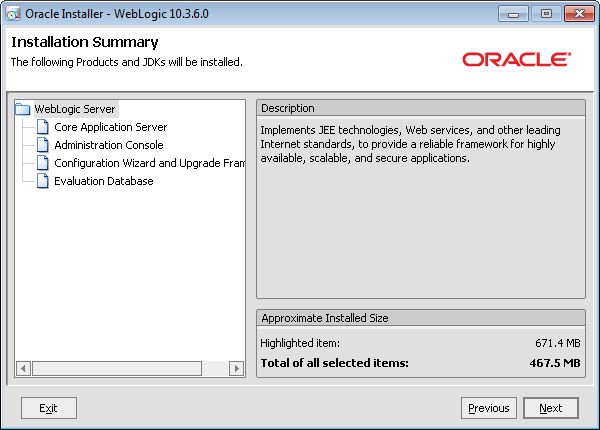
-
At the
Installation Summary screen, verify that you
are installing the correct products, and click
Next.
-
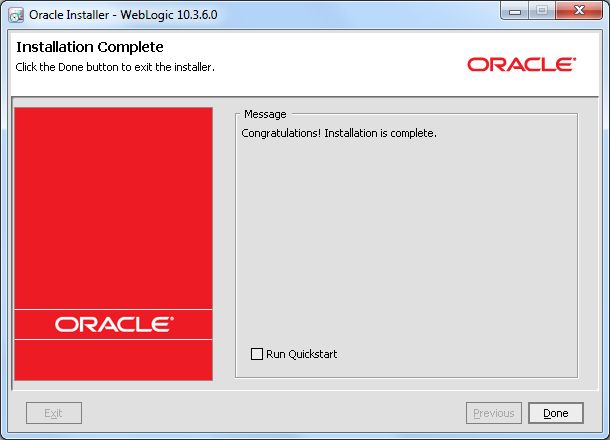
At the
Installation Complete screen, de-select
Run Quickstart and click
Done to exit the installer.
Note that you can run the Quickstart application later.
On Windows, an Oracle WebLogic shortcut is created in the Start Menu. One of the sub-entries in this shortcut is to the WebLogic Server documentation.
The next step is to install the Oracle Application Development Framework Runtime package.
