For LDAP integration, it is recommended that you assign roles based on your LDAP groups.
To ensure that users have the correct roles as soon as they log in, you create groups in Studio that have the same name as your LDAP groups, but in lowercase, then assign the correct roles to each group.
To create a group and then assign a role to that group:
- From the Studio menu, select Control Panel.
-
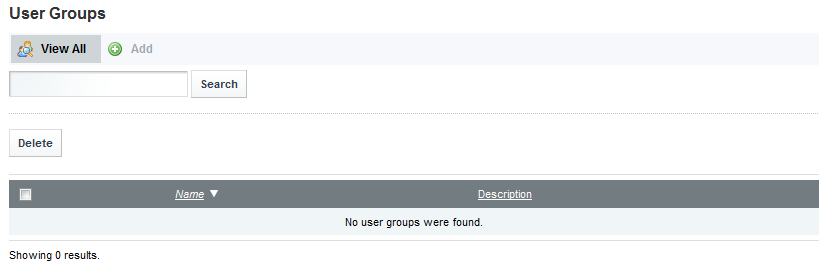
On the
Control Panel, click
User Groups.
-
On the
User Groups page, to add a new group:
-
Click the
Add button.
The new group page is displayed.

-
On the new group page, in the
Name field, type the name of the group.
Make sure the name is the lowercase version of the name of a group from your LDAP system. For example, if the LDAP group is called SystemUsers, then the user group name would be systemusers.
- In the Description field, type a description of the group.
-
Click
Save.
The group is added to the User Groups list.
-
Click the
Add button.
-
To assign the group to a role:
- In the Control Panel menu, click the Roles option.
- On the Roles page, for the role you want to assign the group to, click the Actions button.
- In the menu, click Assign Members.
- Click the User Groups tab.
- To display the list of available groups to assign to the role, click the Available tab.
-
Check the checkbox next to the group, then click the
Update Associations button.
The group is added to the Current tab as a group assigned that user role.
