If you are not installing Studio or the Provisioning Service on the same server as Endeca Server, then you need to download and install WebLogic Server.
To download and install WebLogic Server:
-
To download the WebLogic Server installation package:
-
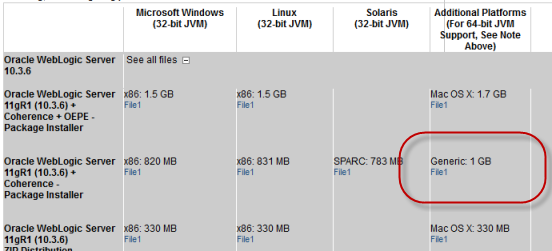
Download the
Generic version of the installer
(wls1036_generic.jar).
-
Download the
Generic version of the installer
(wls1036_generic.jar).
-
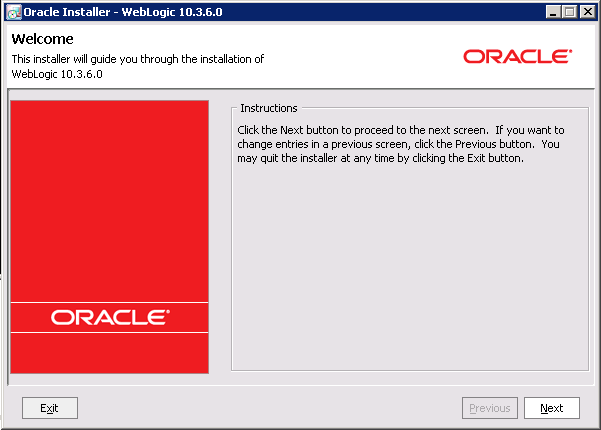
To launch the installer, issue the following command:
java -jar wls1036_generic.jar
The Welcome page of the installation wizard is displayed.
-
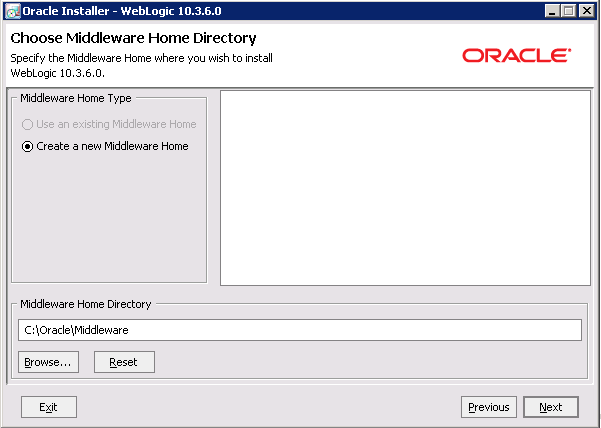
On the
Choose Middleware Home Directory page:
- Click the Create a new Middleware Home radio button.
- Accept the default location for the Middleware Home Directory.
- Click Next.
-
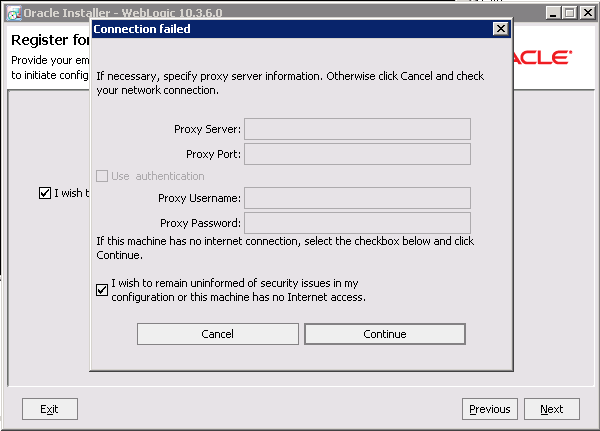
To bypass the
Register for Security Updates page:
-
On the
Connection failed dialog, check
the I wish to remain uninformed of security issues in my
configuration or the machine has no Internet access checkbox, then
click
Continue.
-
On the
Connection failed dialog, check
the I wish to remain uninformed of security issues in my
configuration or the machine has no Internet access checkbox, then
click
Continue.
-
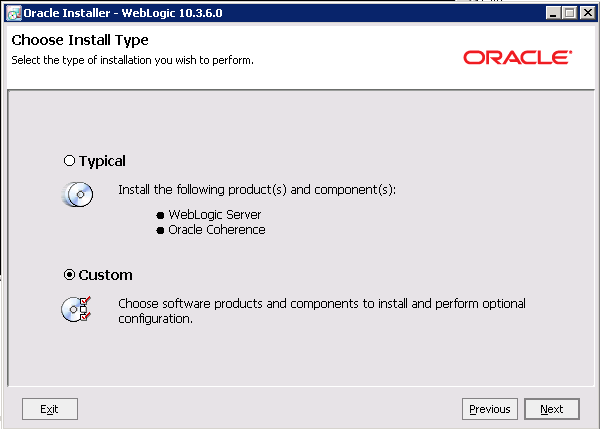
On the
Choose Install Type page, click the
Custom radio button, then click
Next.
-
On the
Choose Products and Components page, check the
following products, then click
Next:
- Core Application Server
- Administration Console
- Configuration Wizard and Upgrade Framework
For a production instance, where you will need to update Studio to connect to a database other than Hypersonic, you should also install the JDBC drivers.

-
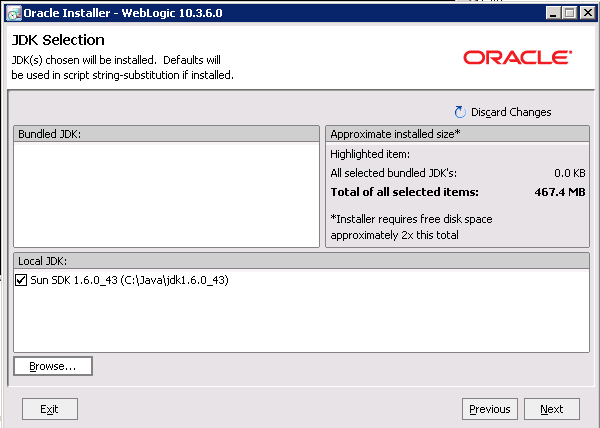
On the
JDK Selection page, verify that the JDK you
installed is selected. If it is, click
Next. If that version of the JDK is not
selected:
-
Browse to and select the directory that contains the JDK
(C:\Java\jdk1.6.0_43\ or
$HOME/Oracle/Endeca/jdk1.6.0_43)
The Local JDK section is updated to display the selected JDK with a checked box next to it.
-
Browse to and select the directory that contains the JDK
(C:\Java\jdk1.6.0_43\ or
$HOME/Oracle/Endeca/jdk1.6.0_43)
-
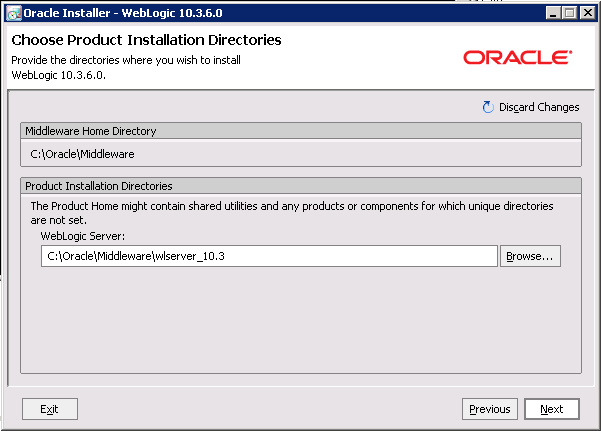
On the
Choose Product Installation Directories page,
accept the default installation directory, then click
Next.
-
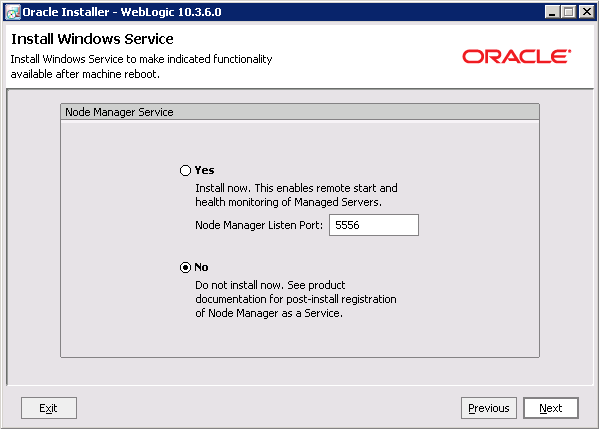
If the
Install Windows Service page is displayed,
click the
No radio button, then click
Next.
-
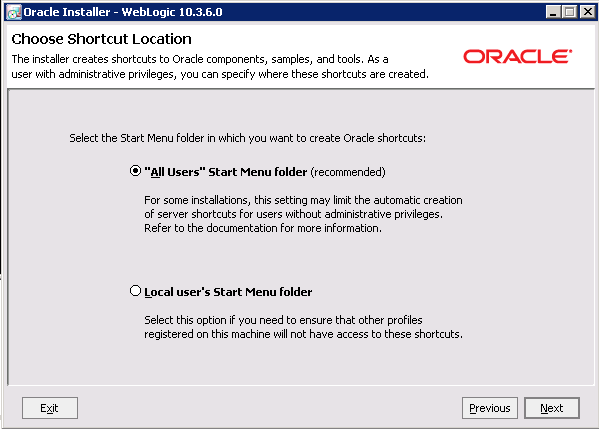
If the
Choose Shortcut Location page is displayed,
click a radio button to select the location of the Windows shortcut, then click
Next.
-
On the
Installation Summary page, verify that you are
installing the correct products, then click
Next.

-
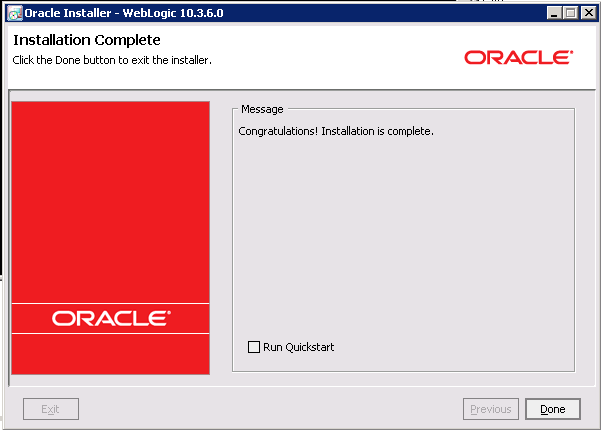
On the
Installation Complete page, if you leave the
Run Quickstart checked, then when you click
Done, you immediately start the process of
creating a new domain.
If you want to create the domain later, then uncheck the Run Quickstart checkbox before you click Done.
For Windows, an Oracle WebLogic shortcut is created in the Start Menu.
