For the Web Content Display component, you provide the content to display. You can also customize the component height.
To configure the Web Content Display component:
-
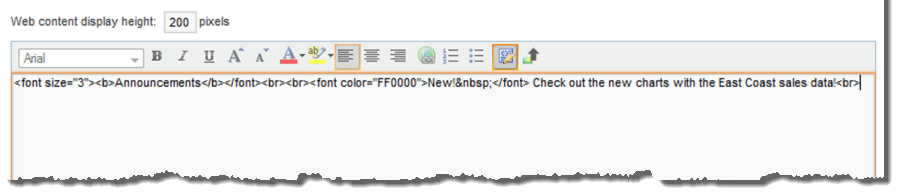
Use the text editor to create or edit the component content.
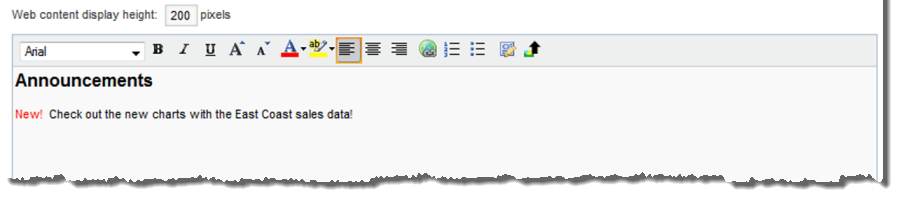 The text editor provides options to:
- Select the font
- Highlight text
- Change the text alignment
- Create numbered and bulleted lists
Note that you cannot include script tags or a separate style tag. If you do include these items, they are removed when you save the component.
-
To add a hyperlink:
-
On the hyperlink dialog, in the
URL field, type the URL.

When end users click links in a Web Content Display component, the target URL automatically displays in a new browser window.
To edit an existing link, click anywhere in the link text, then click the hyperlink icon.
-
On the hyperlink dialog, in the
URL field, type the URL.
-
To insert an image:
-
In the text editor toolbar, click the image upload icon.
The image upload dialog is displayed. The dialog displays any images that have been uploaded for this or any other Web Content Display component in the current application.

The list does not include images uploaded in other components or other applications.
The images are stored in the Studio database.
-
If you need to upload a new image, click the
Browse button to search for and select the
image.

Studio supports the .gif, .jpeg/.jpg, .bmp, and .png file types.
To clear the image file selection, click Cancel.
-
To upload the selected file, click
Upload.
The image is added to the list, and the dialog is updated to display the image width and height.
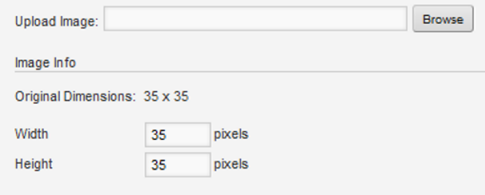
You can use the Width and Height fields to customize the displayed size of the image. The image always maintains its original aspect ratio. So for example when you edit the width, the height is automatically updated.
-
In the text editor toolbar, click the image upload icon.
-
To display the source HTML, click the source view icon.